Replacing jeans’ zippers:
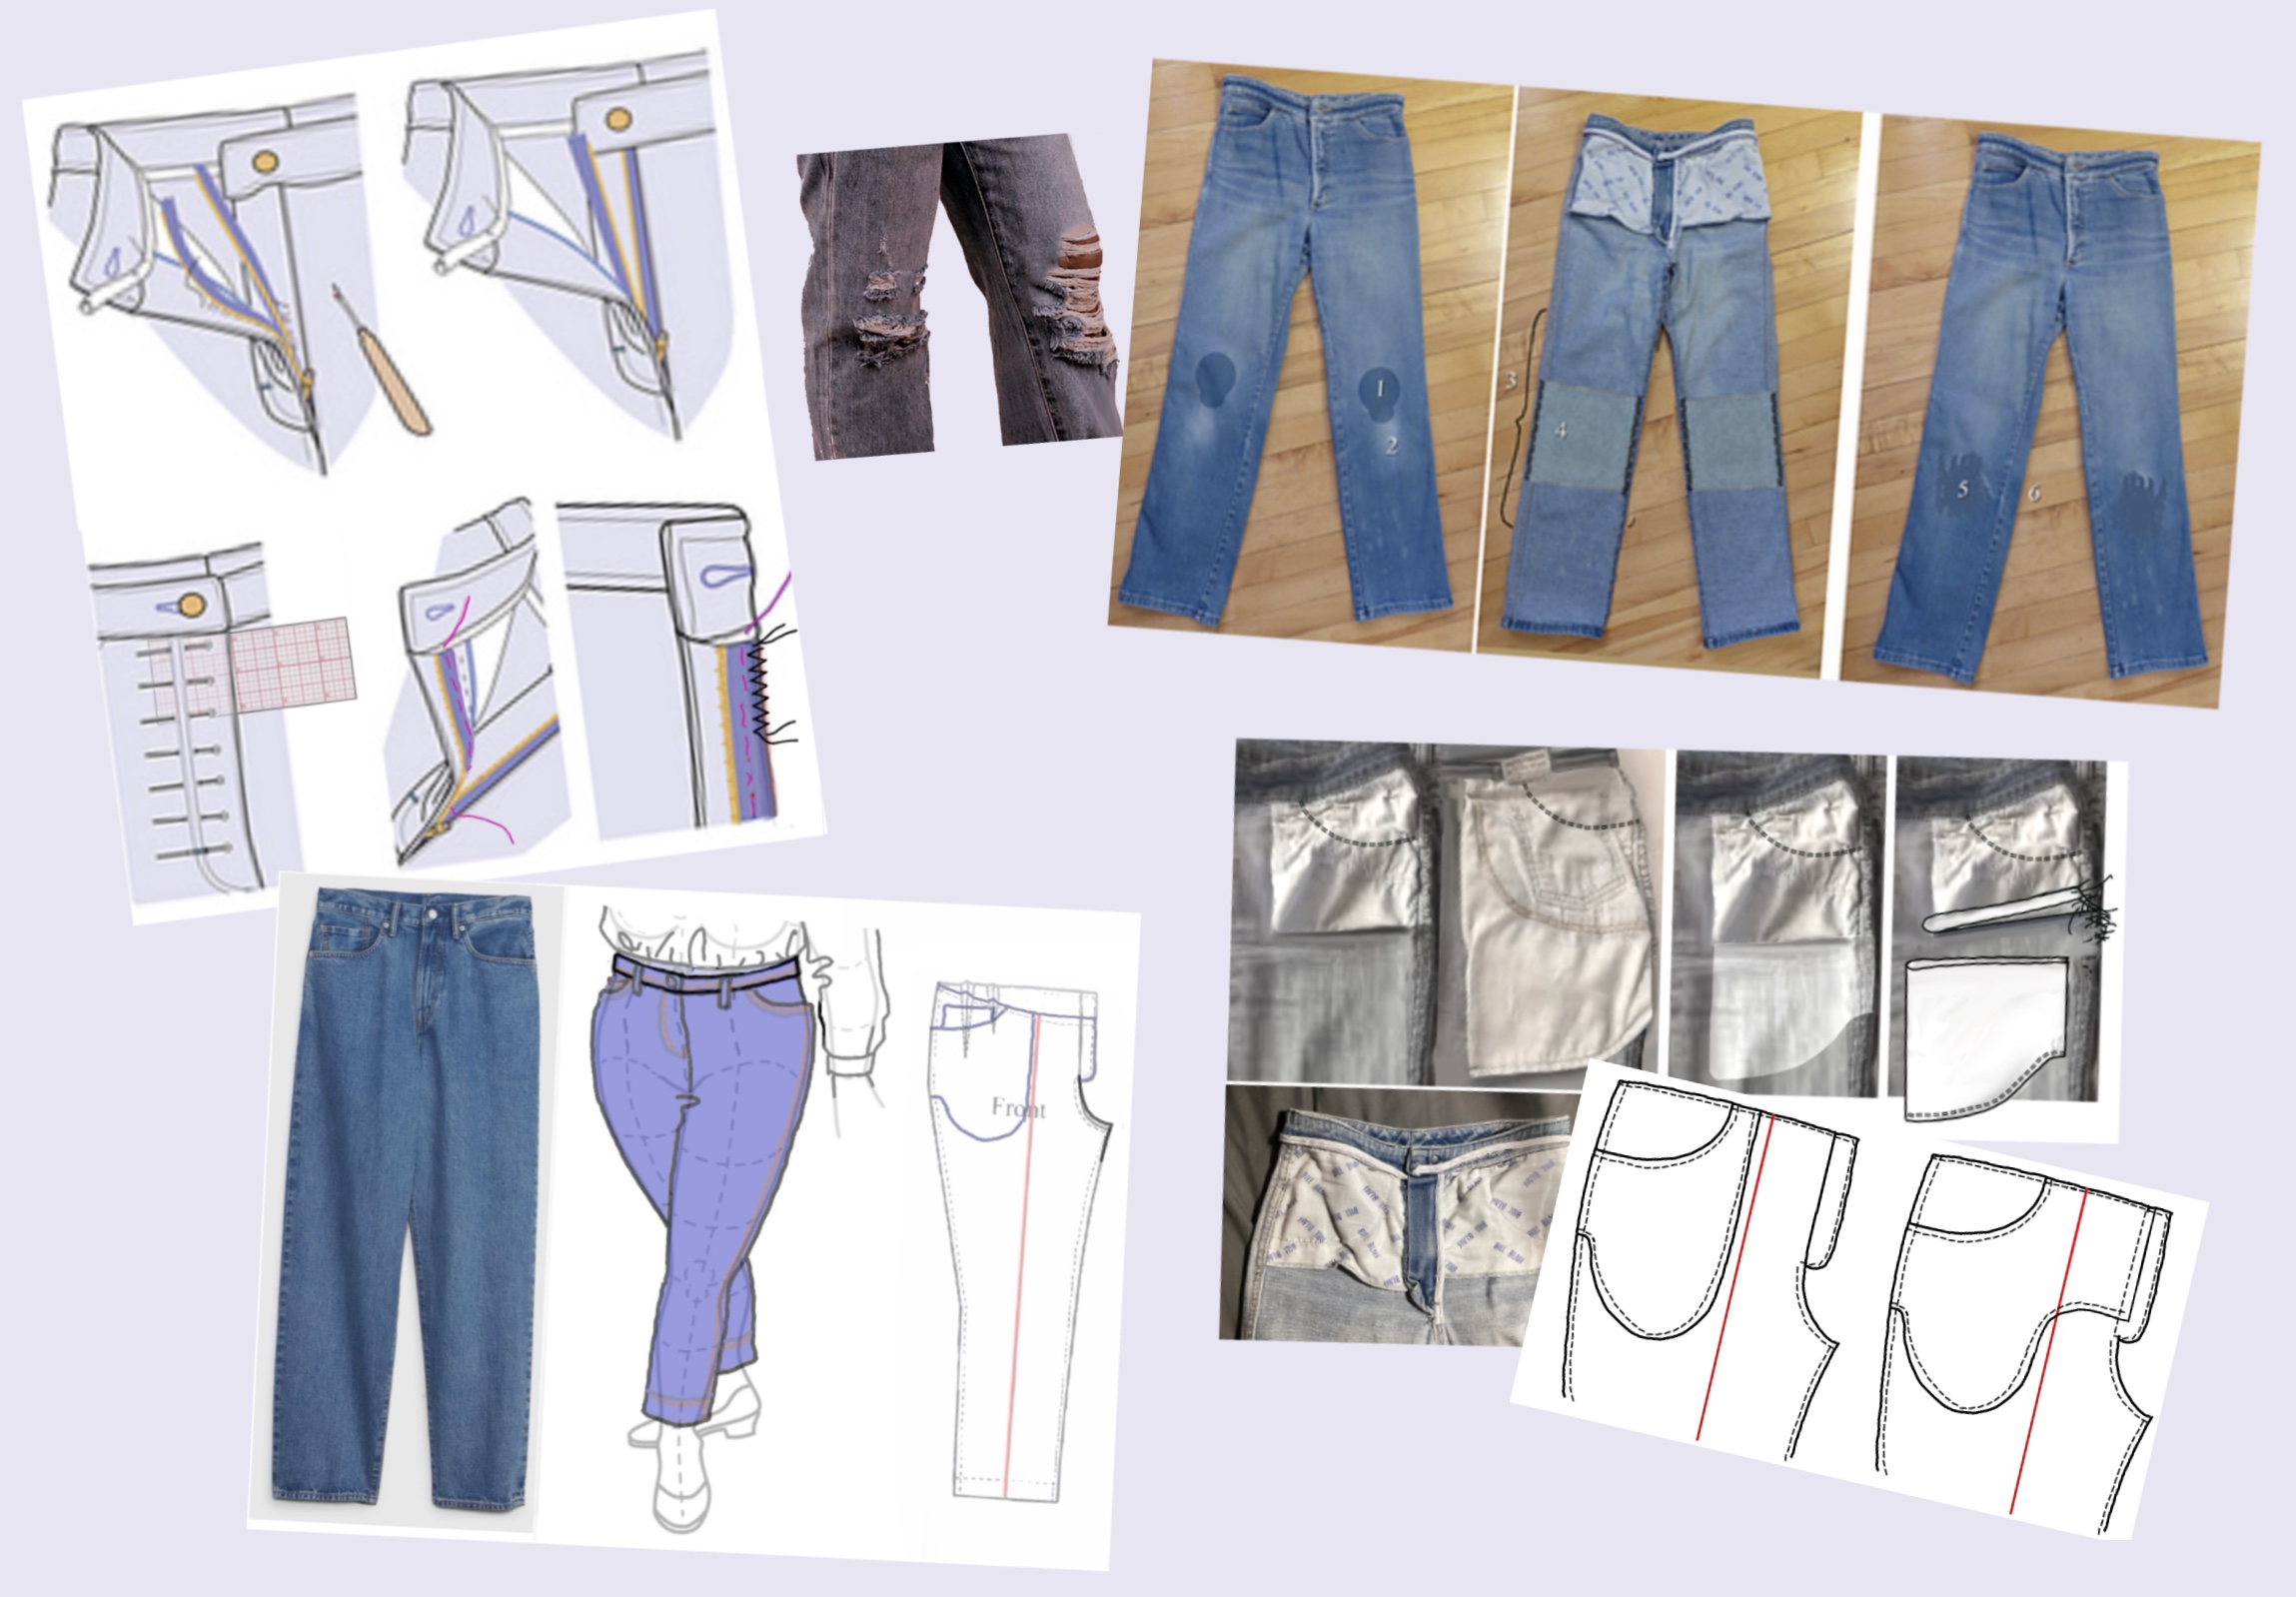
This technique is used by many sewing and design professionals in place of completely undoing and resetting the fly area. It preserves the original stitching, is much faster, and holds up as well as the original.
Take out enough of the waistband stitching on both sides to have access to the top of the zipper. A little longer is preferable to not enough as it’s quick to machine-stitch a little further at the end.
Remove the zipper.
Tuck the underside of the new zipper in place and restitch it on that side of the waistband.
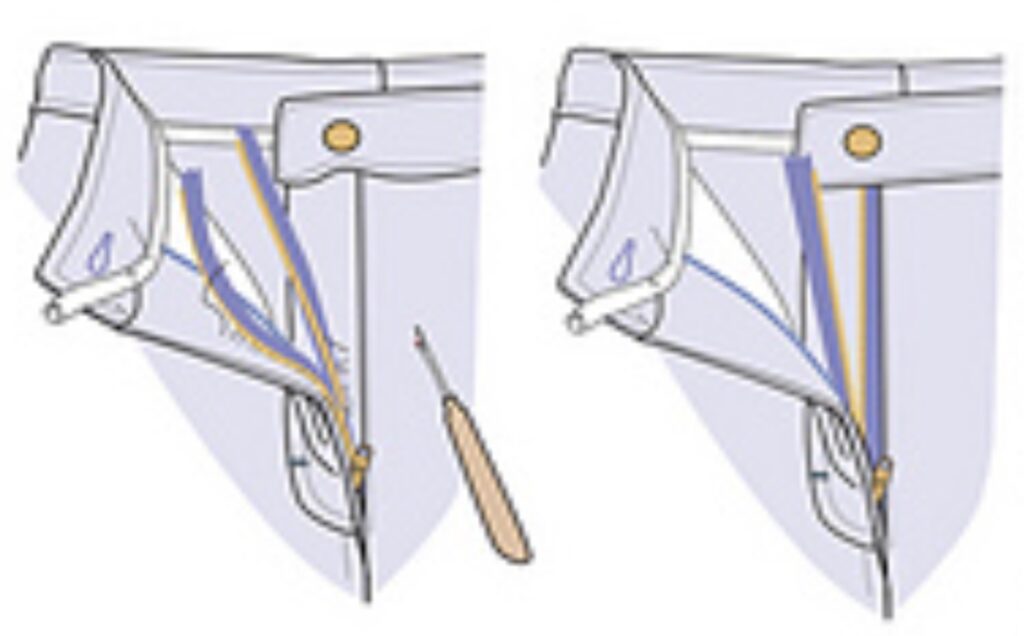
Close the zipper and button/snap and tuck everything into place on the inside. Check alignment.
From the right side, pin through to the zipper tape, being careful not to catch the flap underneath. Tip: slide a piece of plastic (I use a short C-Thru ruler) between.
Open and turn to inside.
Quickly hand-baste the zipper tape in place, not catching the outer layer.
Fold the fly at the edge of the zipper tape and sew the zipper and fly under layer together with a zigzag where the outer stitch is off the fabric (you may have to loosen your tension). This is similar to flat-locking with a serger: when the fabric is pulled, the stitches will snap flat. Press.
If you’re using this method on dress slacks where there isn’t enough underlayer to fold and catch, you can backstitch it by hand with heavy thread.
Patching jeans’ knees:
A method for reinforcing or repairing pants (jeans in particular).
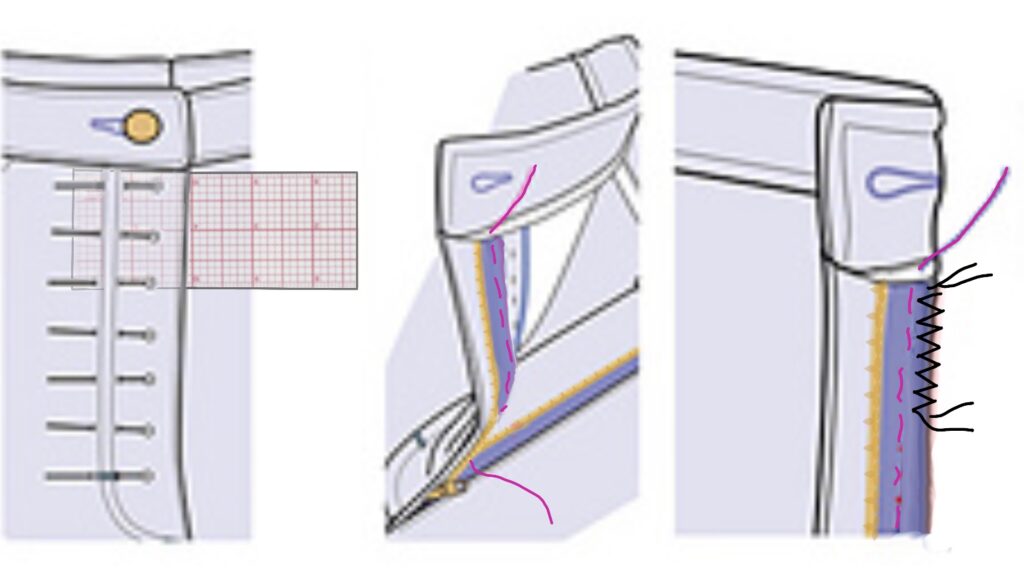
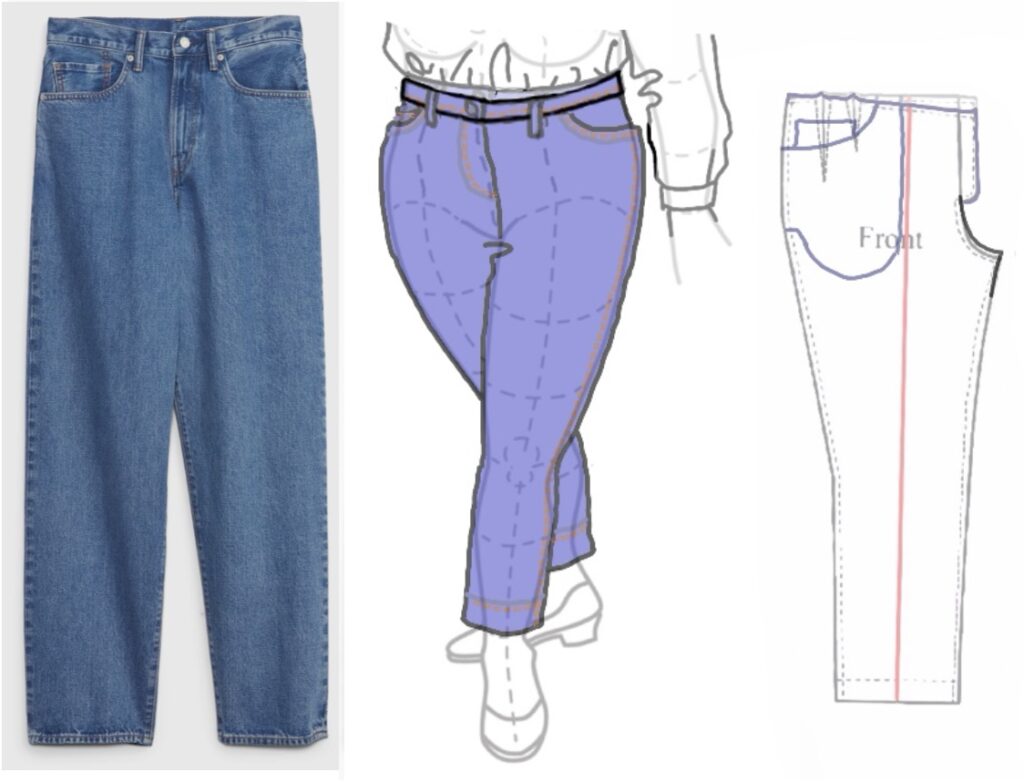
These are a little far gone, but the technique will work. Note that the person’s knees are above the worst blow-outs.
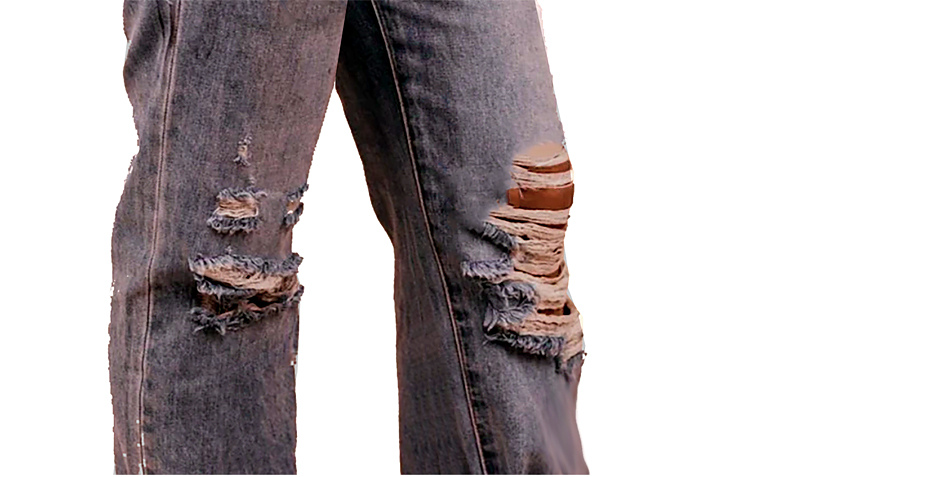
Setup: find chunks of fabric with comparable stretch, such as the legs of jeans past repair that also have been washed repeatedly.
- Our knees (Photoshopped darker circles) are roughly halfway between ankles and crotch.
- As pants’ legs pull up with body movement, the areas that wear out are lower. Rectangles will extend on the fronts from above the actual knee to below the worn spot, side seam to side seam. Repairs only to the center most-worn spots will frequently tear out around the edges.
- Turn the pants inside-out. There’s usually one flat-felled and one sewn/serged seam for each leg. Open the sewn seam a generous amount above and below where the patch will go.
- Smooth the patch over the inside front, stretching with the underlying fabric if there’s give to it, and tack to the side seams (fusible web is useful to hold things in place while you’re working). The tops and bottoms of the patches remain unsewn.
- From the right side, sew the leg and the patch together over the worn spots.
- Turn the legs inside-out again and resew the seam.
When making pants that you suspect will have hard wear at the knees, add reinforcing rectangles (sewn as these were at the sides) to the insides as part of the construction.
Lengthening pockets (jeans’ front ones shown)
There’s a history of why women’s pockets are ridiculously short. We have to accept that that’s how RTW comes. We don’t have to live with them. We’ll look at how to lengthen them, using a jeans front pocket as it’s more complex.
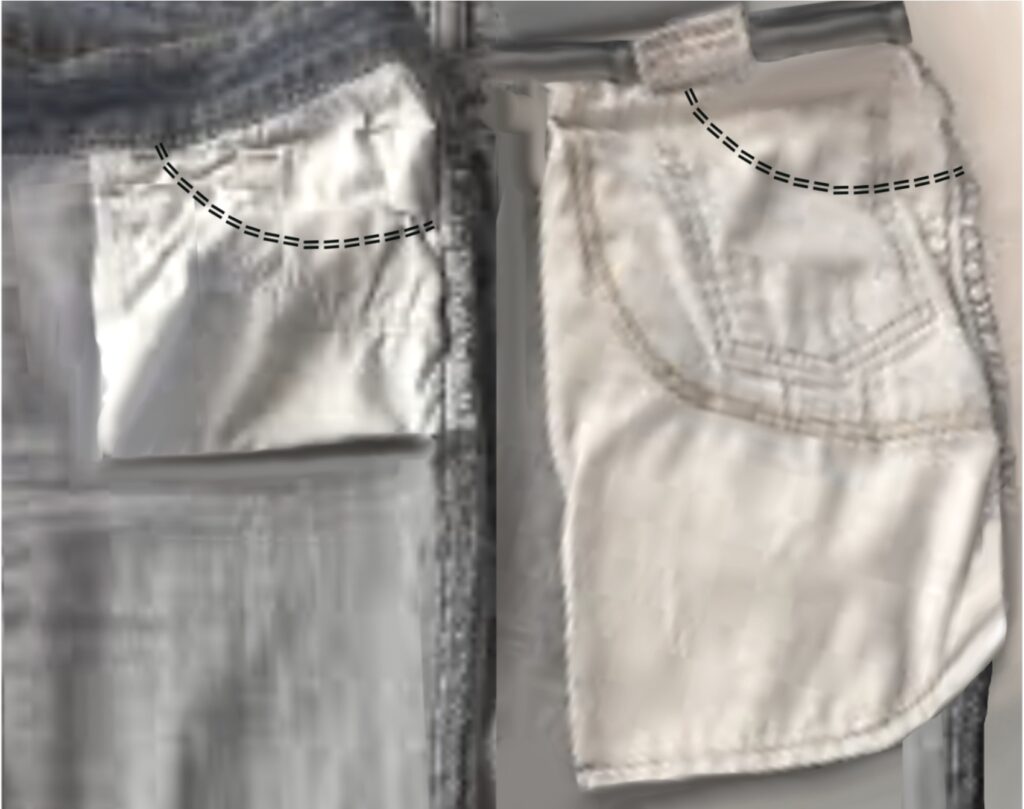
This is a version of a faced pocket, with the front opening being curved (on trousers it can be a slanted straight line).
The pocket bag is two layers, often one piece folded at the inner edge. It has a piece of the main pants fabric appliquéd at the upper side (hence: “faced”). What we care about here is the lower section which is caught in the side seam but otherwise hangs free.
The dashed black lines show where the outside opening is. We’re working well below that.
You’ll need fabric for the extensions. Any firm shirt weight (or heavier) will serve.*
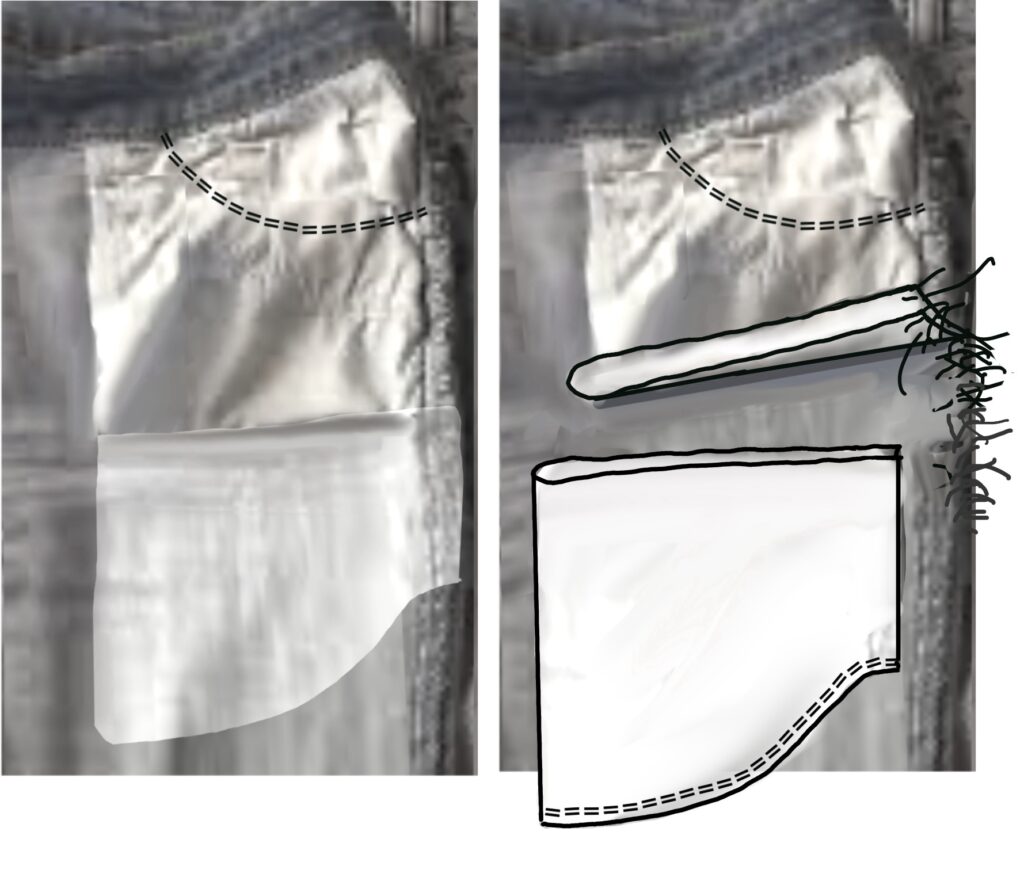
You may have to unpick (and resew later) a short bit of the side seam to get the bottom of the pocket free.
Whack off the old pocket barely above its bottom seam.
How long do you want your pocket? Put your hand down through the hole and see.
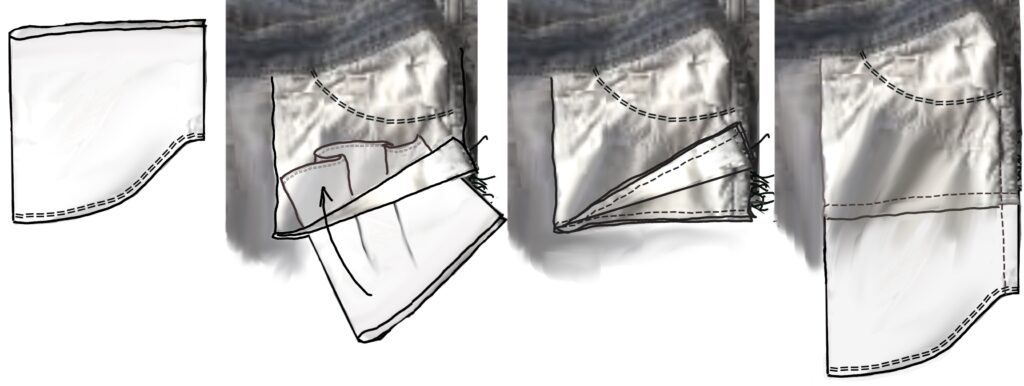
Trace off your pocket extensions and add seam allowances. Cut two pockets (one for each side) on the fold. The side seams will remain unfinished until that seam is resewn at the end.
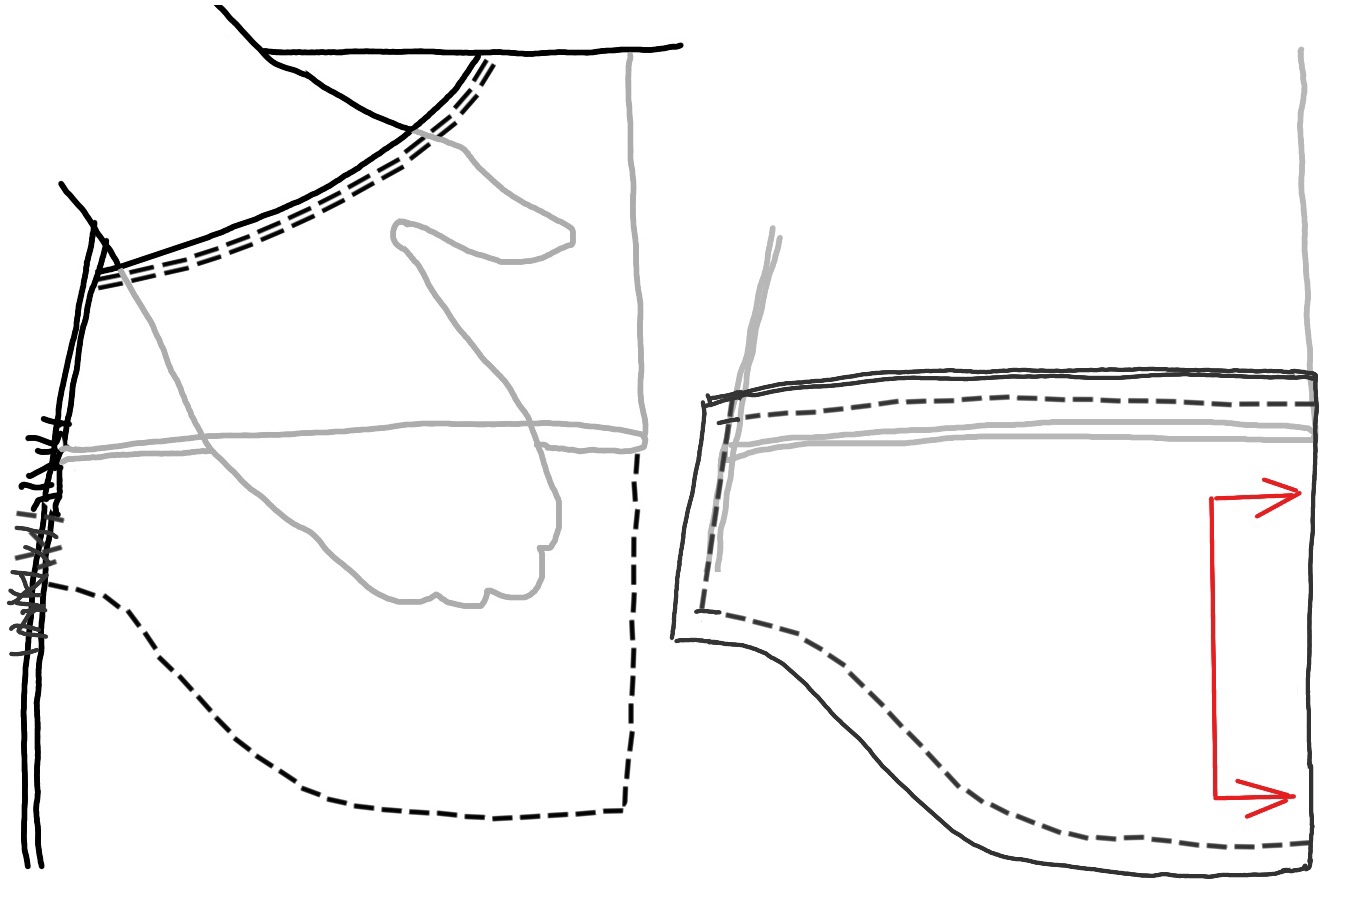
Clean-finish the bottom edge. Turn the pocket inside-out and slide it up inside the old one.
Sew together. Open. Press seams down.
Smooth all layers to side seam and resew that. Repeat for other side.
* should you not be able to find this and search out a tailor’s supply place, their quality pocketing is called silesia, as the finest fabric for these came from (wait for it) Silesia. Virtually indistinguishable from a high-thread-count heavier sheeting.
(Bonus) Extending front pockets as stomach stay:
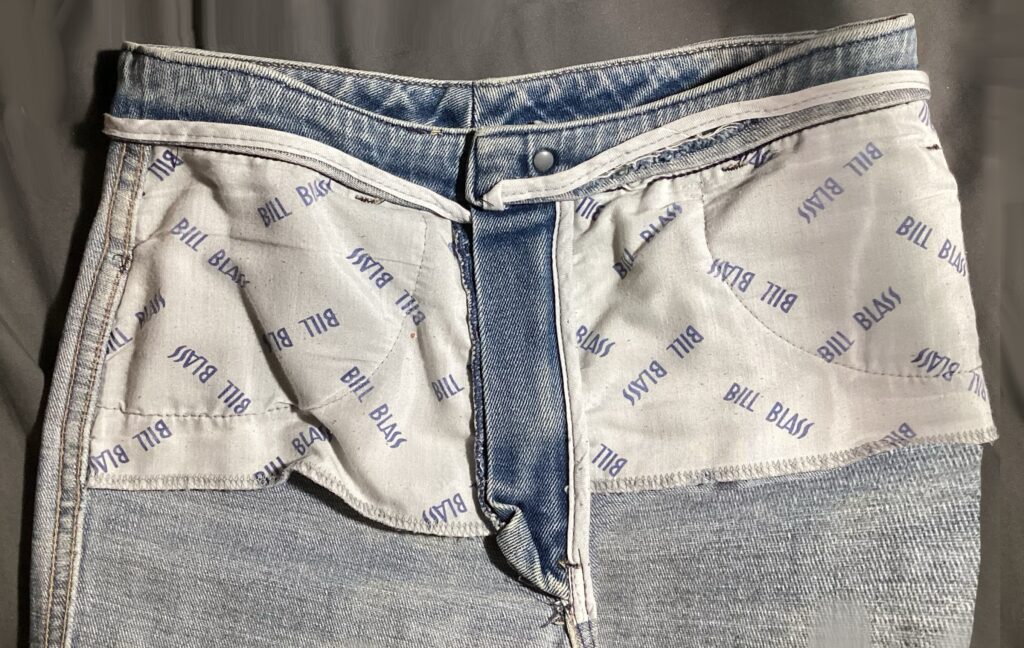
While designer jeans fall short (!) with the pockets, some provide tummy control by running the pocket bag to the center front.
This alteration is easier to make in the pattern. While extending the pocket bag in a finished pair is fairly easy, widening the top front means picking out and resewing the waistband/fly/zipper area.
I have made pants where the back of the pocket bag (the bigger piece) was made of spandex and the front of ordinary pocketing, but concluded it didn’t make that much difference.
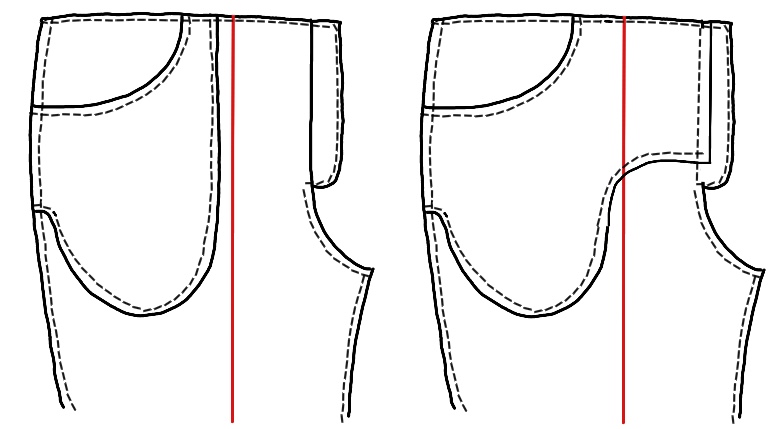
The pocket section is finished and basted to the front before the zipper goes in.

