
Lightweight, airy overshirts for UV protection
Compare with this far more elaborate rub-off of a shirtwaist.
Cathy wrote:
OK, I would like to sew Sunshirts for my husband Chris and myself.
Looking for these features: Long sleeves. No cuff (elastic) Yoke on front and back so bodice from approximately armpits down can be one fabric, shoulders another. Mandarin collar (tall to cover back of neck).
I’d like to use linen for sleeves and shoulders and collar, and mesh for lower half of bodice. It’ll be worn over a T shirt, so it’s to protect chest, neck and arms from sun. The mesh section is for ventilation.
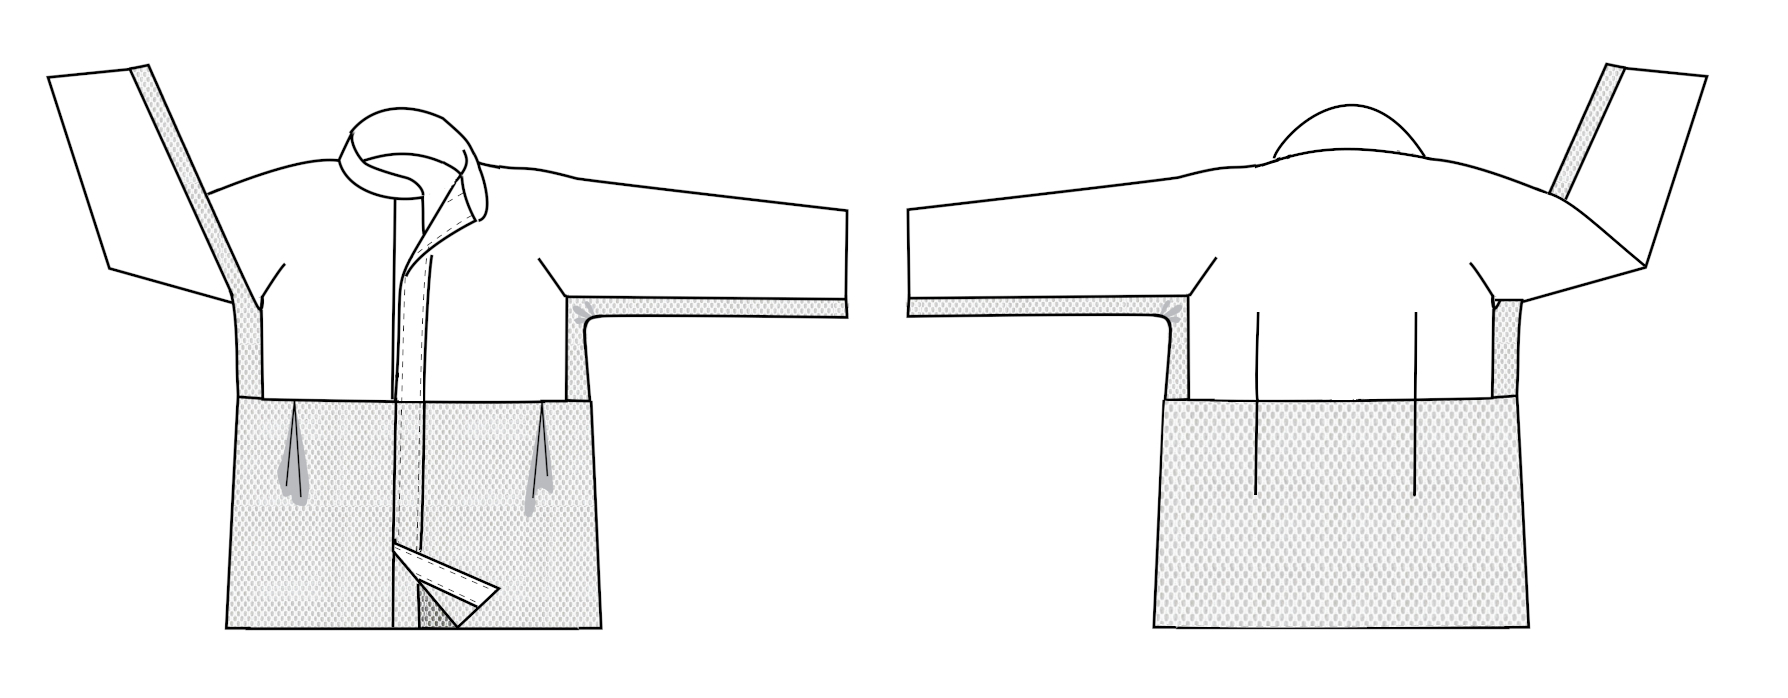
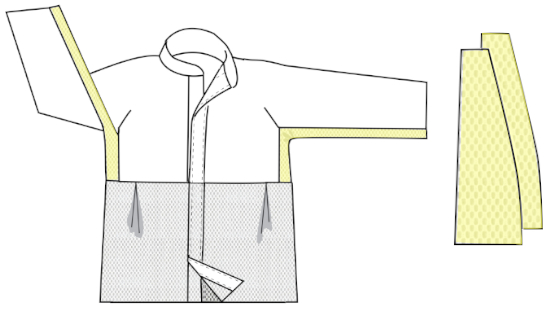
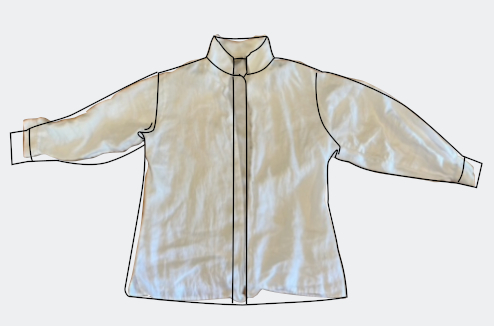
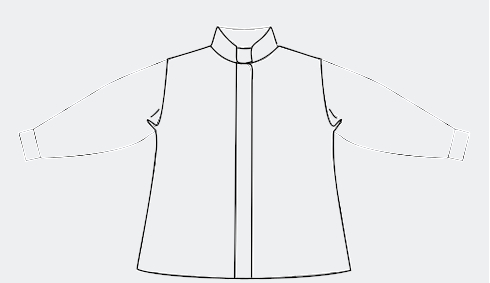
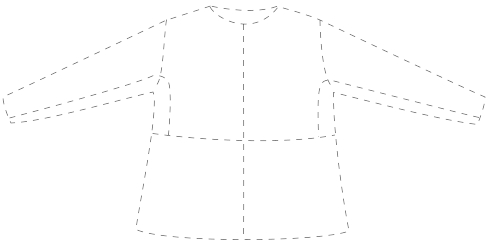
Here’s our working design (you can mentally add buttons, etc.). The pattern pieces are detailed below.
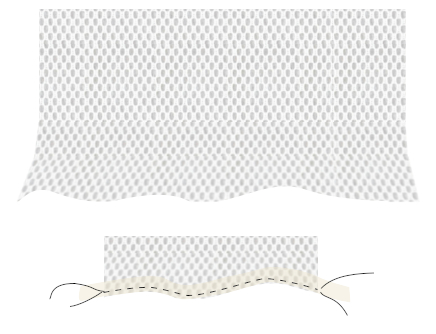
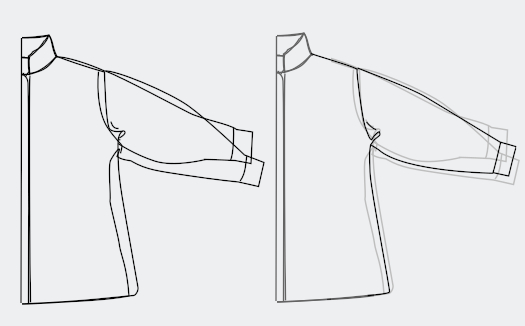
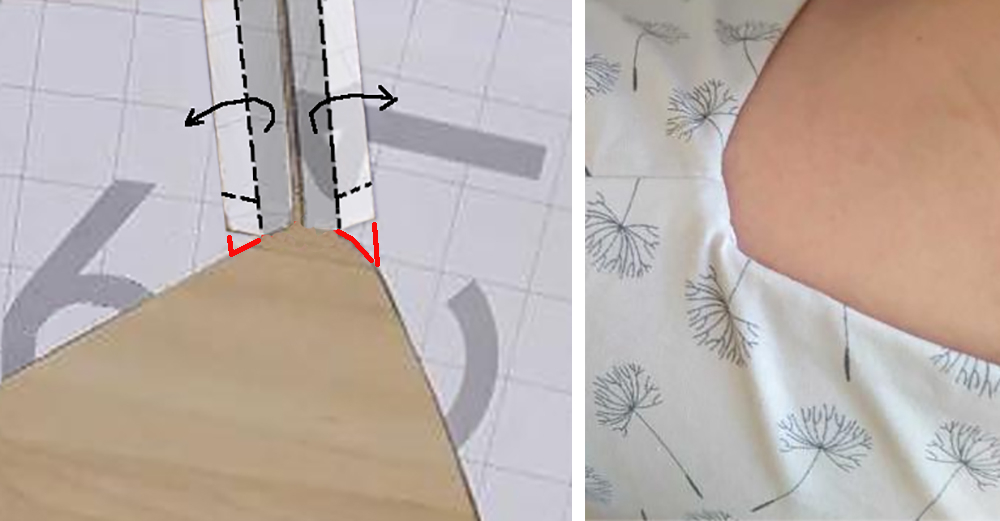
The upper is a long rectangle with bib extensions front and back, darted at the armscye to reduce bulk in the armpit while keeping good range of motion.
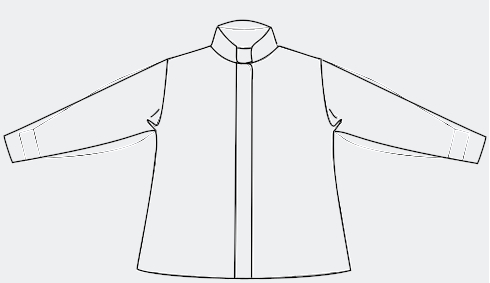
The two-piece sleeve has a mesh bottom for ventilation.
The pleats in the front netting are to give both of them extra room. The lightly interfaced front band will be of the upper fabric to stabilize the buttonholes. The band collar is raised at center back to protect the neck. The straight sleeves will have elastic at the cuff. Cathy’s shirt will have back darts.
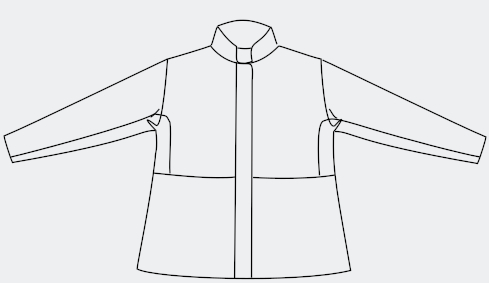
The uppers and bands will be made of hemp summer cloth. The lower mesh will be of a hemp/cotton net.
Sidebar on hemp: the strongest natural fiber (8+ times more than linen), UV, mildew, mold, and pest resistant, comfortable, considerably more absorbent than cotton, machine wash/dry (softens with use), dyes beautifully, resists dirt and stains, withstands high heat. Like linen, it wrinkles easily. Linen is brittle; hemp is not. Hemp was used for sails for clipper ships, standing up to sun, salt, and typhoons above deck while trusted to come out of lengthy storage in a dank hold ready to hoist. Frank Lloyd Wright specified hemp canvas for awnings for his houses.
This will be fast to draft, and uncomplicated to cut out and assemble.
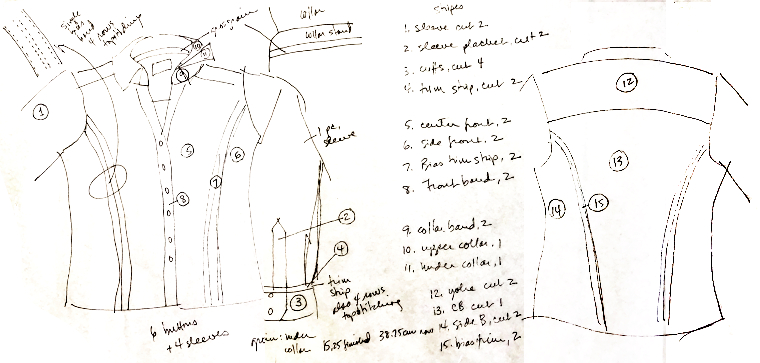
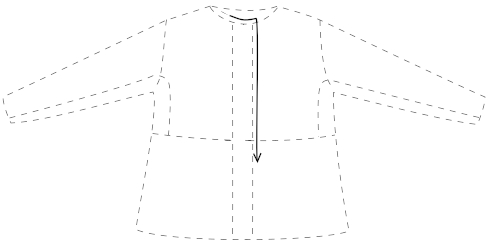
Here are the specs we’ll need for each of them:
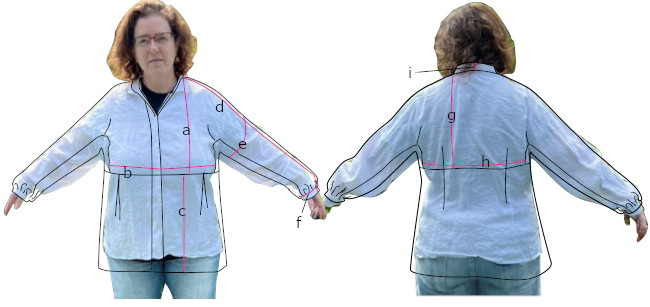
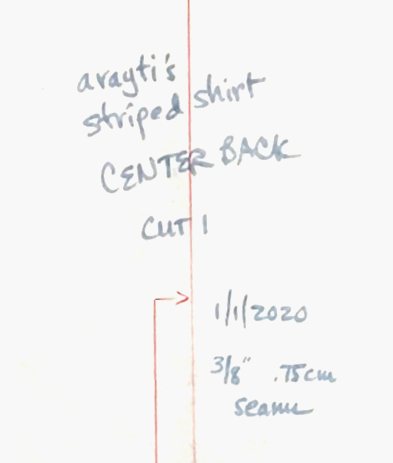
a) Length of front bib (from where shoulder seam meets collar band)
b) Width of front bib
c) Height of mesh (this is the same all the way around)
d) Shoulder/sleeve length from collar seam to finished hem
e) Biceps circumference including ease
f) Wrist circumference – big enough to get your hand through
g) Length of back bib
h) Width of back bib
i) height of collar band at center back
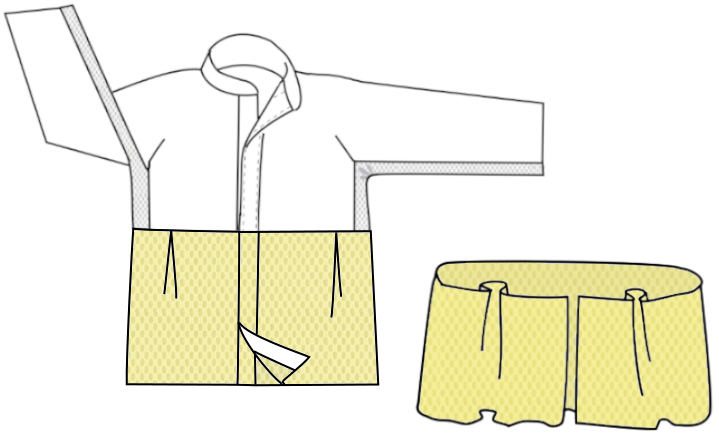
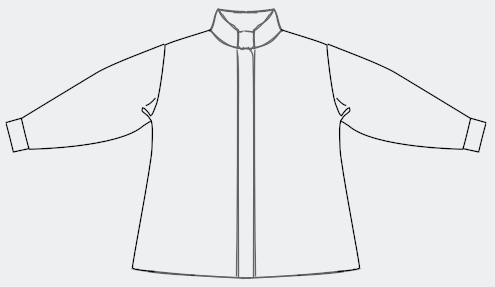
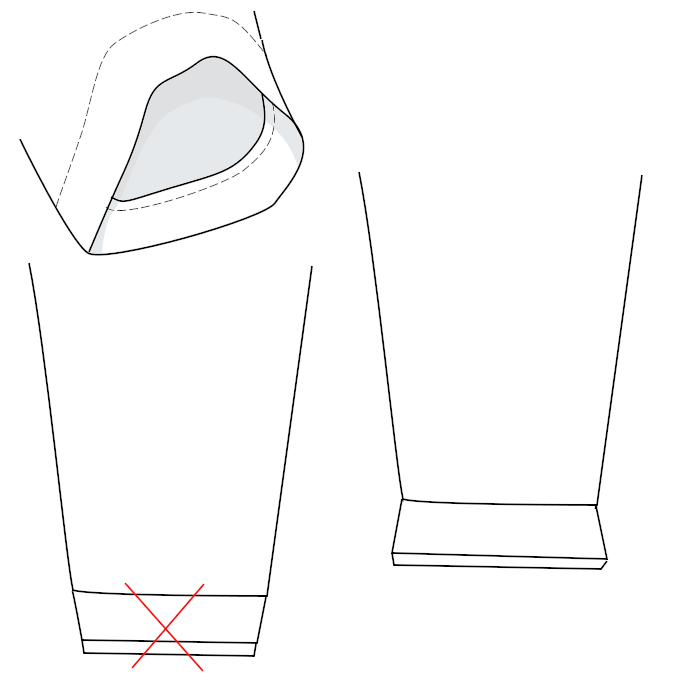
I didn’t redraw for Chris, but it would look the same except without back darts.
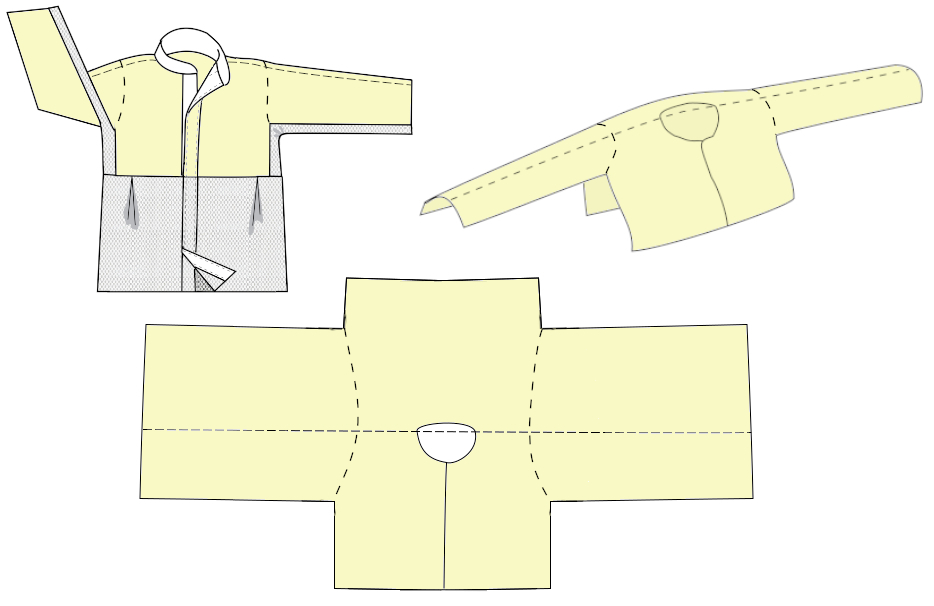
The front bib has to be longer than the back as it has farther to go over the front
so that the hems of both sections are the same distance from the ground.
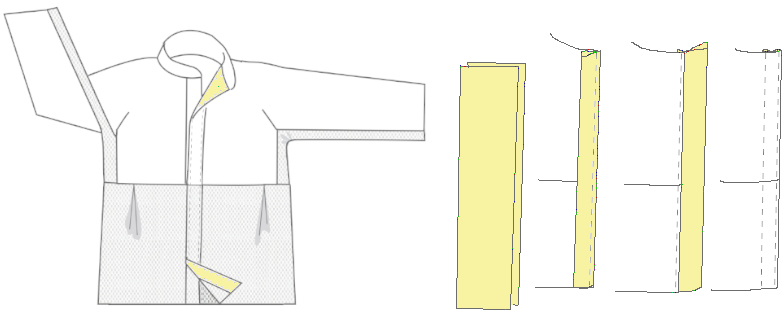
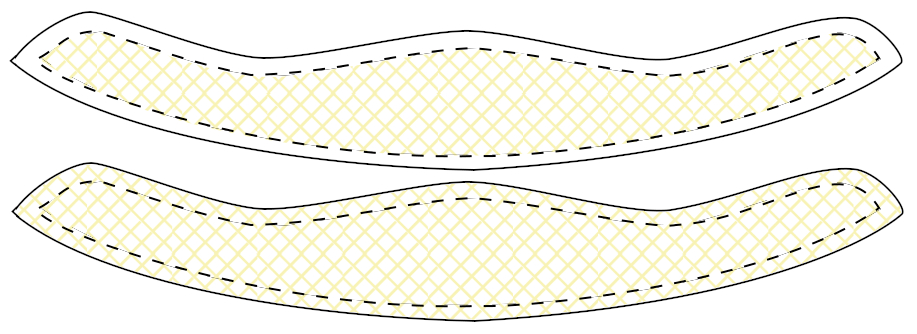
Fold in half (optional, lightly interface) wrong sides together, sewed to joined upper/lower center front. Open out with seam allowances away from band; press, understitch. Fold band to inside and press; topstitch. Repeat with other side. Stay-stitch the neck opening to stabilize and work the buttonholes.
Or can be sewn to inside and flipped to top if you want the contrast color of them all the way down.
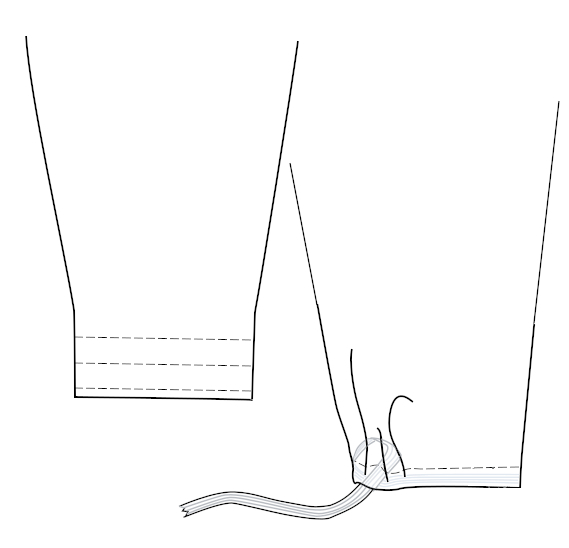
One way to control them is to baste a length of seam binding as close to the raw edge as possible.
Pull the basting threads until the edge is straight and flat again.
Flip to the inside and topstitch.
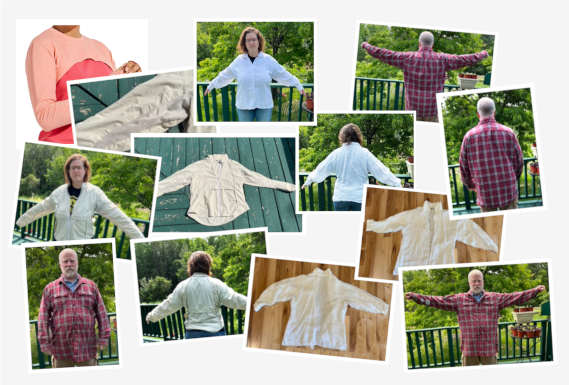
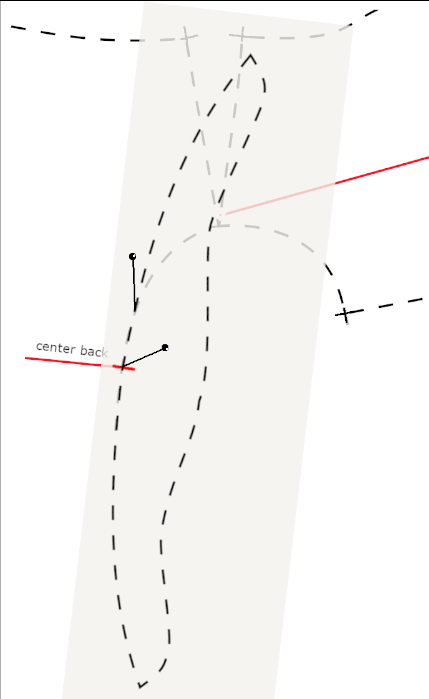
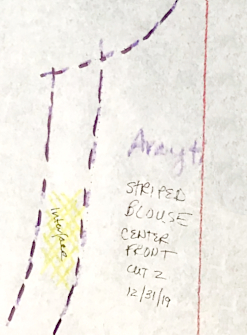
Next: pull pattern master from photo of shirt
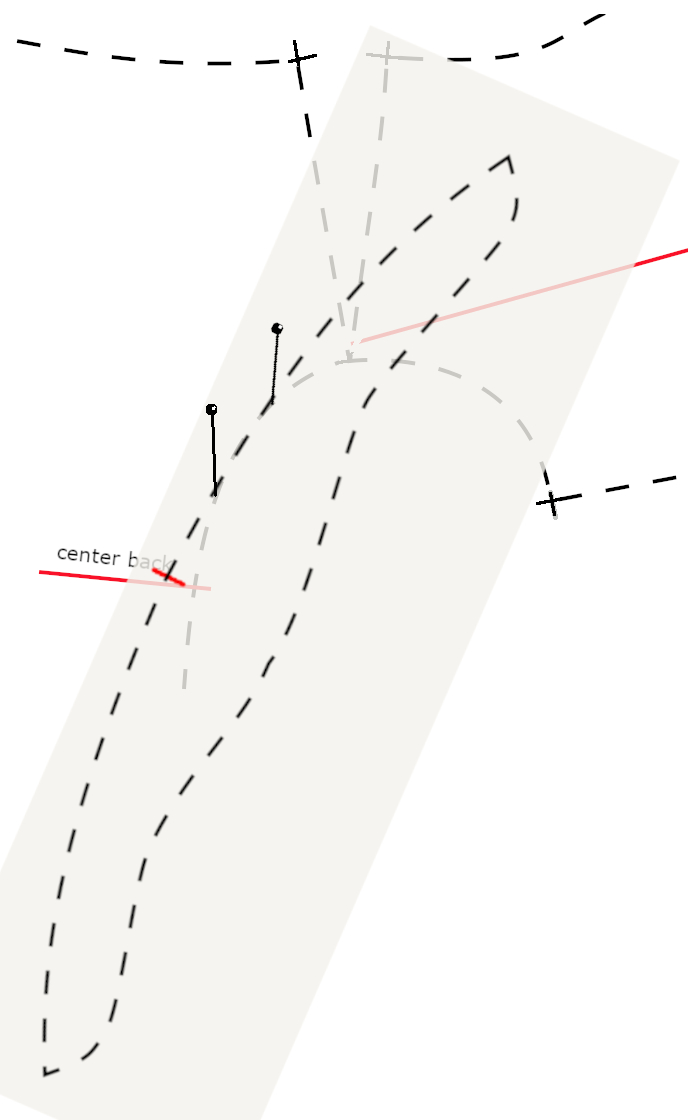
Start by copying the sections that don’t change to a fresh piece of paper that’s pinned over the original. The back isn’t shown, same deal though.
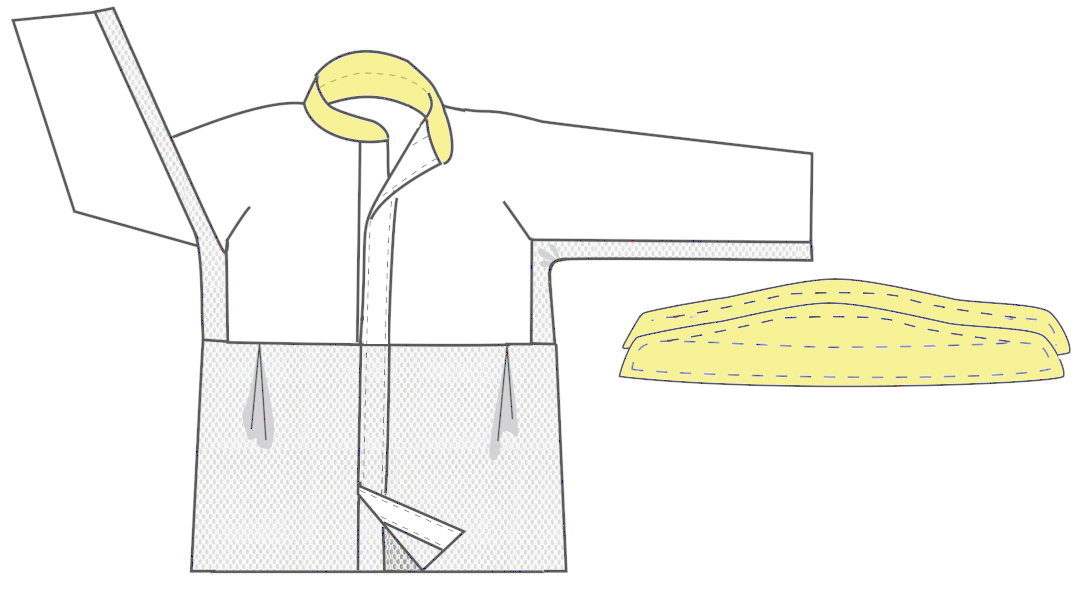
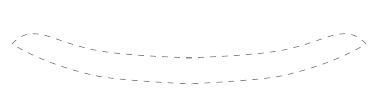
The collar band is coming.

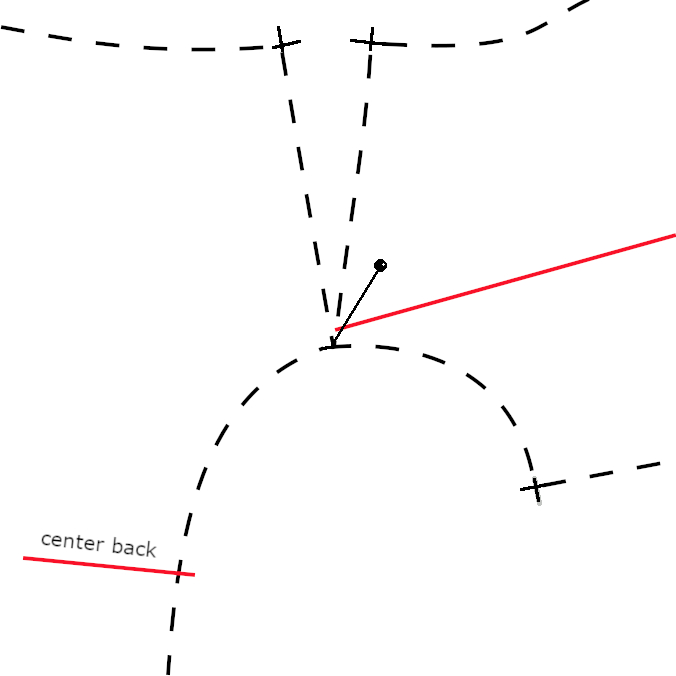
Place the middle of the collar band at the center back. Align it with the back neck curve as far as you can.
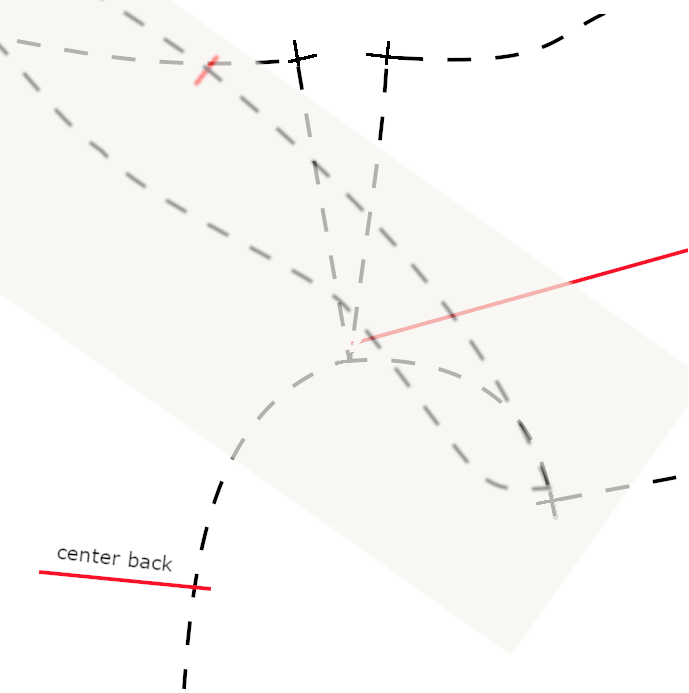
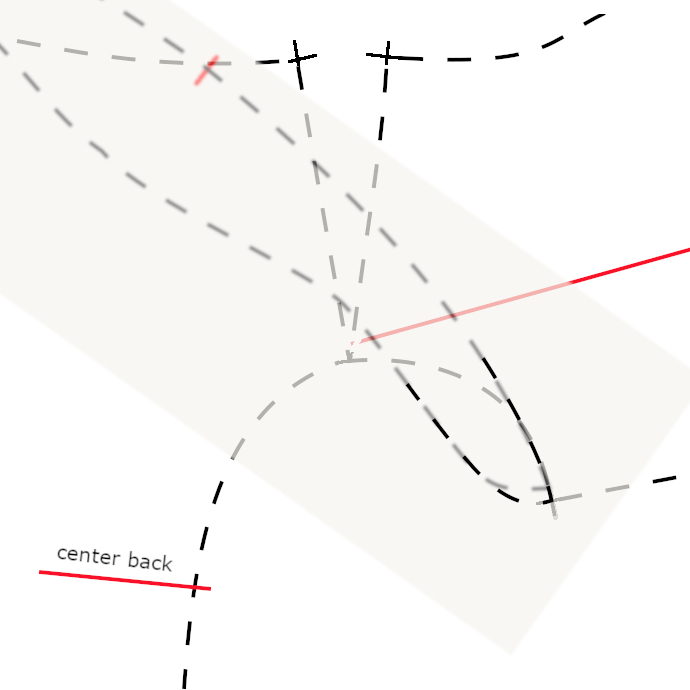


(There will be additional material posted when the shirts arrive)