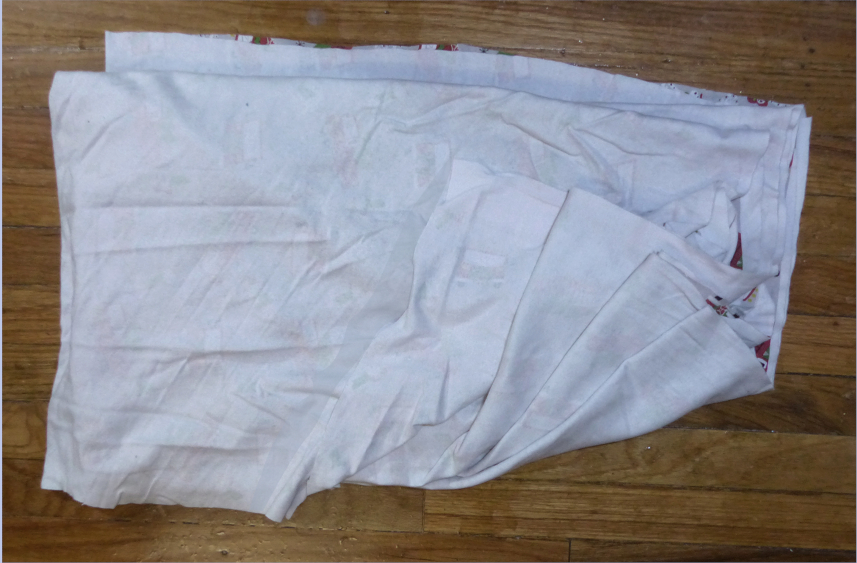
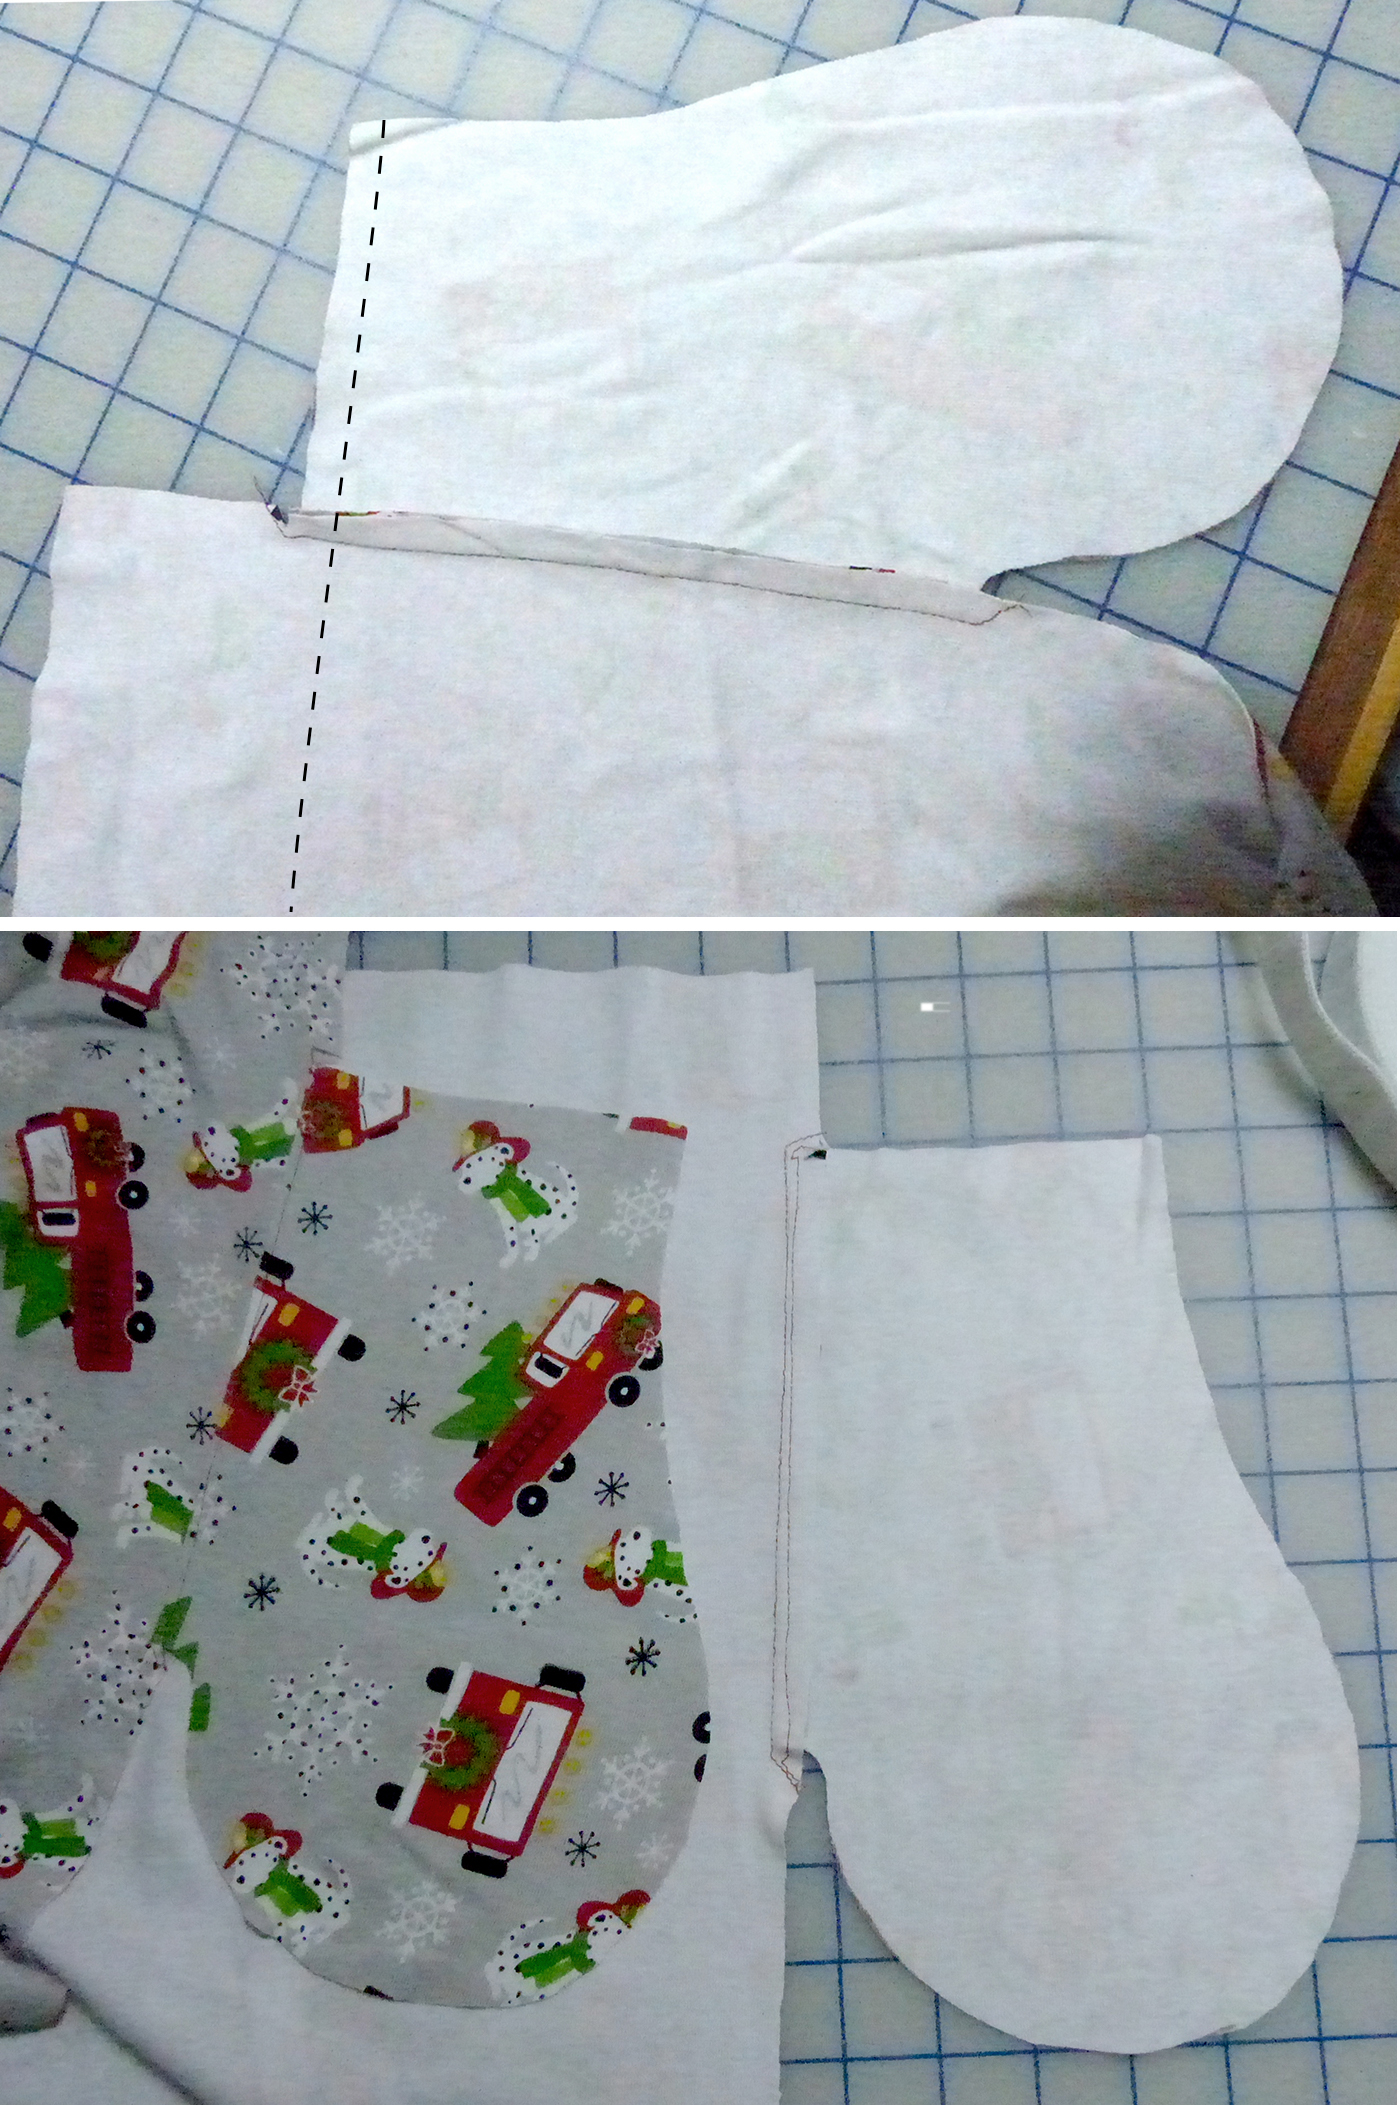
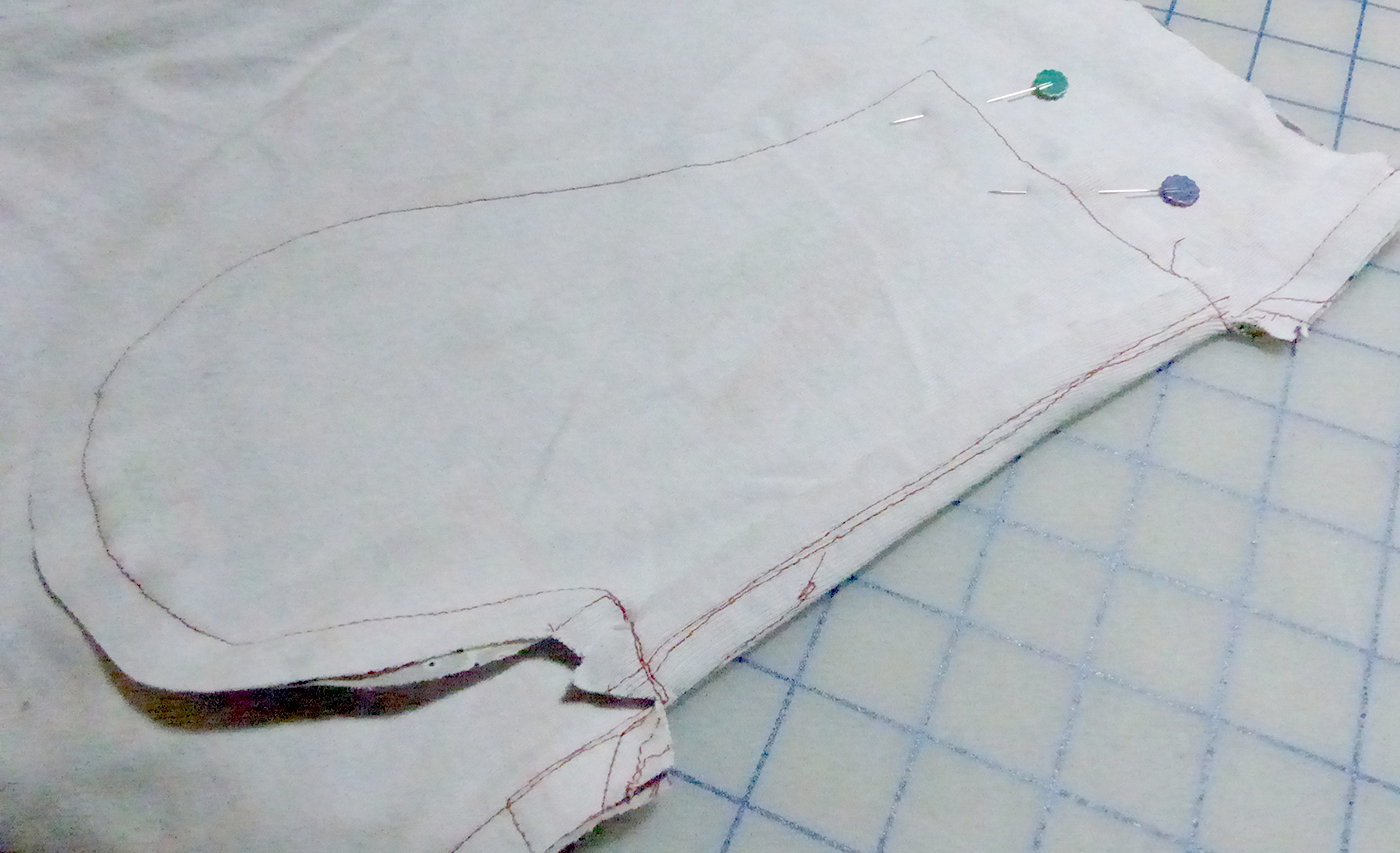
The fabric arayti supplied was wide and generous enough to lay out the pieces with the pockets attached. That takes more fabric, for the tradeoff of less bulk at the side seams. If your fabric doesn’t have a nap (or you don’t care if your dinosaurs/fire trucks are upside down on half your pants), you can flip one of the pieces during laying out for cutting to minimize how much yardage you need.
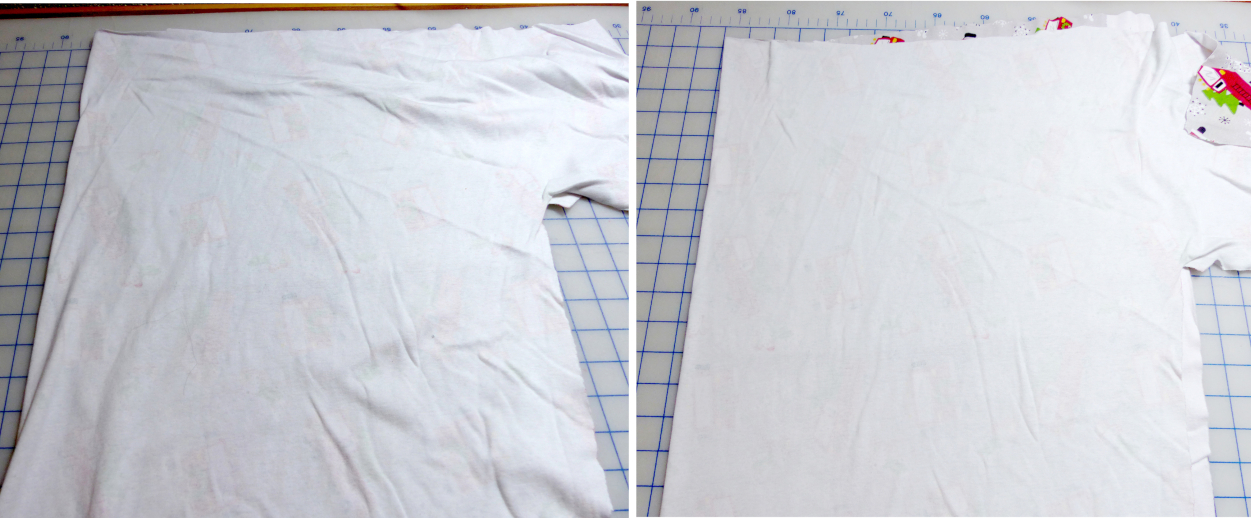
Take the time to lay your fabric (both layers!) out evenly, with the fold on grain. Always lay out all your pattern pieces before starting to cut.
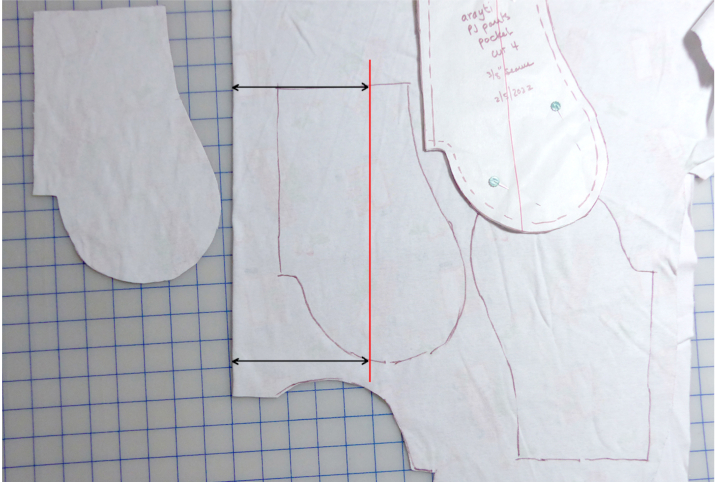
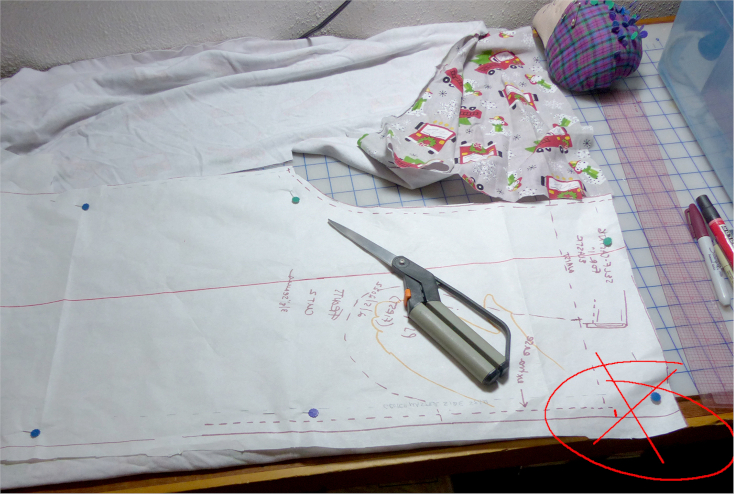
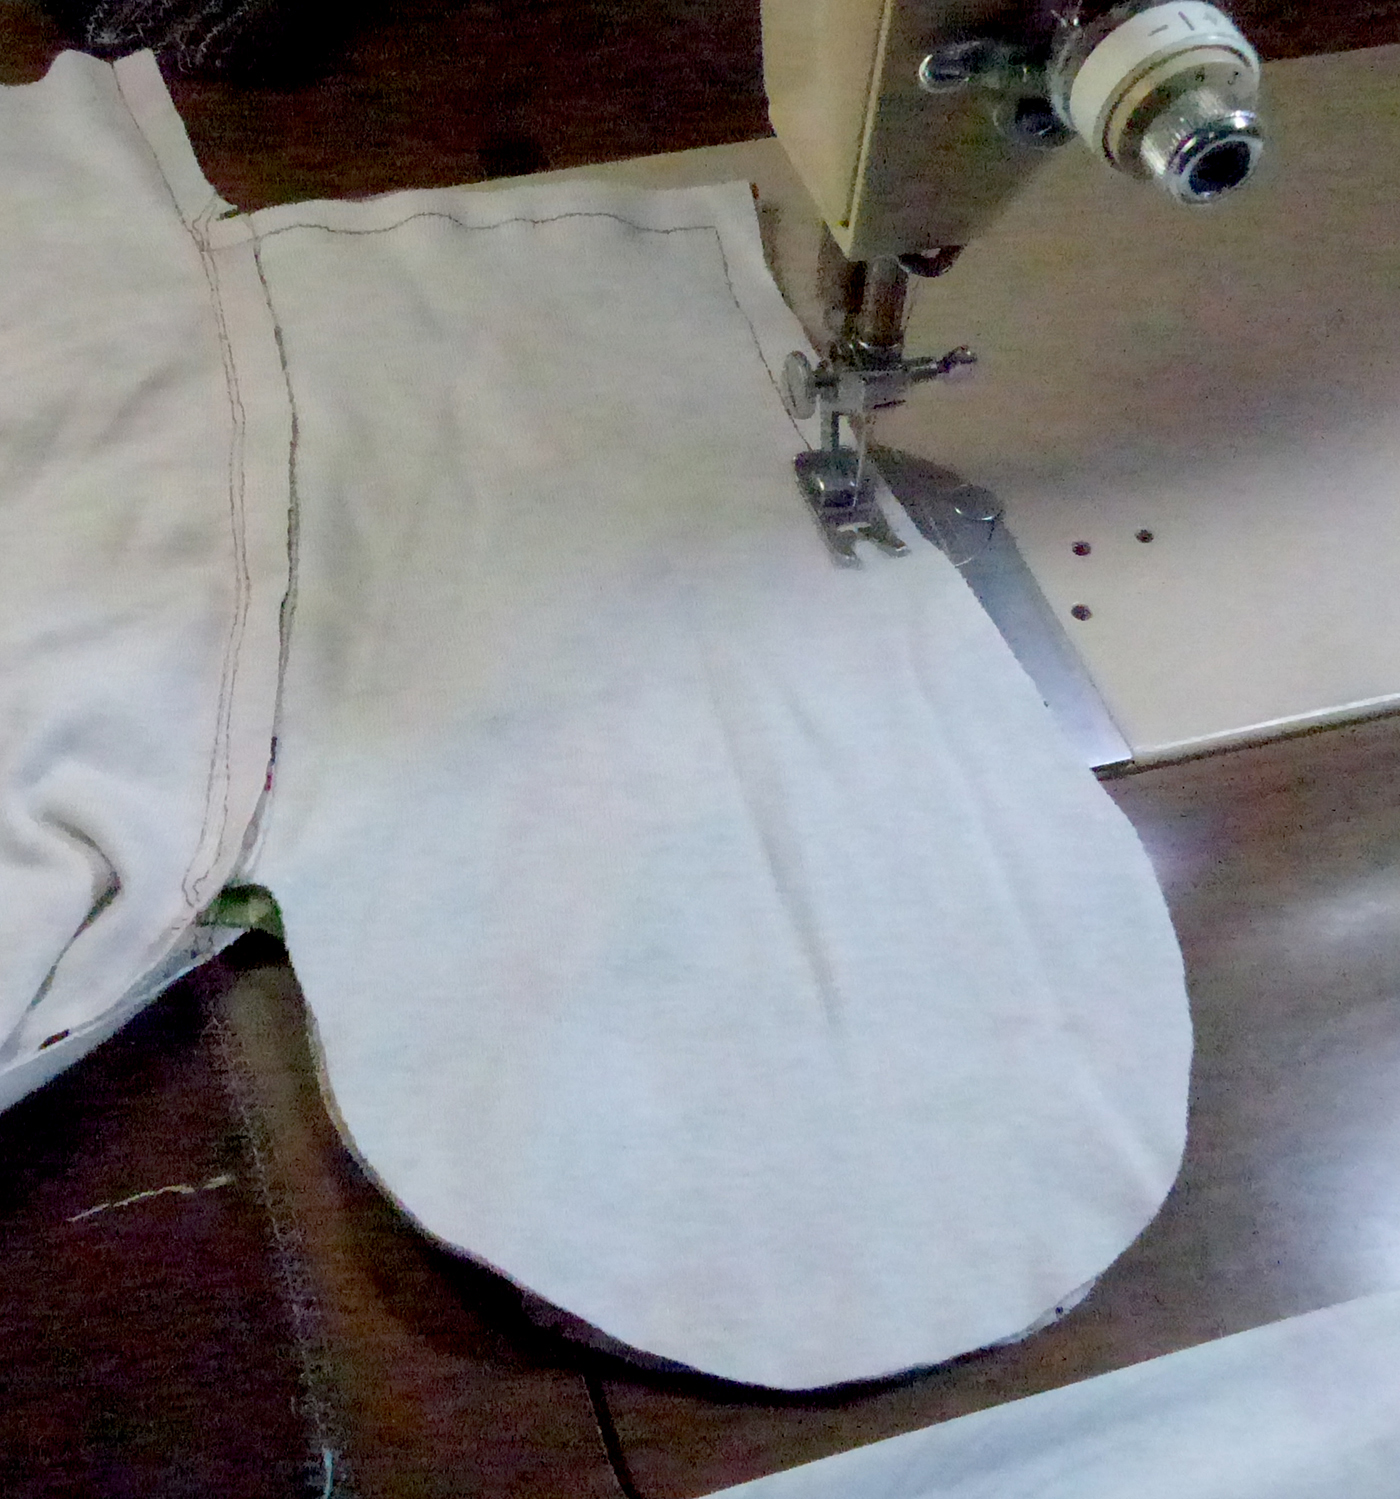
Here the pockets are cut out as separate pieces. Be sure they’re laid out with the grain on your pattern.
Be sure that fabric doesn’t hang off the edge of your work surface. Here, the section at the top could be rolled over so that the bottom area with the pattern is fully supported.
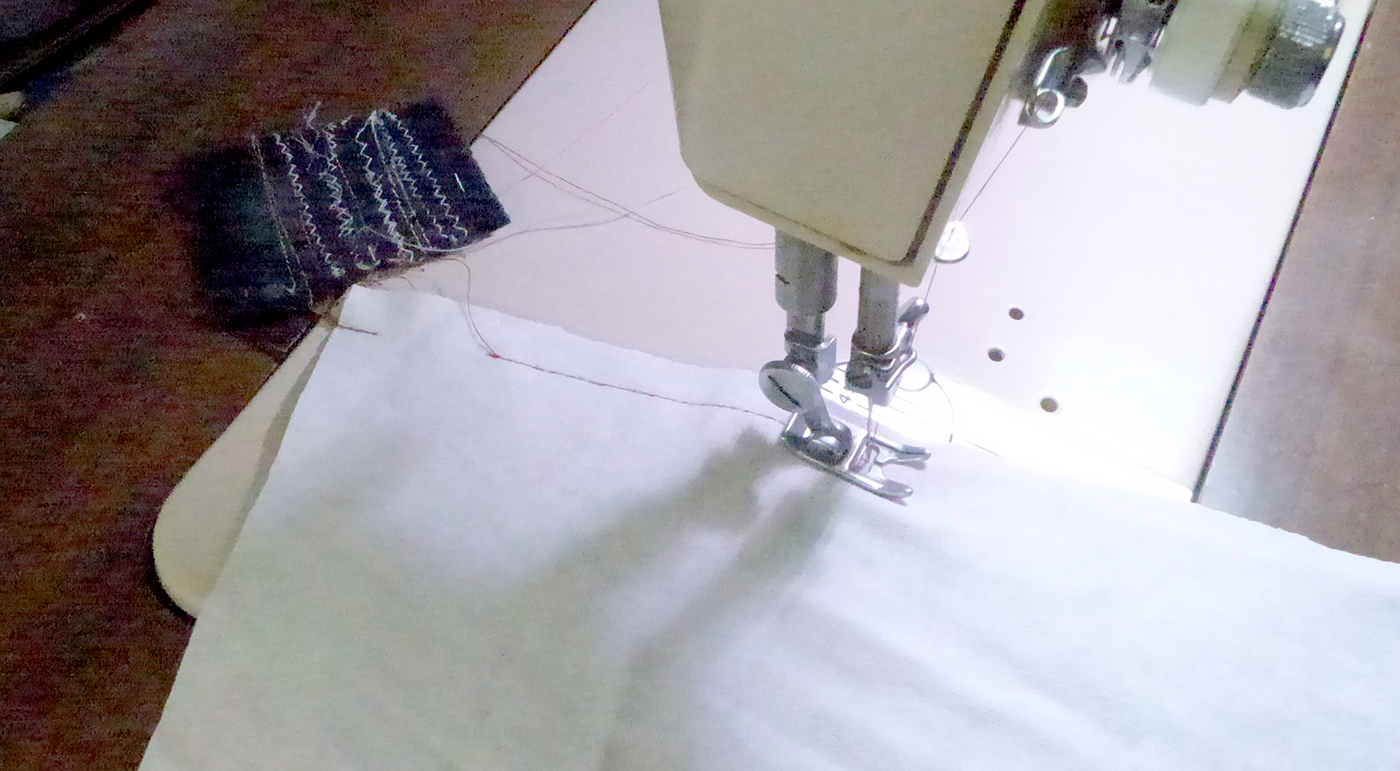
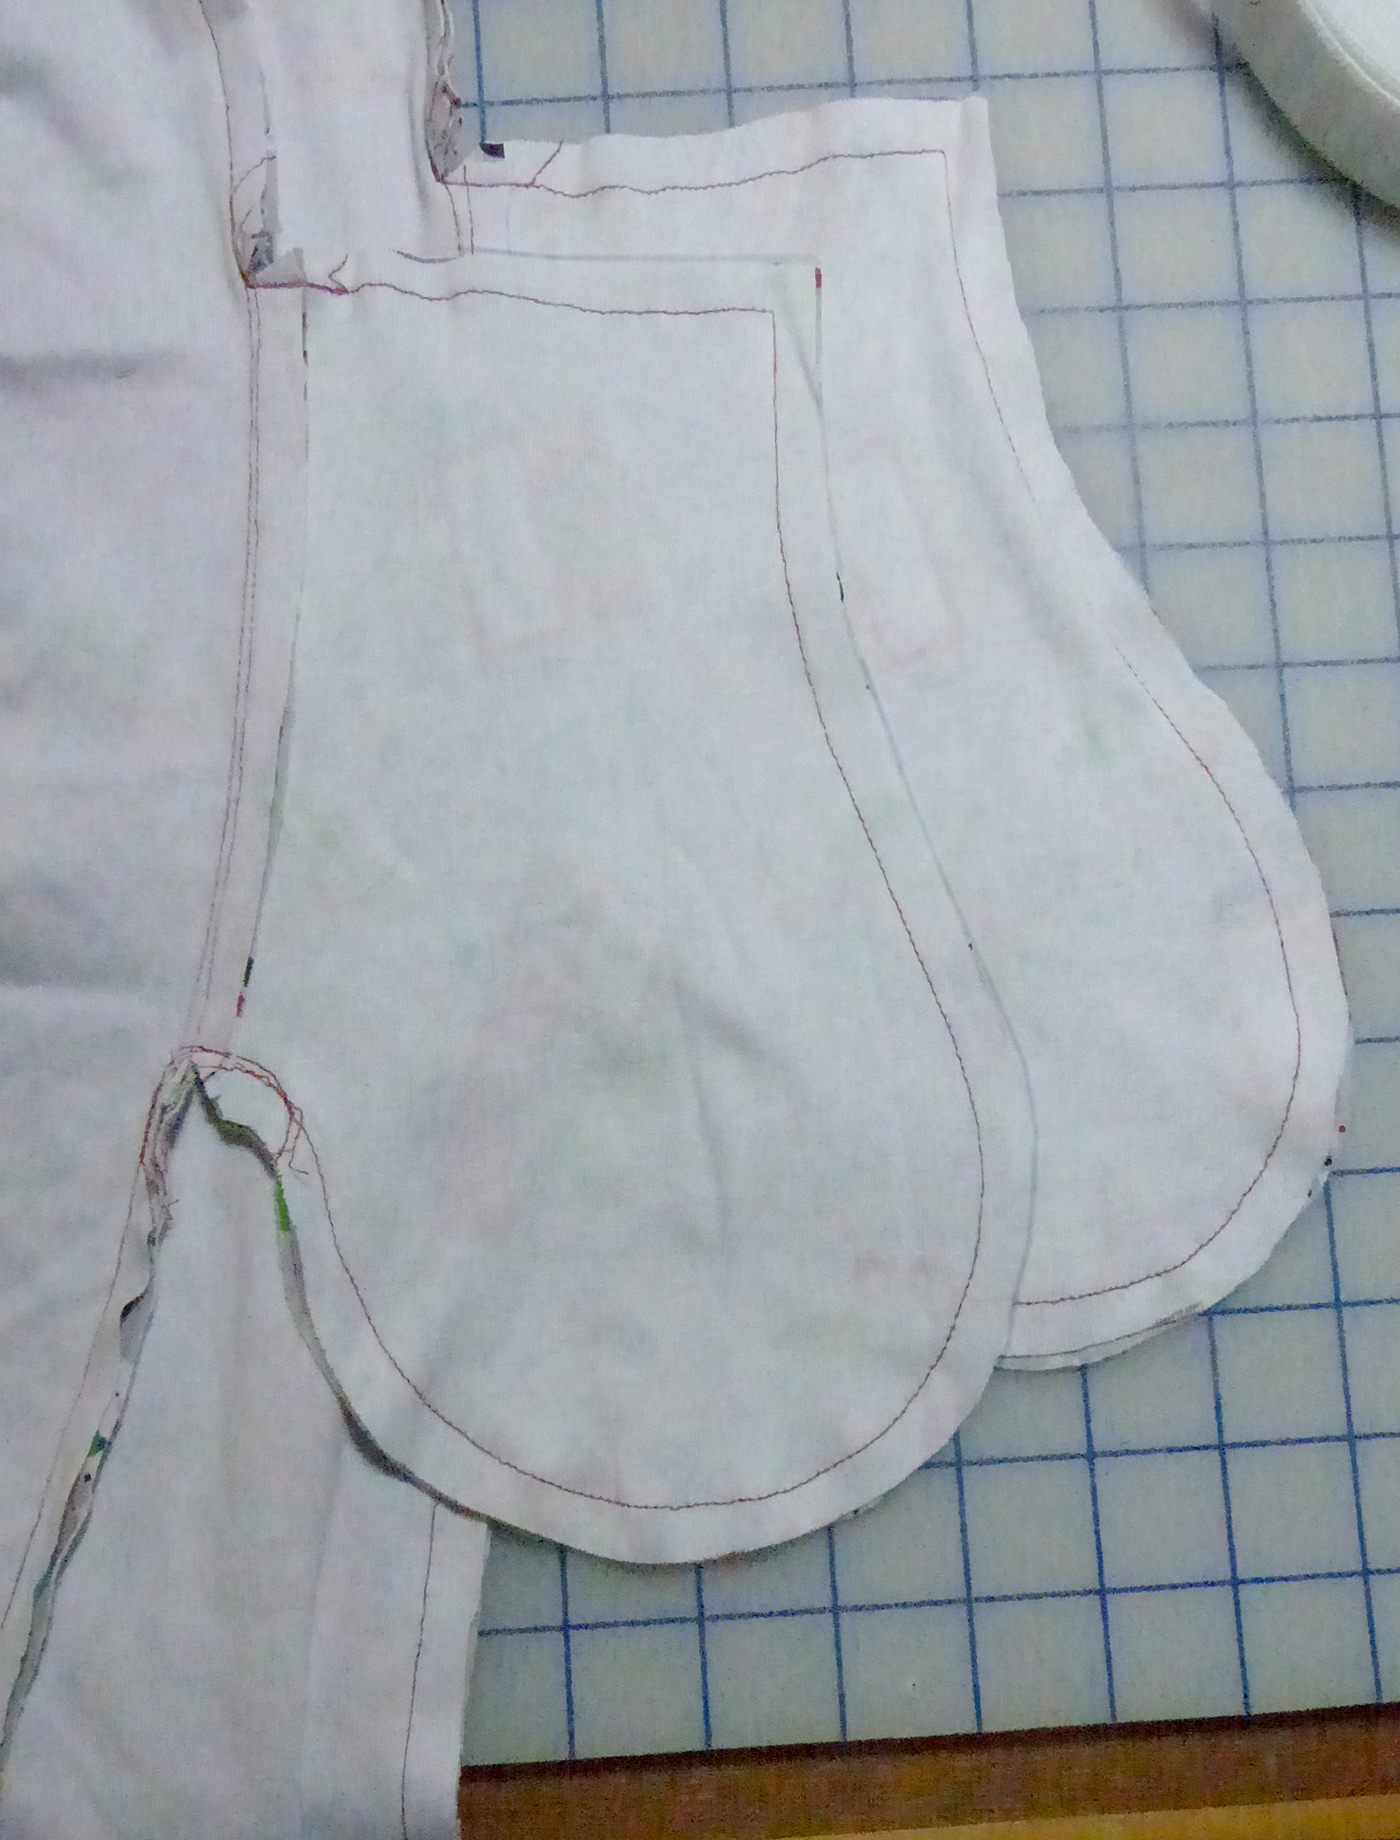
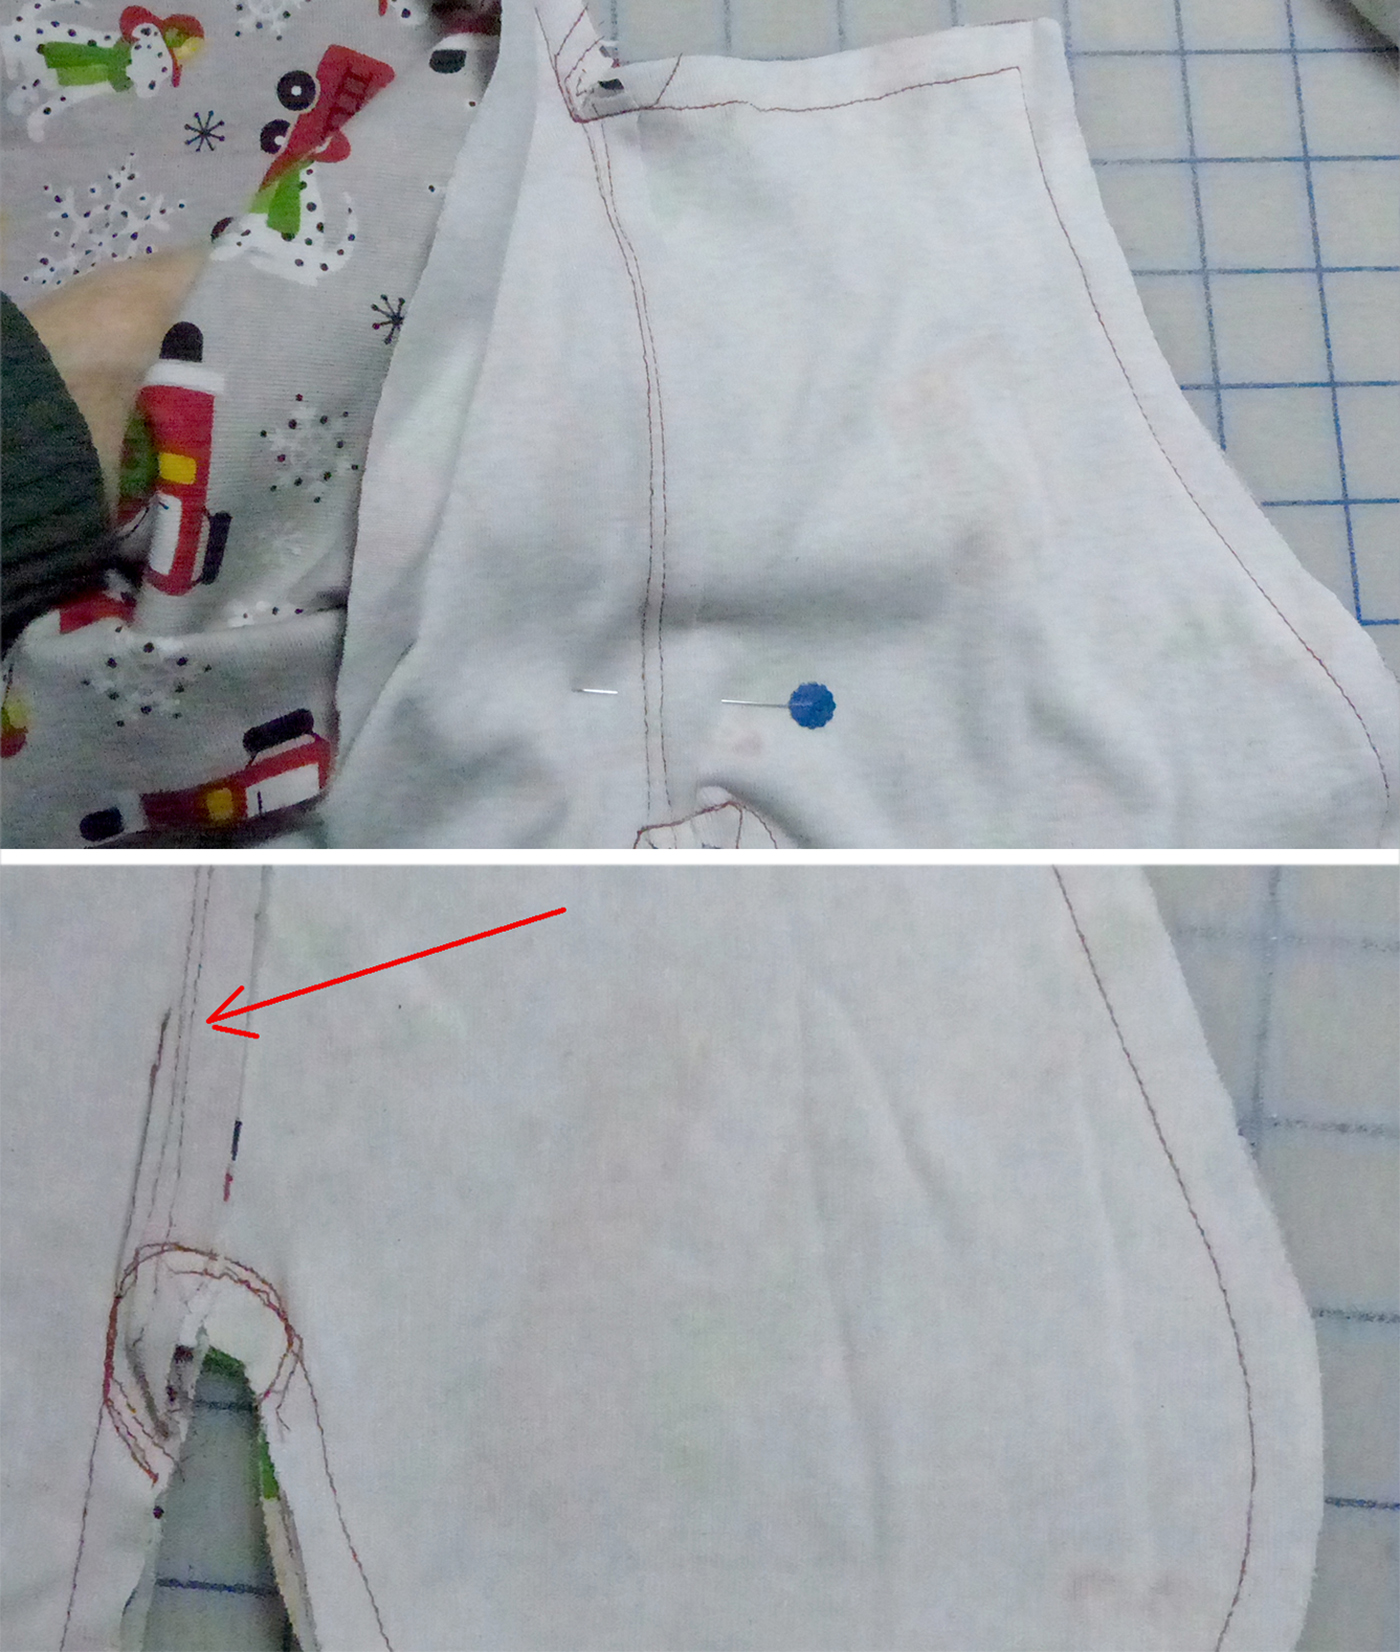
The center back seam: starting at the waist, sew a short section, backtacking at each end. Skip a couple inches/cms and resume the seam, sewing down to the bottom of the curve without stretching. The opening give access to your elastic (many, many steps later).
When you reach the end of the backs, chain (sew directly) on to the front crotch.
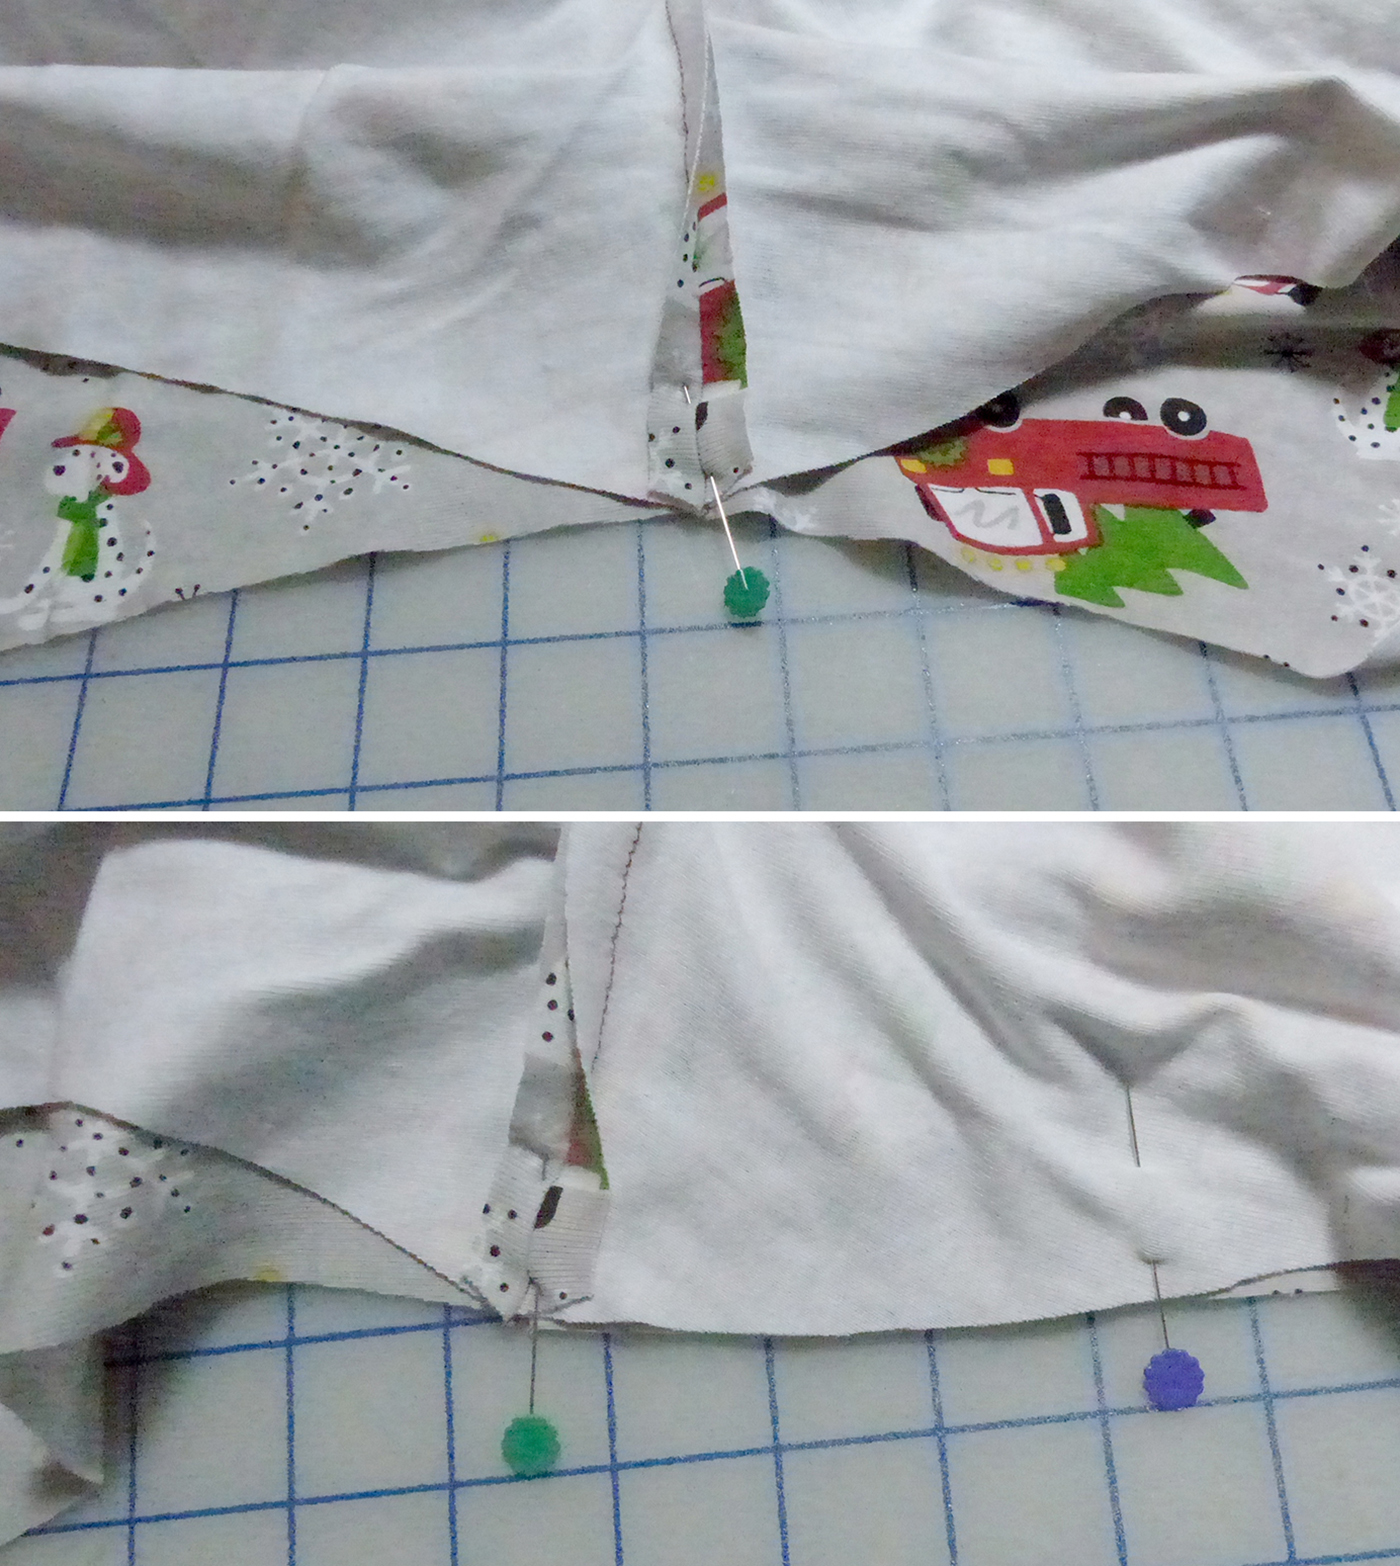
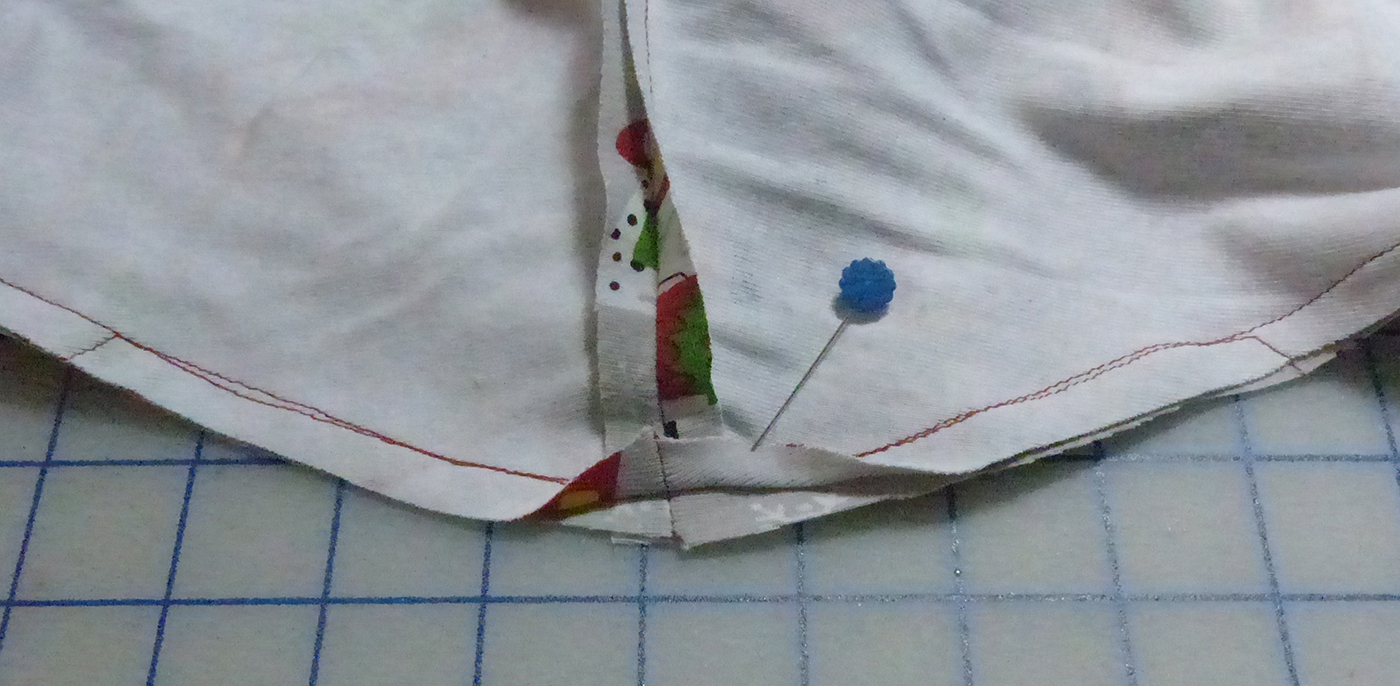
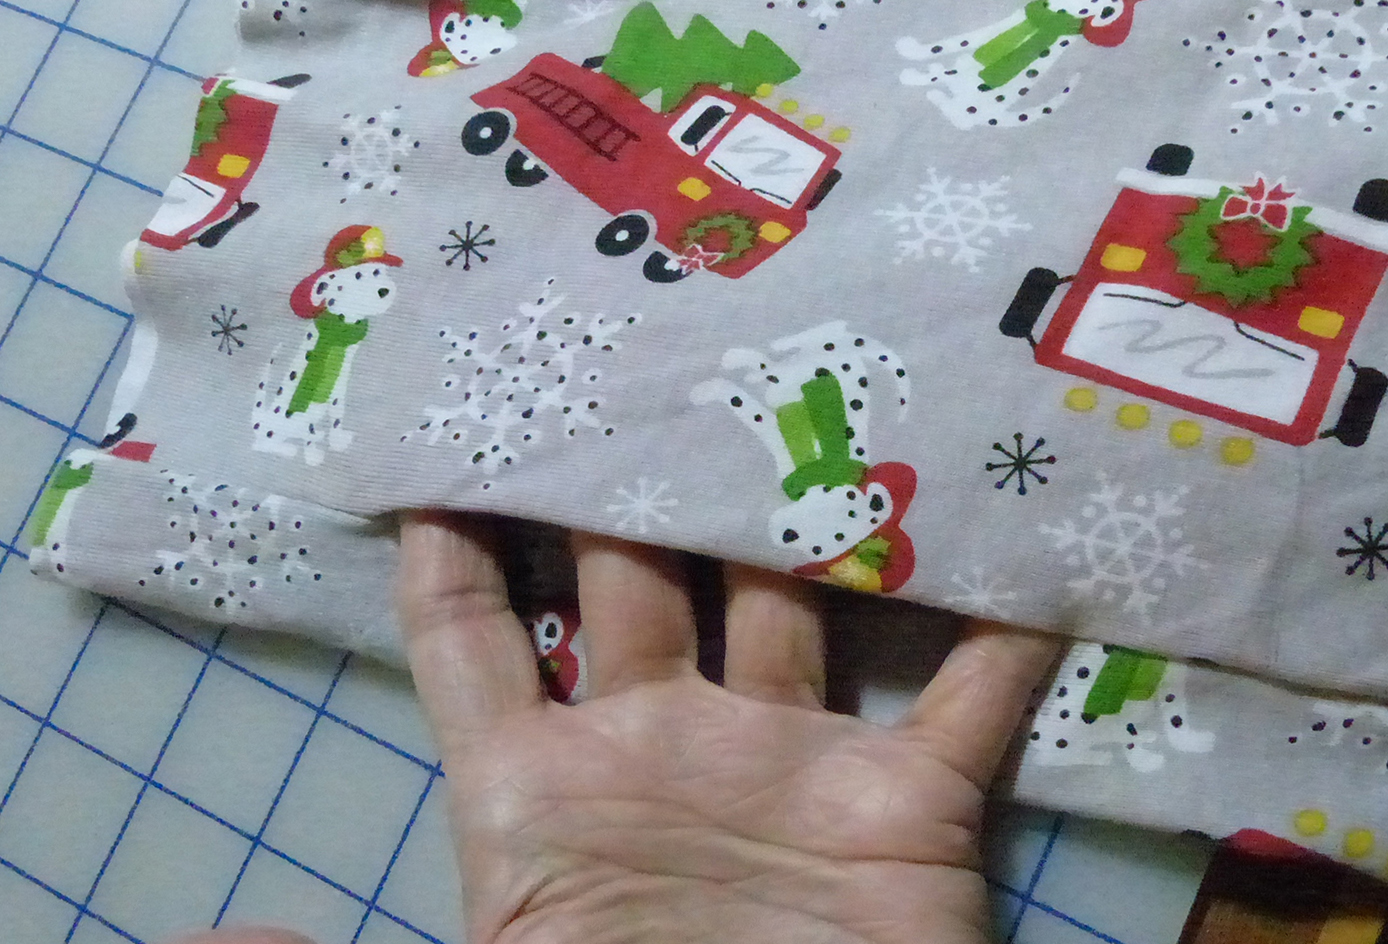
Pin the bottoms of the crotch curves, splitting (butterflying) the seams. Track along, aligning the raw edges, being careful not to stretch either layer.
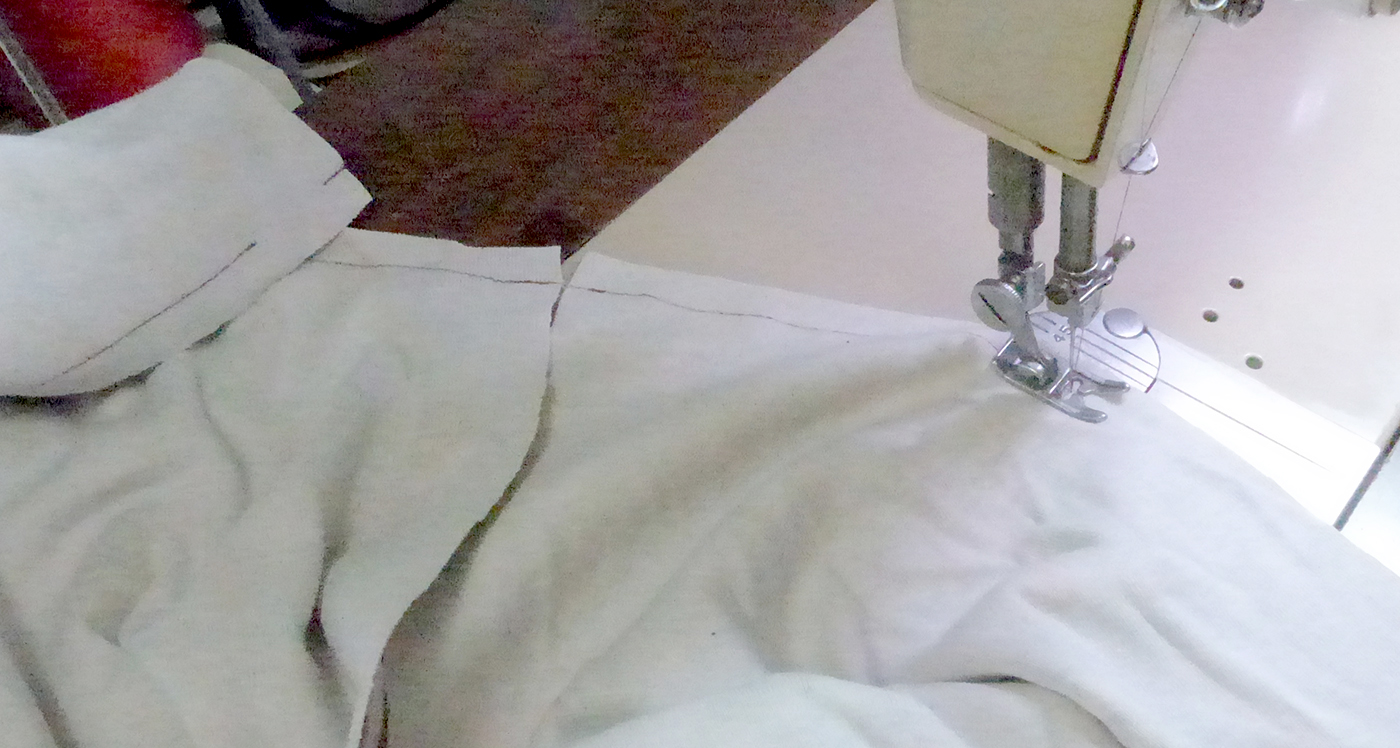
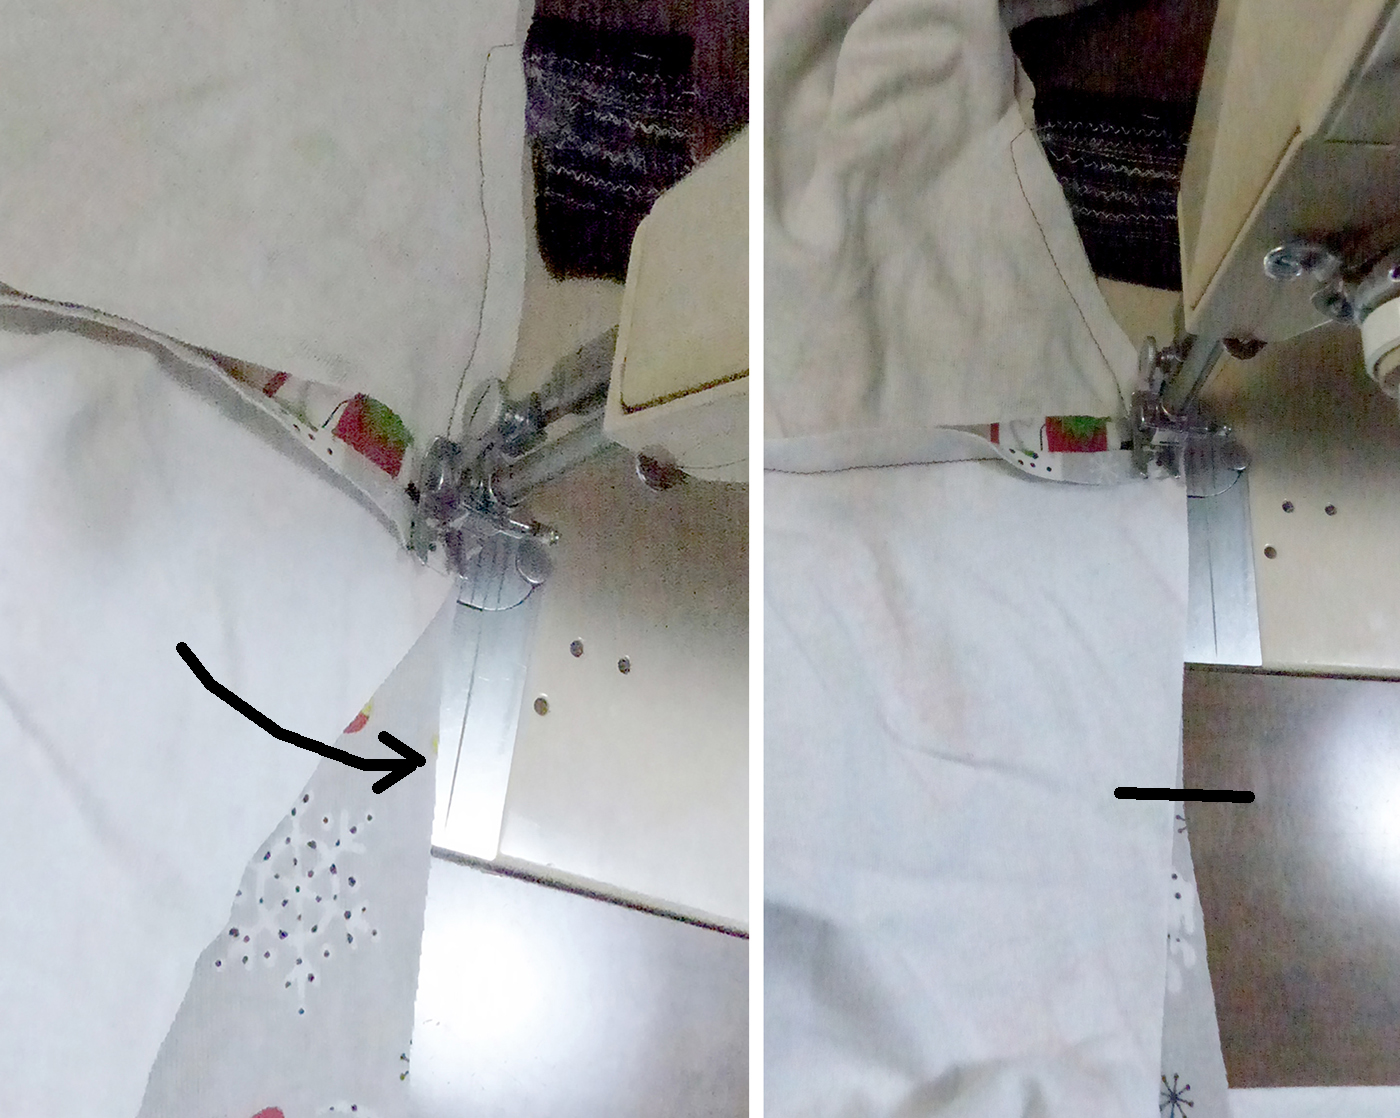
Beginning a hands’ width back from the meeting of the crotch seams, sew to them. Put the needle down exactly where they cross.
Lift the presser foot and pivot, rearranging the layers so that the raw edges of the next section are aligned. Sew in sections to the hem.
Sew off and onto the same distance from the crotch at the other side. Note the chaining off and on through the seam allowances.
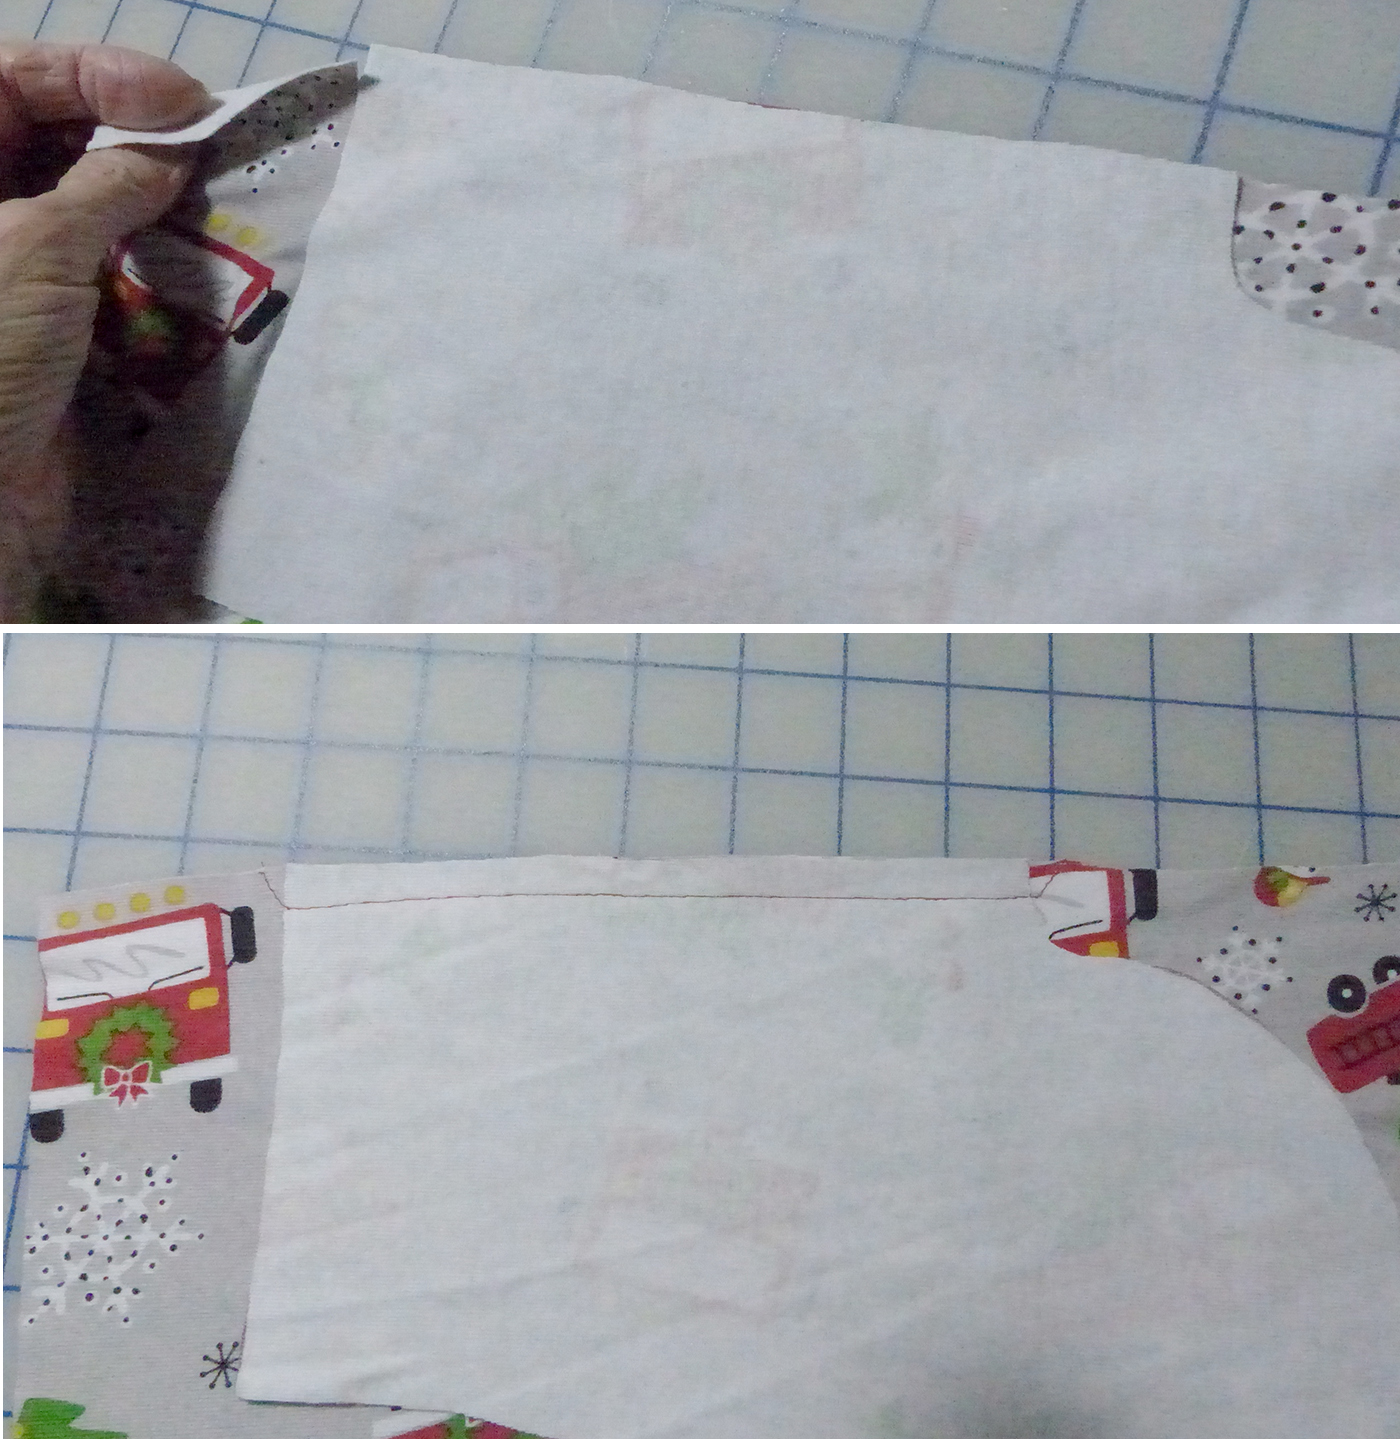
Make a clip at the top of the pocket. Baste in place.
The pocket folded and pressed (dotted line is where the waistline seam will be). Press seam allowances toward pocket and narrowly topstitch.
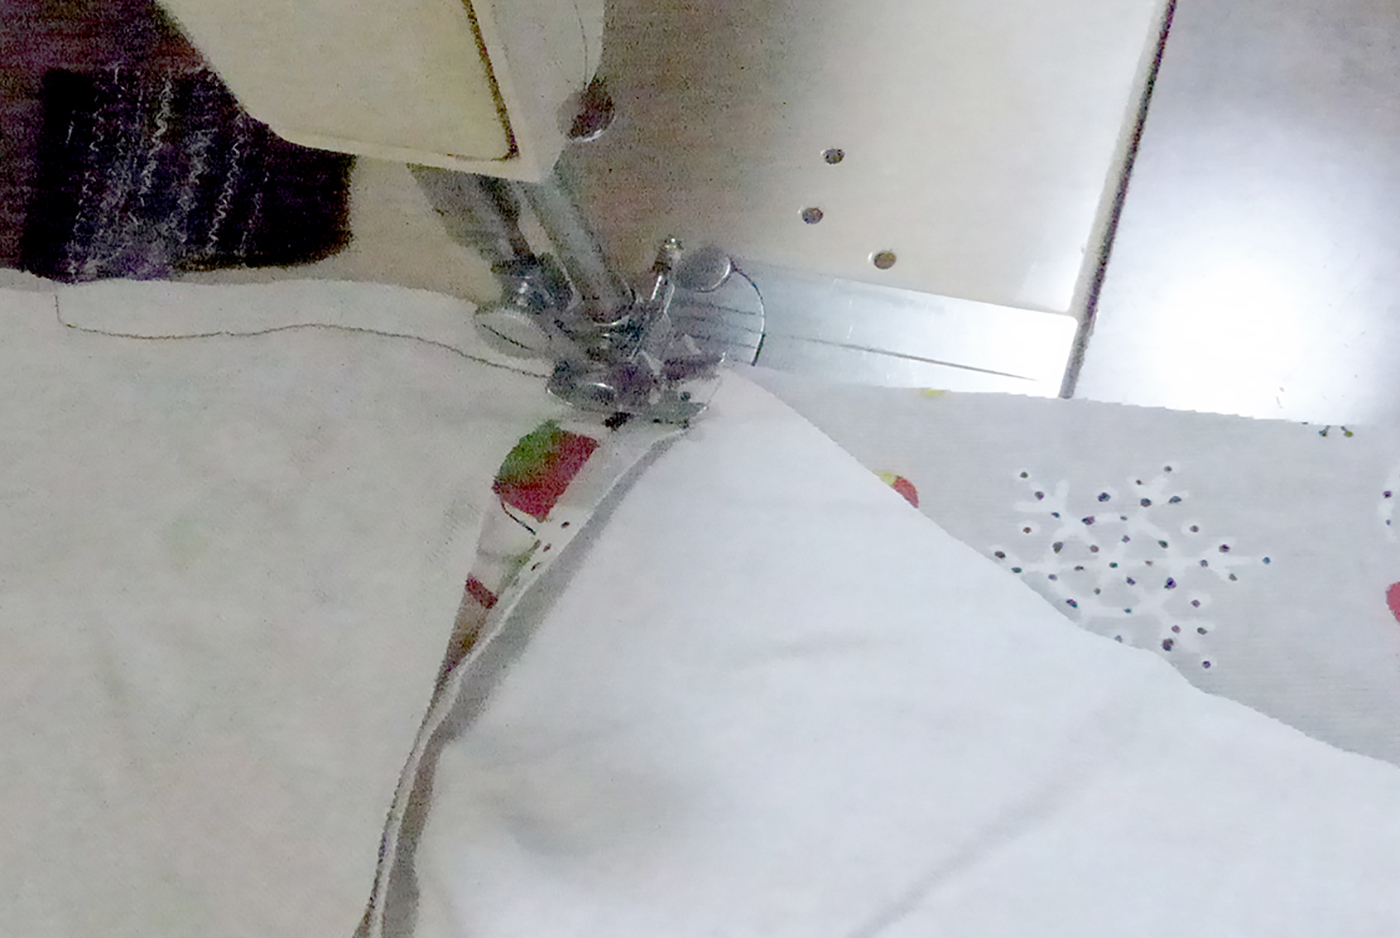
Outseams: lay front and back together and stitch from waist to top of pocket; pivot; sew around pocket; pivot, sew to hem. Repeat on other side.
Pocket detail
Clip tops and bottoms of pocket to (but not through) stitching.
Shortening your pocket opening so that things won’t fall out of it: smooth pocket seams from bottom up, feeling to be sure they’re stacked on top of each other. Stitch from side seam below pocket up. Check to be sure you can still easily get your hand through the opening.
Pocket detail. You can fiddle with top-stitching the upper edge if you want.
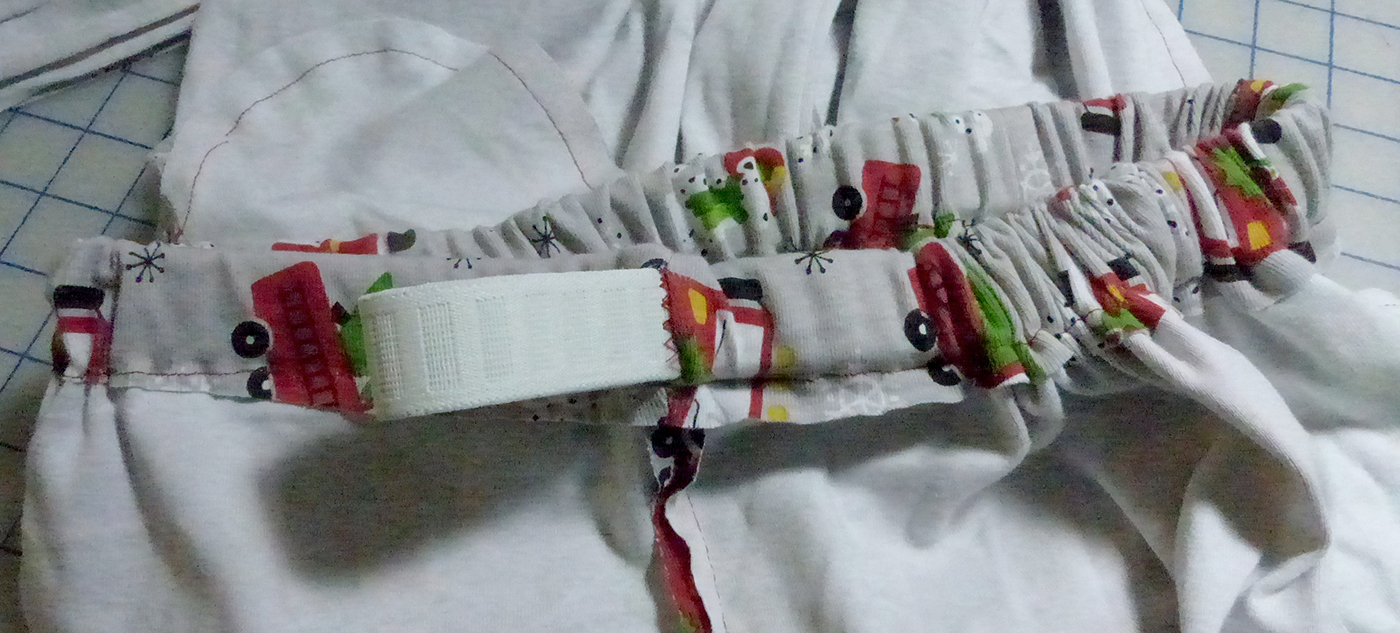
Joining elastic: overlapping it is not a good choice. Butt the ends together covered with a lighter piece of seam tape, and zigzag.
For your first pair:
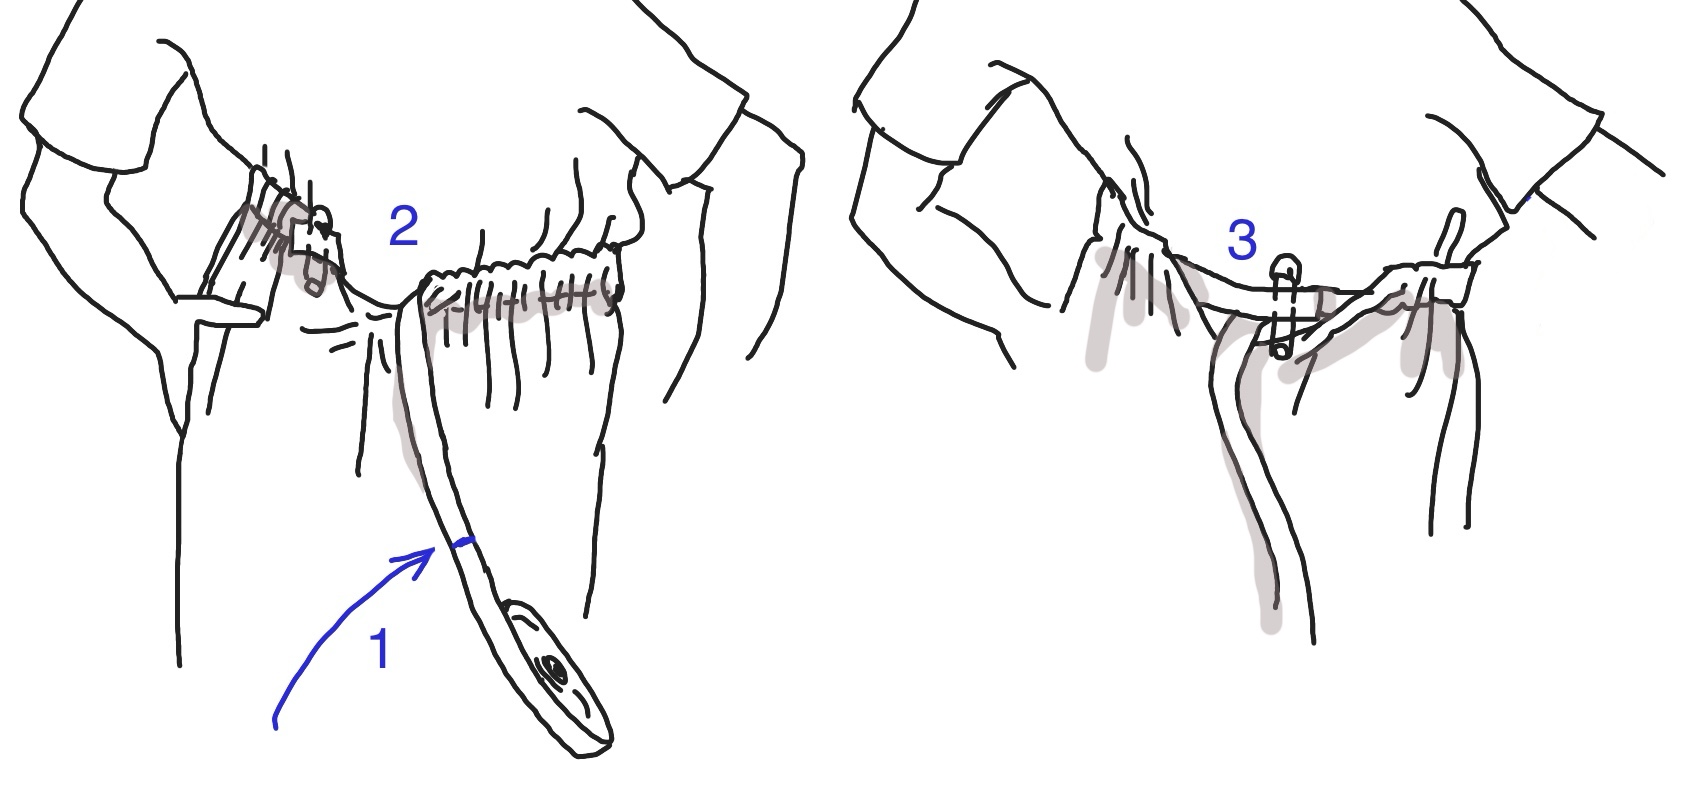
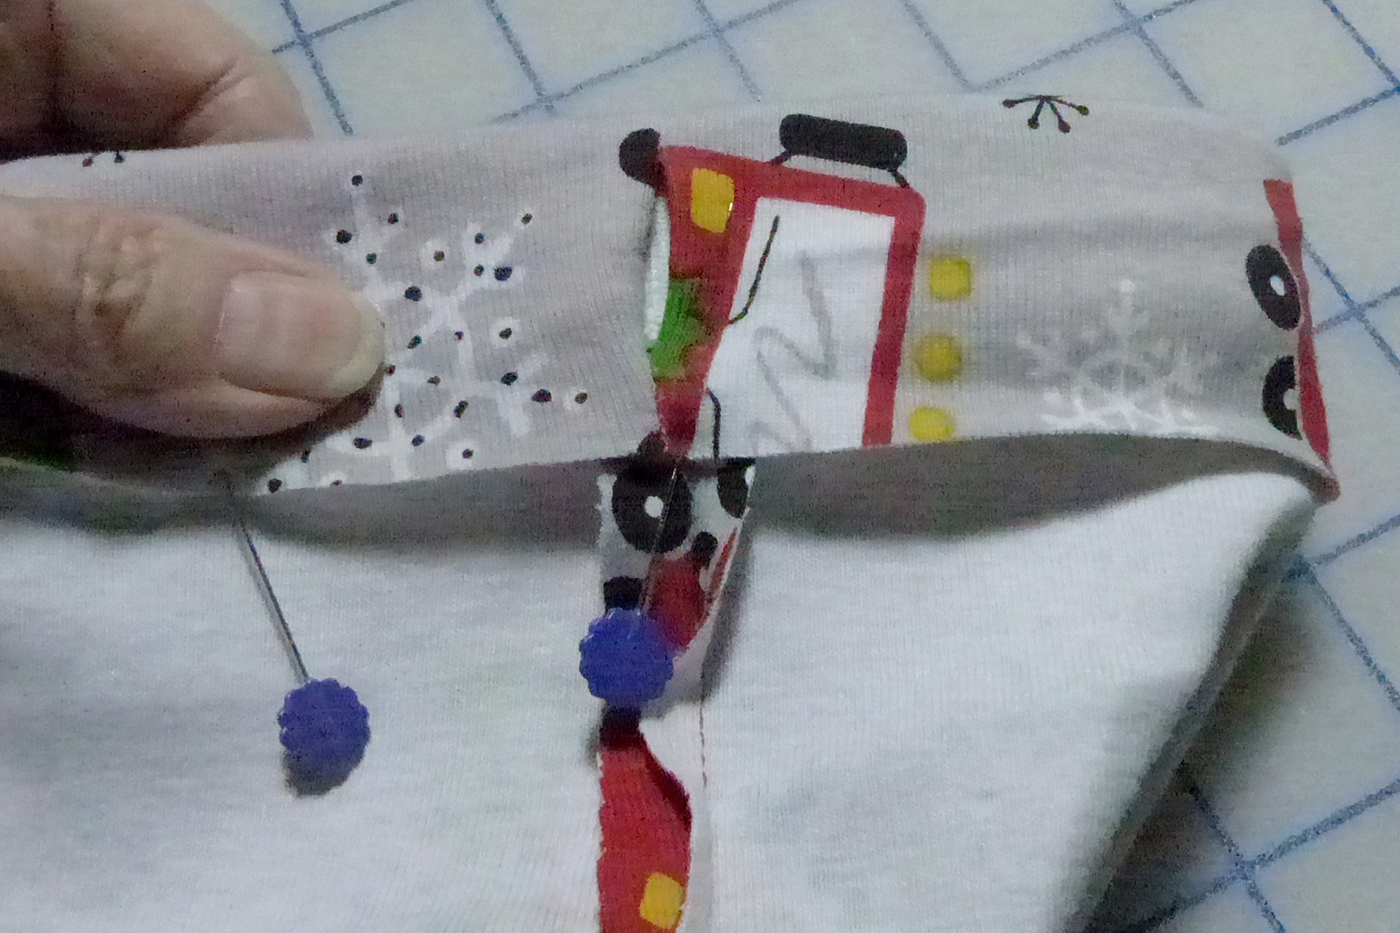
Mark the elastic a generous bit beyond your waist measurement (blue).
Fold the elastic end back and pin it securely to the pants. Fold the waist allowance over the elastic and sew.
Adjust the length of the elastic.
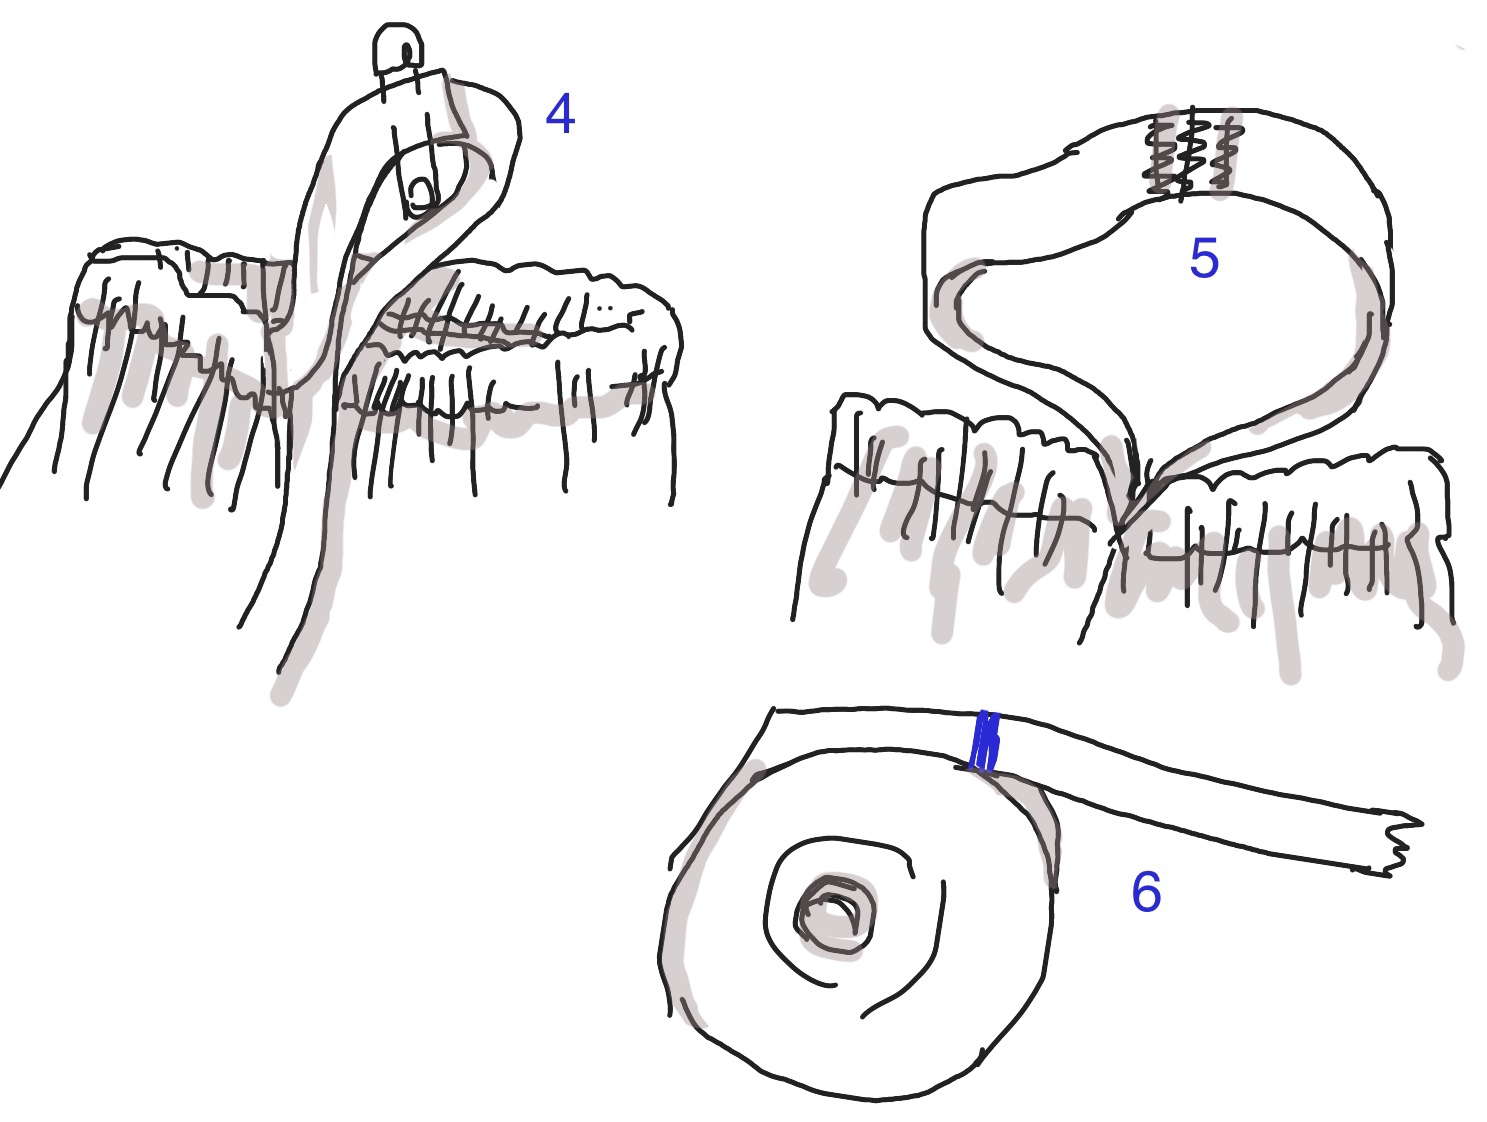
Take off the pants, pull ample extra of the elastic out.
Join as shown in the linked tutorial (everybody: “being careful not to twist”).
Figure how much elastic you’ve used by seeing where your blue mark is.
Put a note on the elastic reel for how much was used. It will vary depending on the thickness and length of the fabric and how much you pull it up, but it gives some idea for next time.
If you’re doing multiple pairs, you can measure and join the elastic ends, then fold the loop into the waist turndown and sew.
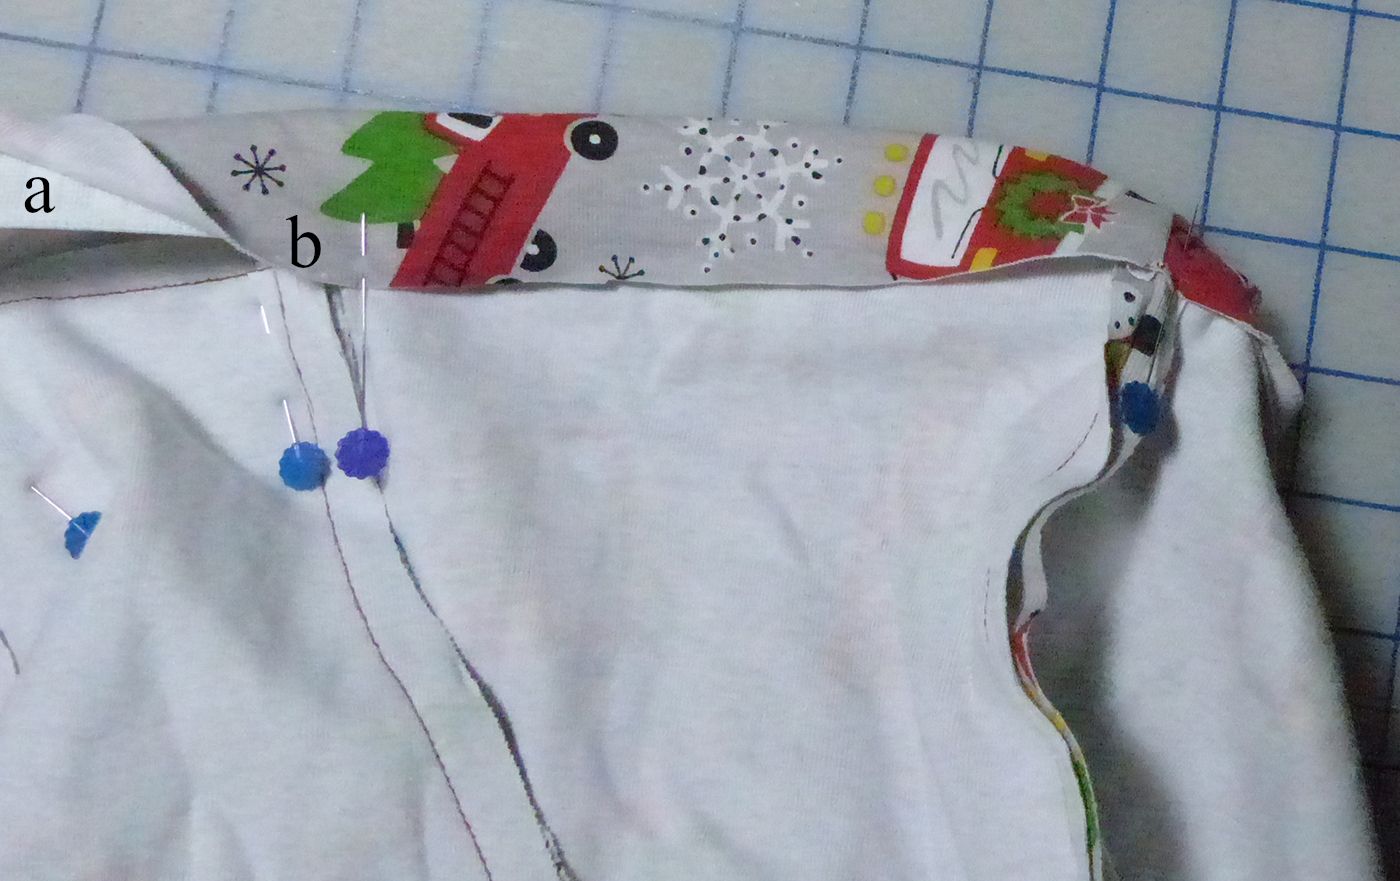
Fold the pockets into their finished position.
a) Fold the waistband allowance down, tucking the elastic loop inside. b) be sure that the edge is well over the waistband seam.
The opening left in the center back seam will come in handy when you need to replace your elastic in a couple years (sooner if you throw your pants in a hot dryer). Leave it open!
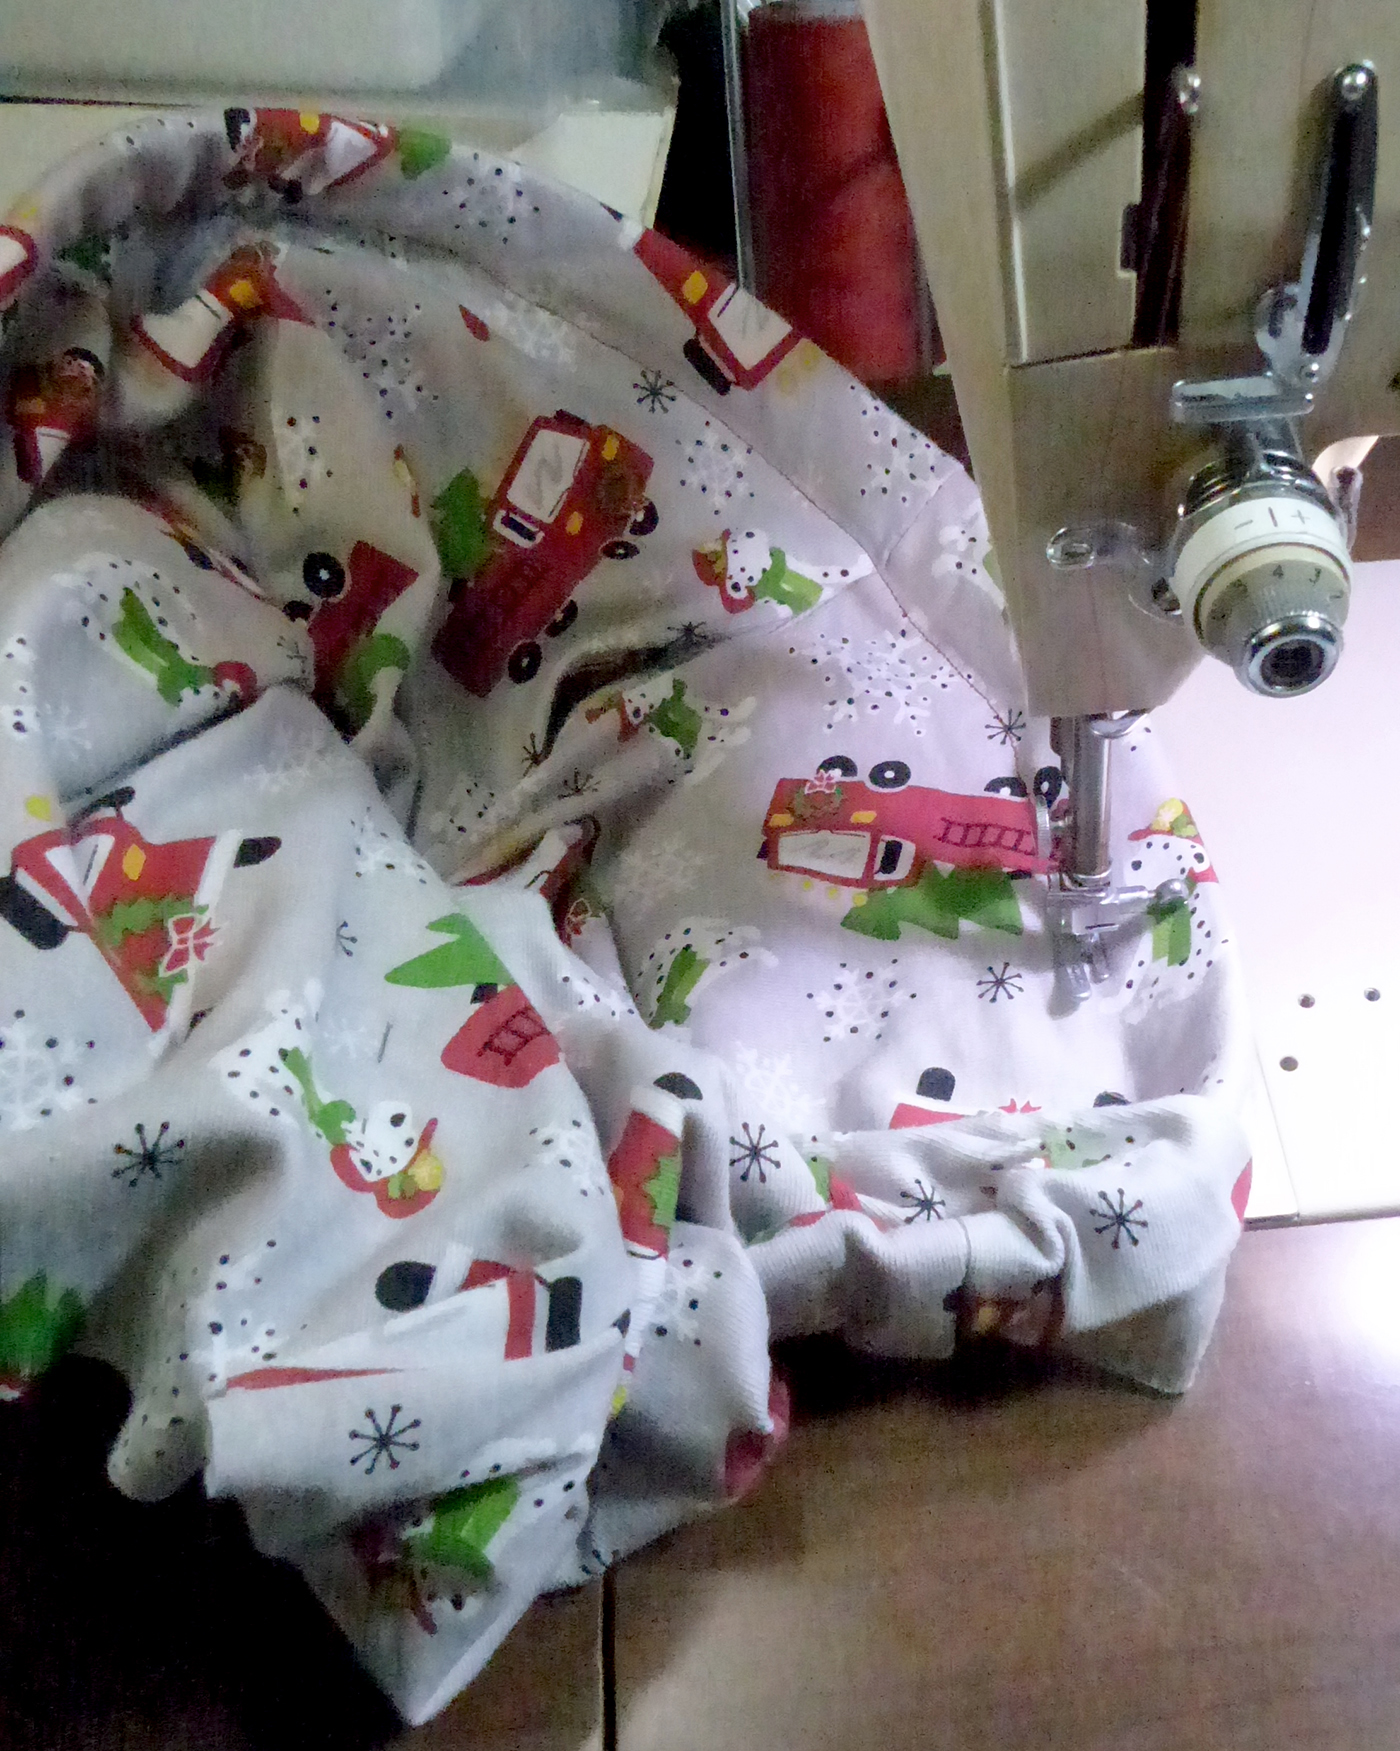
To sew the waistband, have your pants inside out. You will be able to see and feel the edge of the elastic and the loose edge of the casing that are underneath.
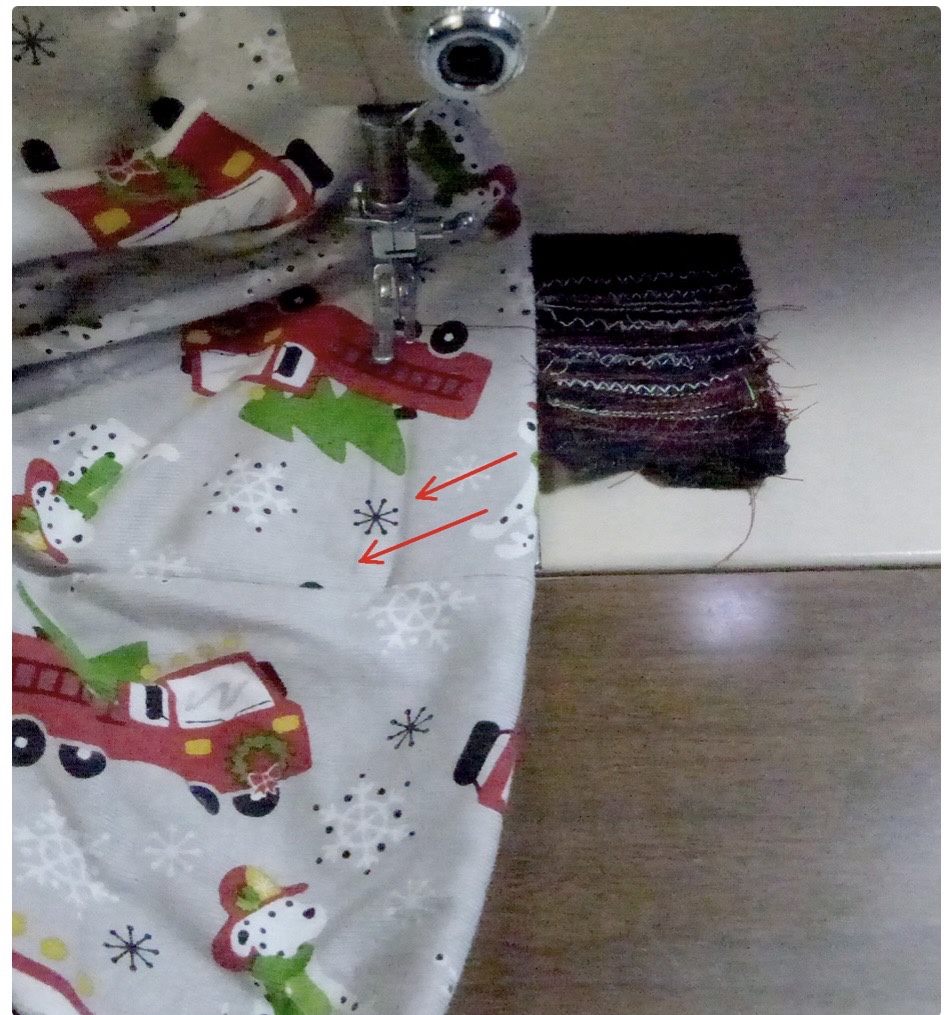
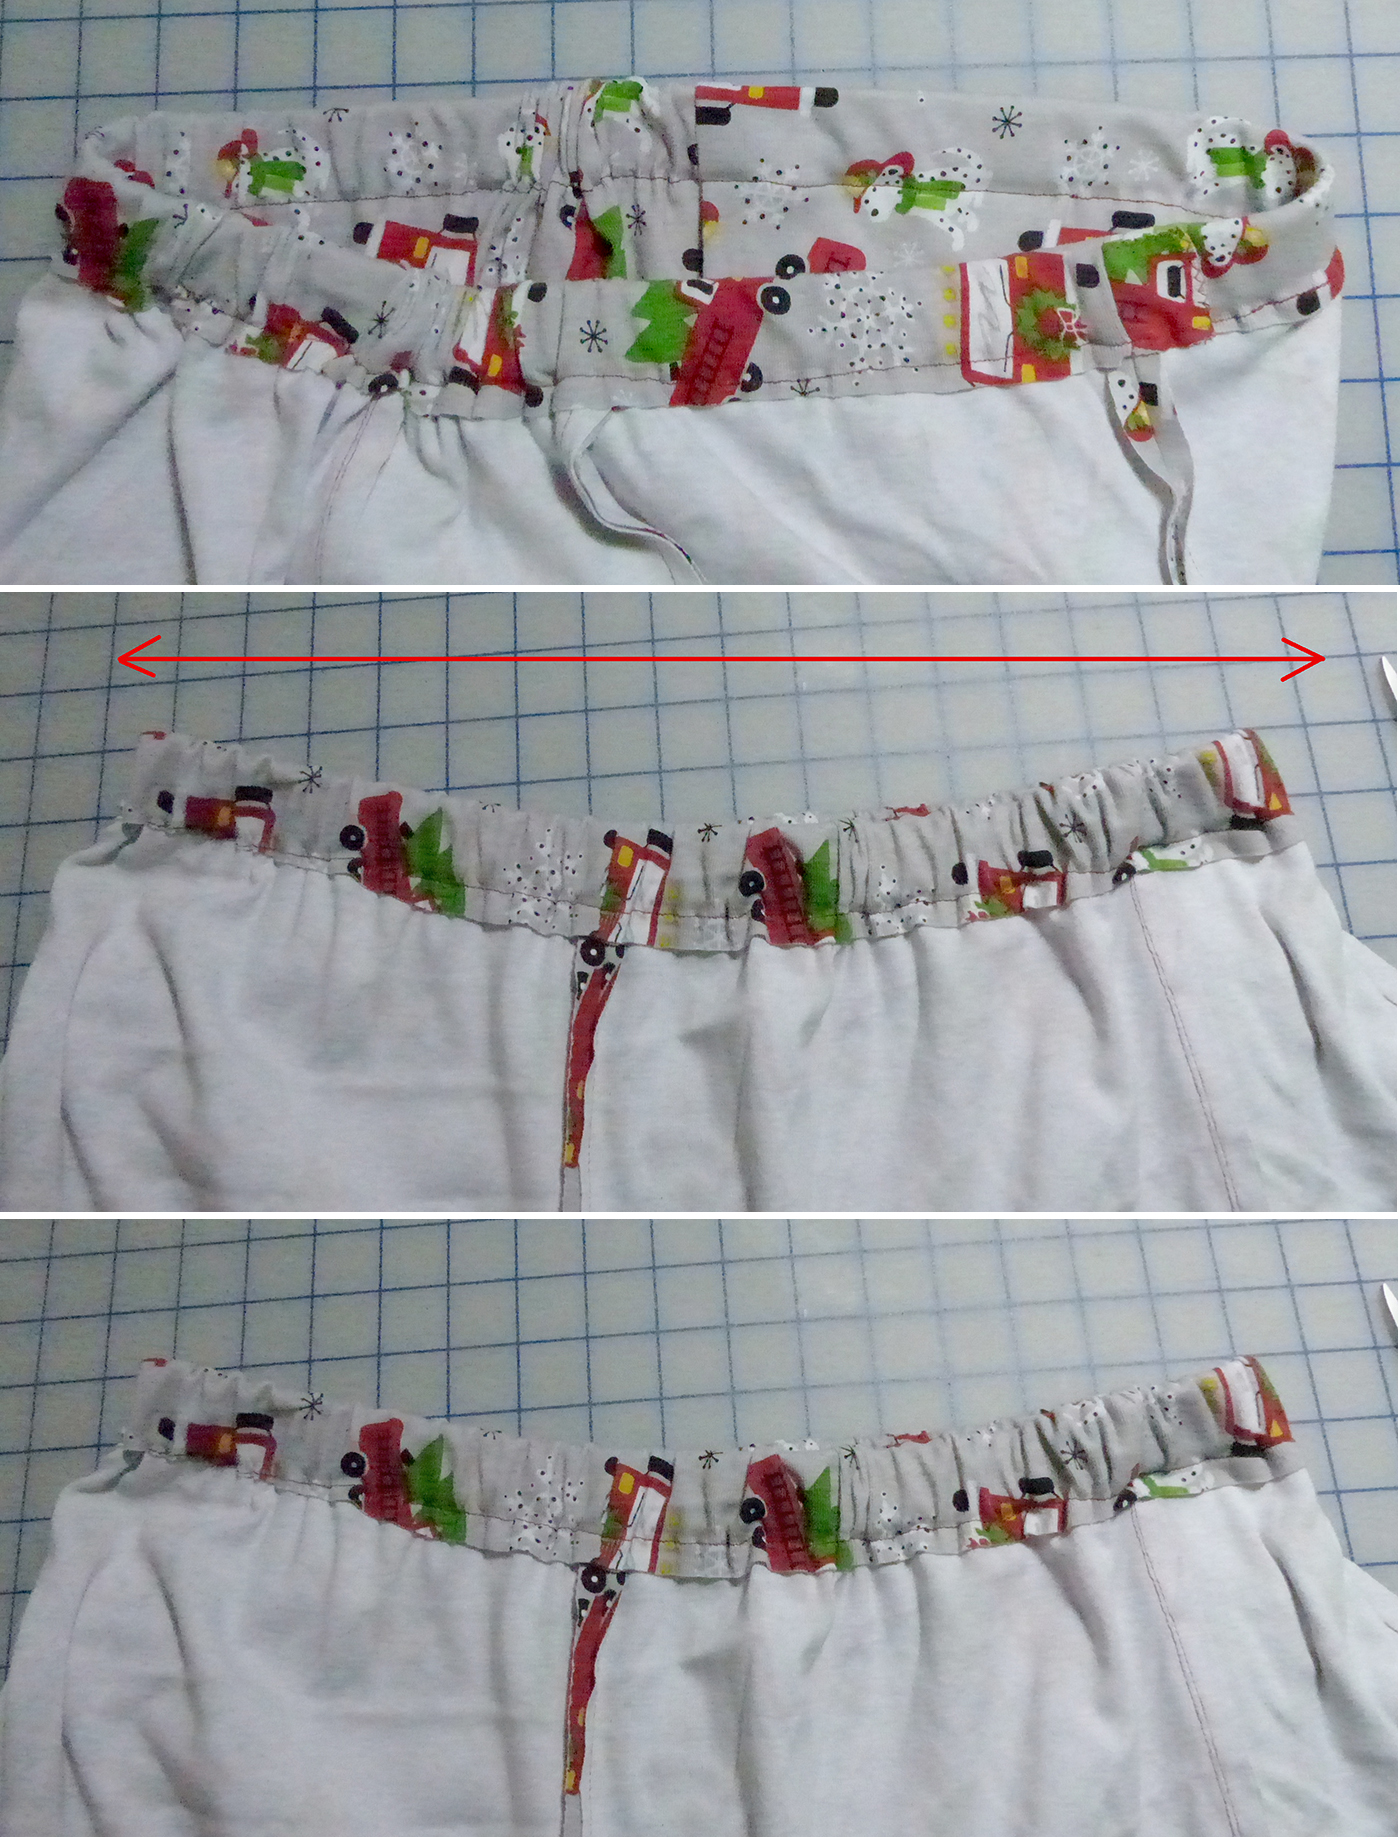
Sew along the edge of the elastic in short bits, stopping after each to check and reposition. The fabric will start to ruck up due to the elastic being shorter than the pants’ waist length.
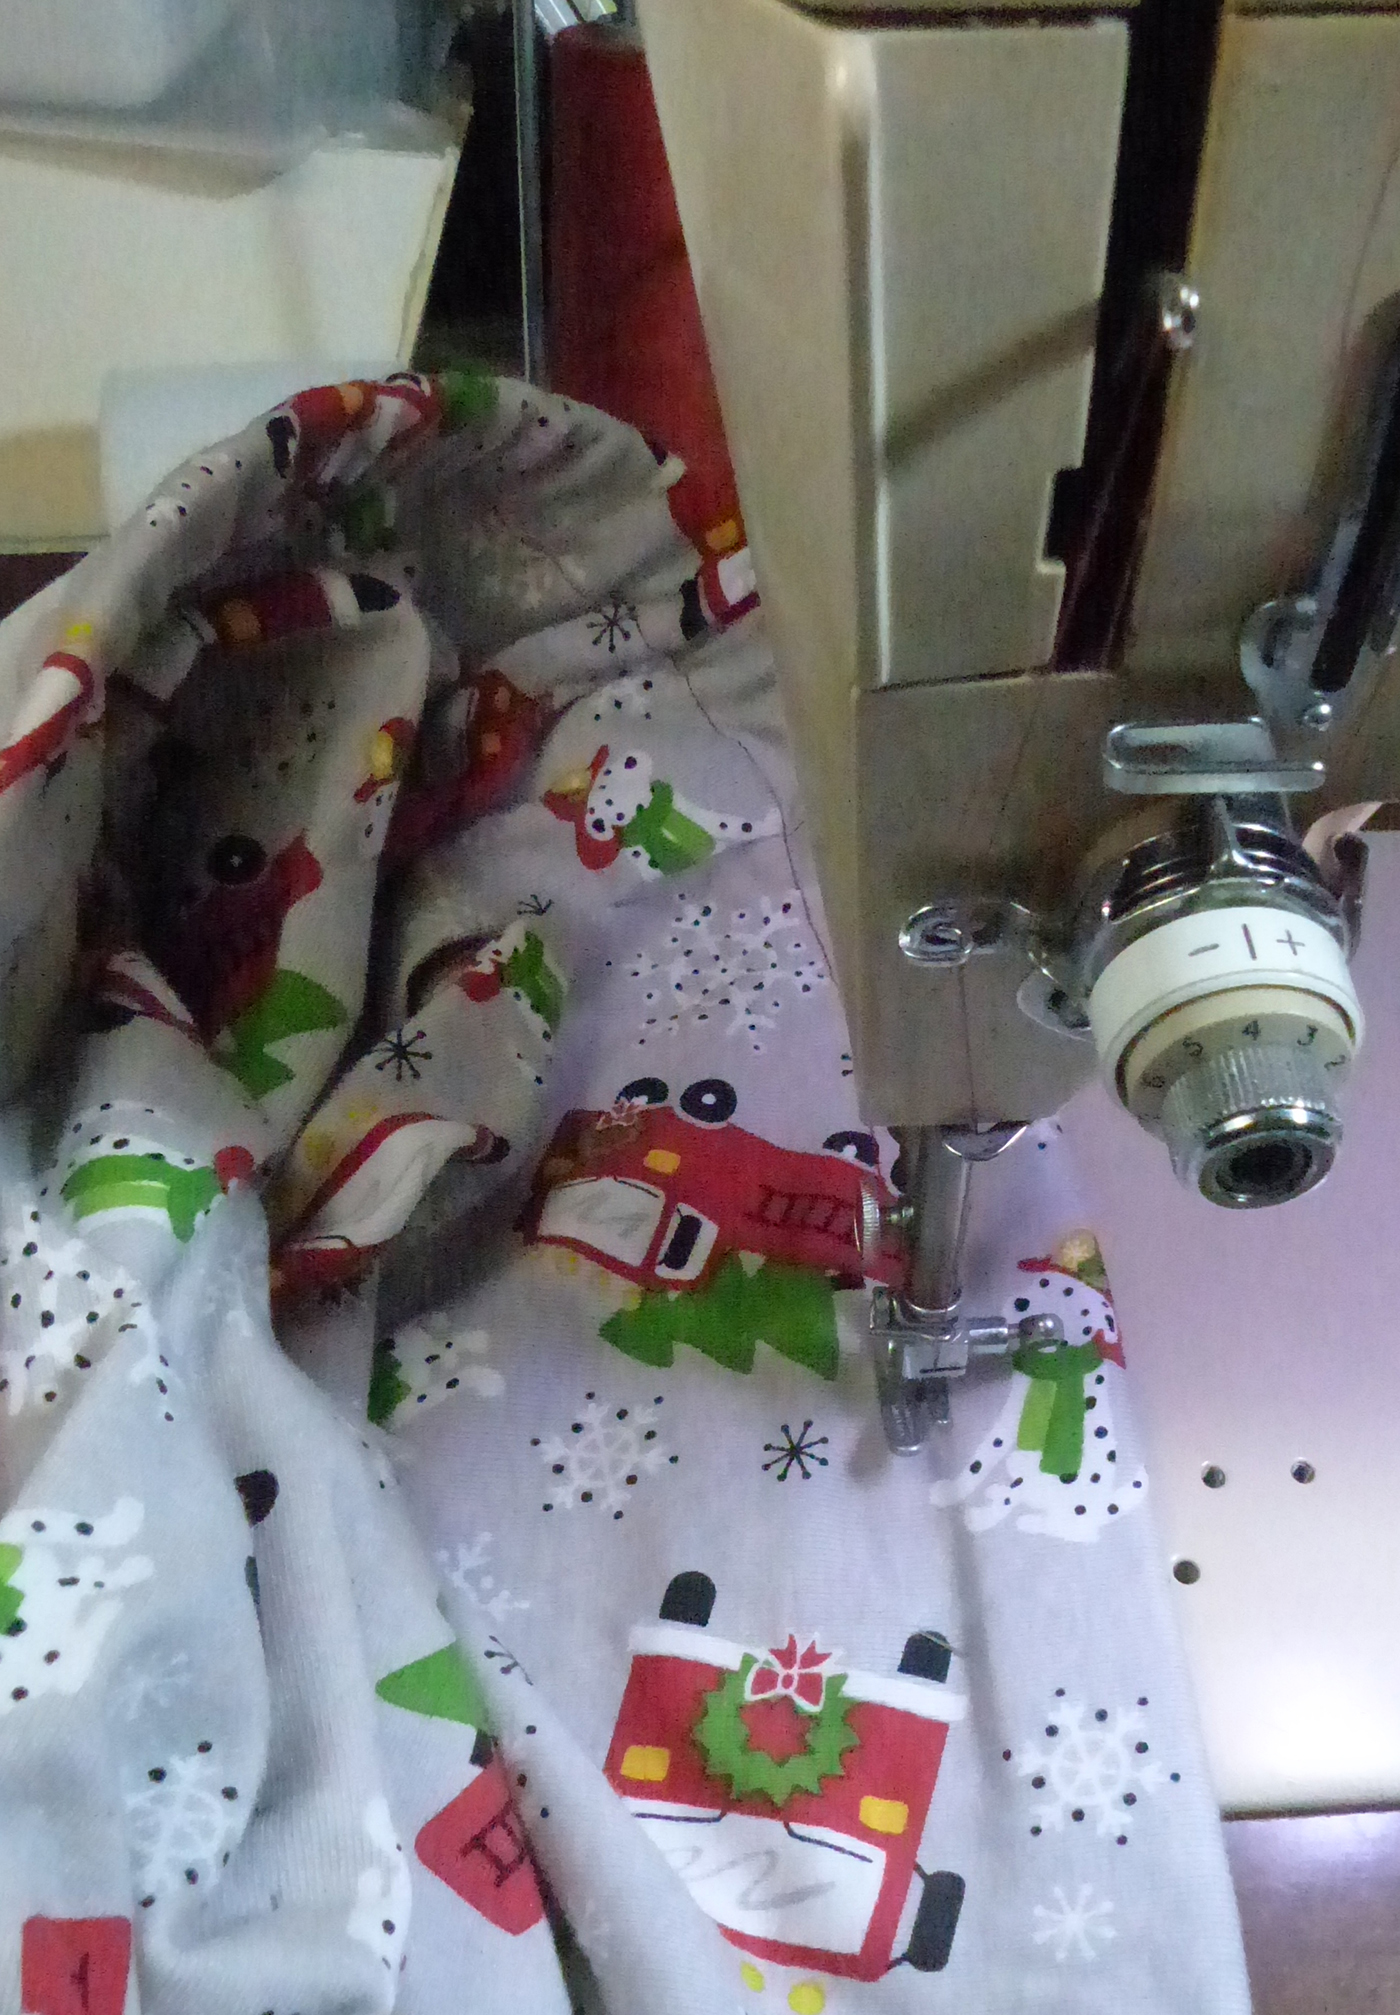
Stop with the needle down. Raise the presser foot and work the gathers to the back so that where you’ll be sewing is smooth. Finish the waistband seam.
To redistribute the elastic/gathers, grasp the waistband at each side and give several sharp tugs. Rotate the pants and do it again.
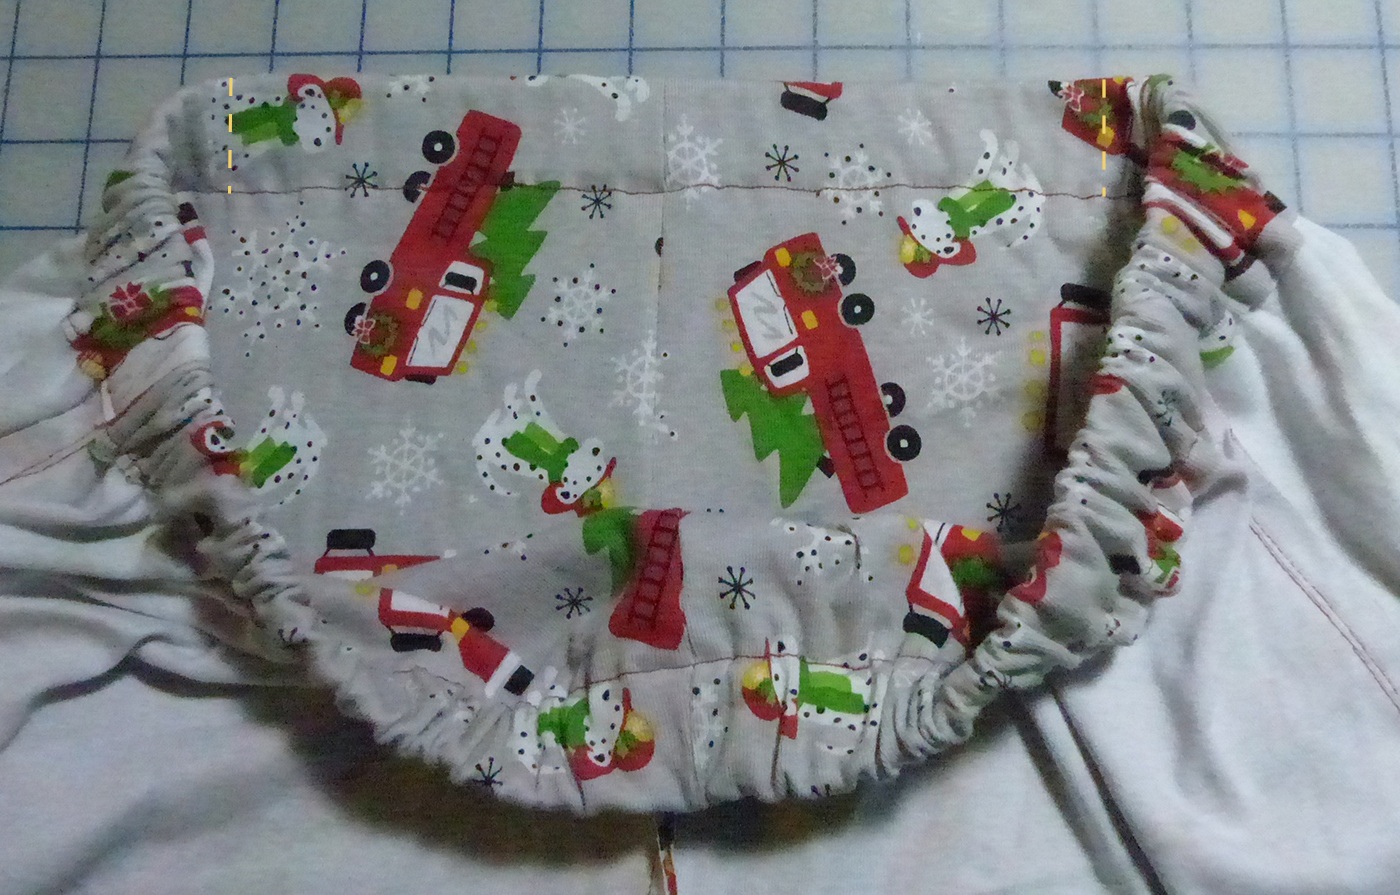
Smooth the gathers away from the center past the side fronts. Sew two vertical seams through all layers. This give a flat front and keeps the elastic from twisting.
To replace the elastic you will have to pick this out, but it’s worth it. Work the elastic out through the opening in the center back, cut it, and baste to a fresh length. Pull the old stuff to set the new.
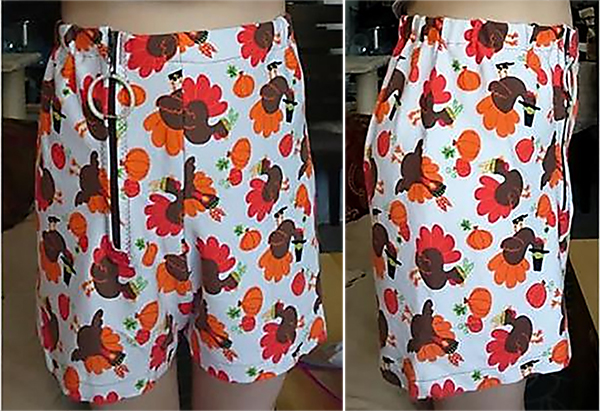
Hem the legs (not shown – if you’ve gotten this far you’ll be able to figure that out). These shorts used the same technique, adding a whopping big zipper for easier bathroom access.
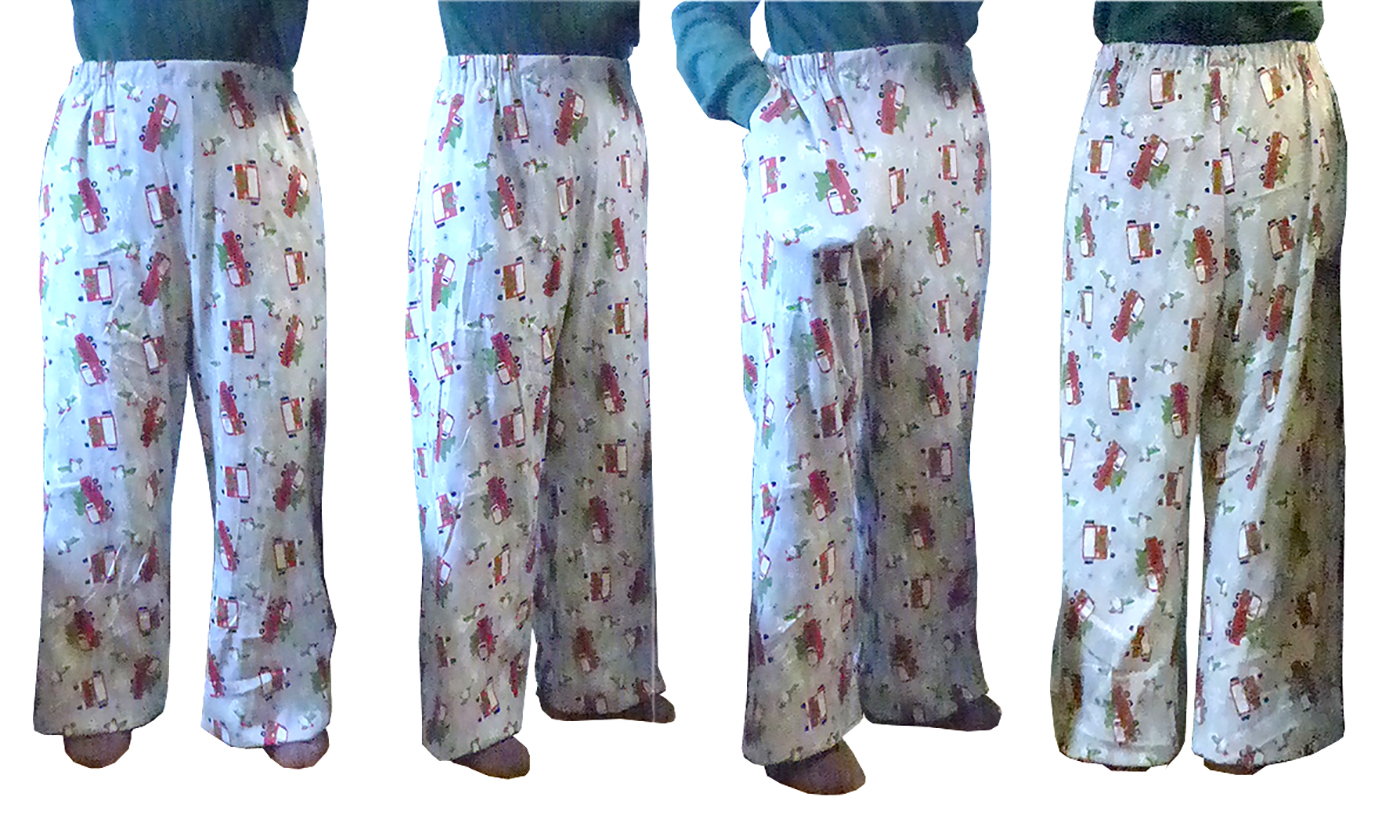
Enjoy your pants! As you wear them, evaluate how you’d like to tweak them and put the notes with the pattern NOW.