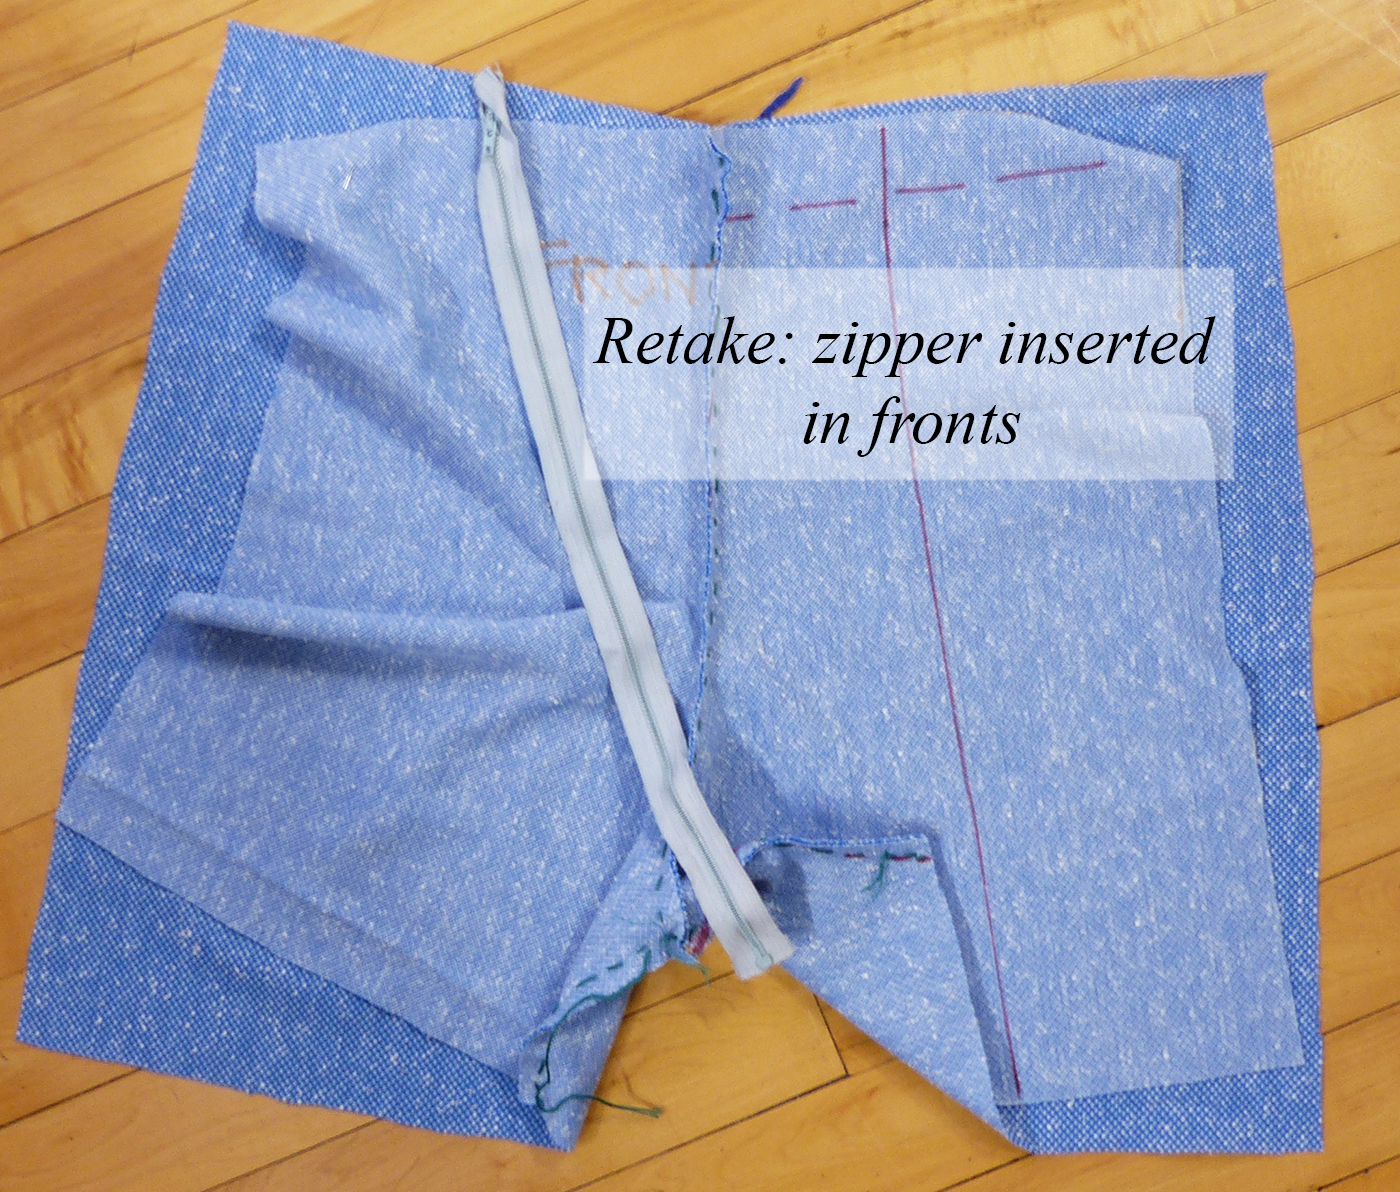
Lay out and cut two fronts and two backs. Our trial shorts muslin does not waste time with a waistband; we’ll use the same elastic. Sew the zipper in the center front.
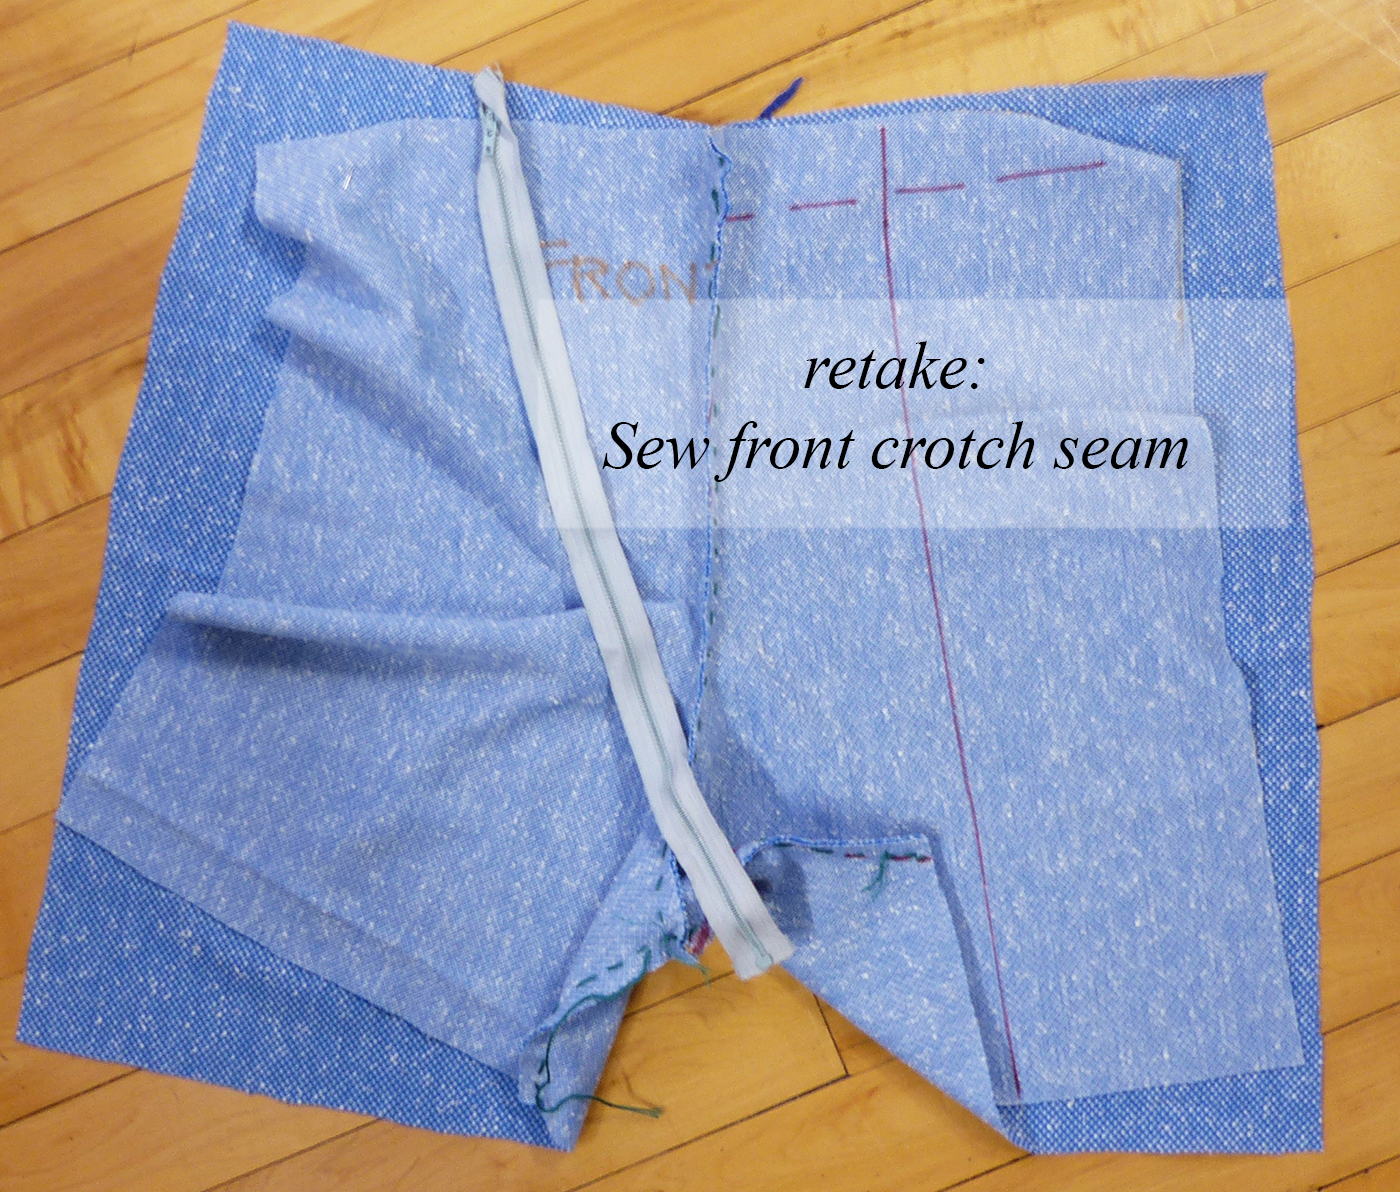
Fold the fronts right sides together and sew the short curved center front seam at the crotch.
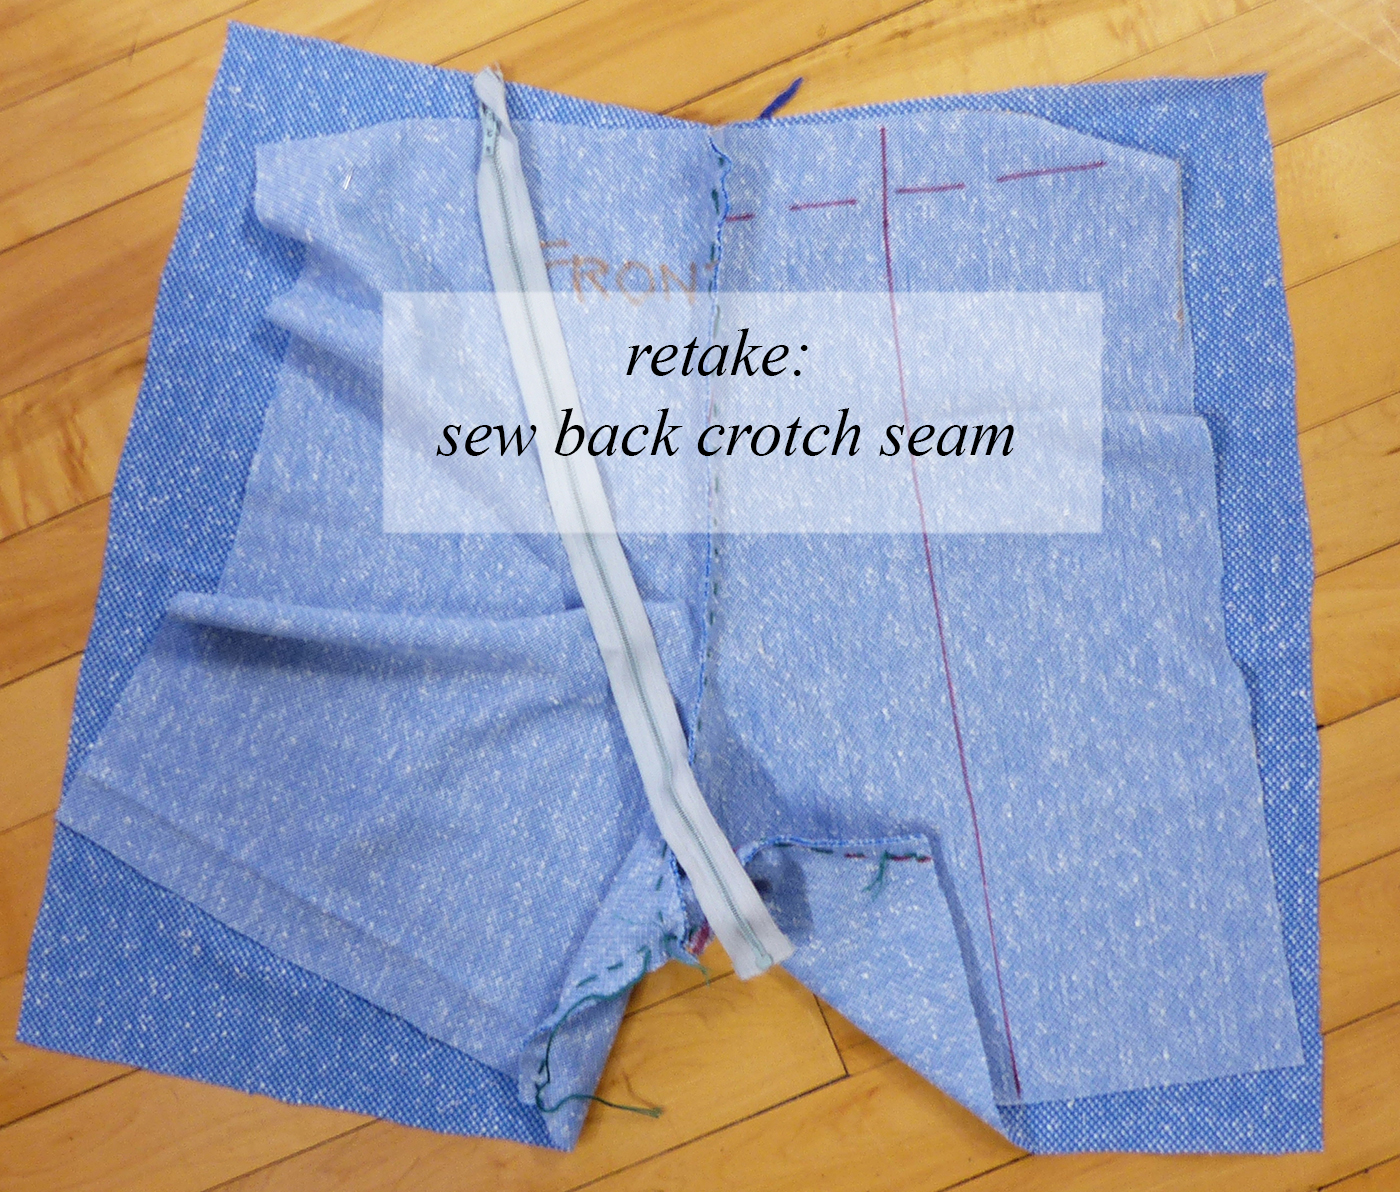
Lay the backs right sides together and sew the crotch seam top to bottom.
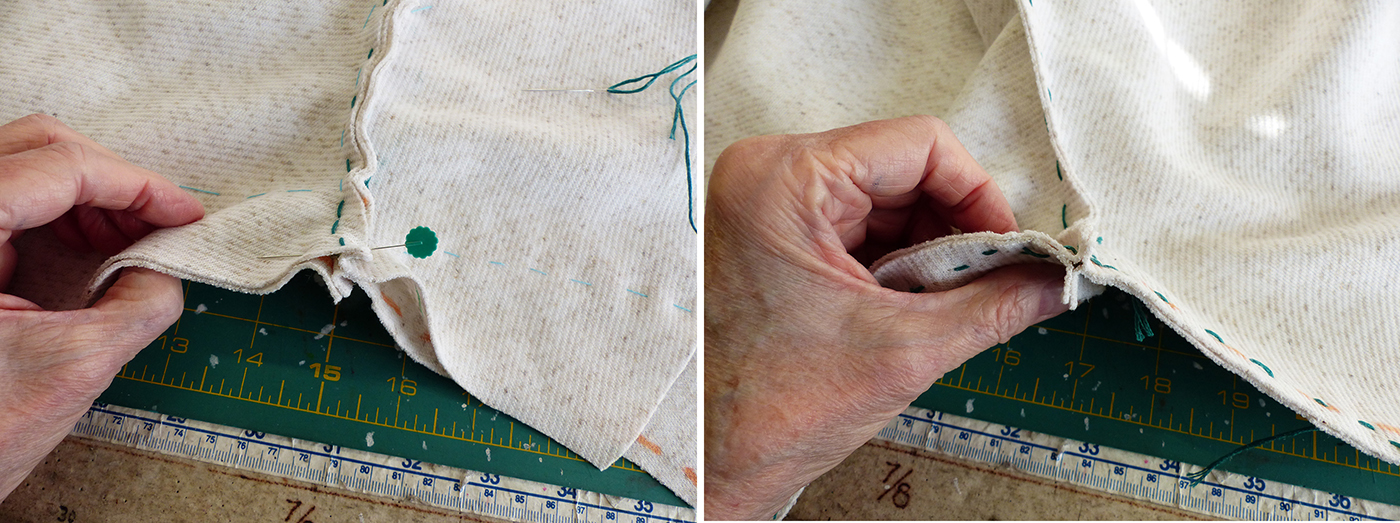
Match the seams at the crotch and sew the inseams. Here’s a couture trick that’s useful for later alterations: sew to the meeting place, backstitch. Jump to the other side, backstitch and complete the seam: do not sew over the seam allowances. Note that the lengths of the front and back inseams don’t match. That’s fine as long as the crotch seams’ meeting is dead-on.
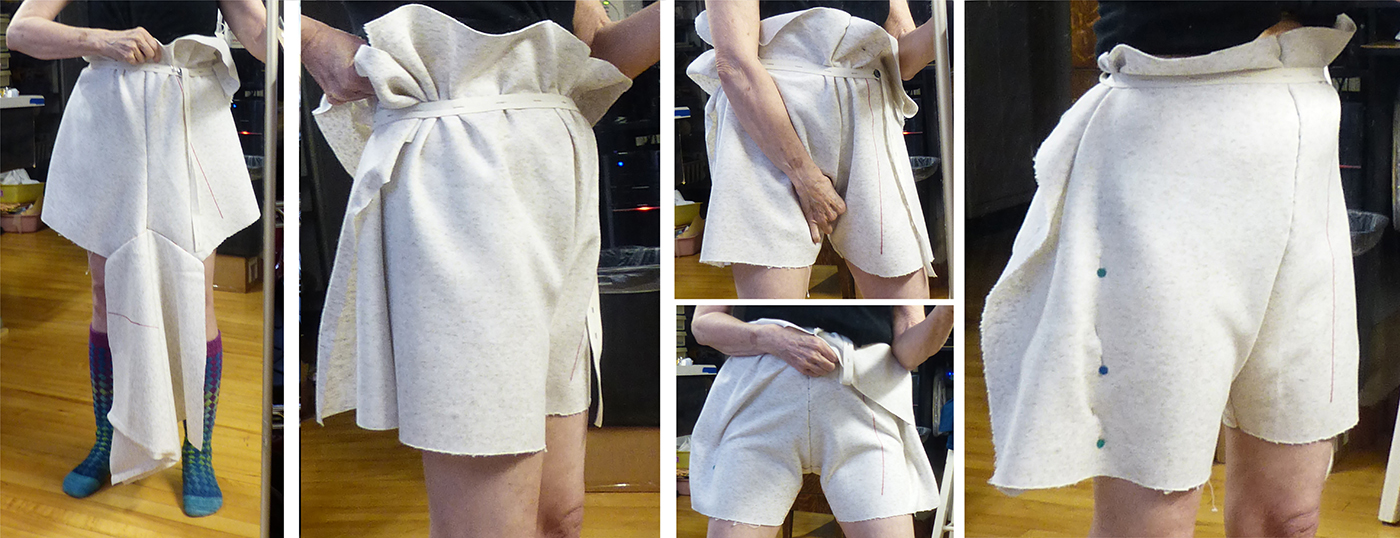
Fasten the elastic around your waist and tuck the fronts up under it. Repeat with the backs, smoothing the excess to the sides. There will be plenty; resist trimming it for now. Reach between your legs and feel to adjust the crotch seam junction forward, where we set it. Check that the CF and CB seams are vertical. Pin the side seams so that they are vertical. The back, particularly, can be hard to see. Taking a photo in a mirror will make it easier to stand without twisting.
Turn the shorts inside out and baste the side seams. Leave those seam allowances! Put the shorts back on and check that CF, CB and side seams are vertical. The center back is notorious for pulling down at this stage, though it will behave better later. With a washable marker, draw your waistline at the bottom of the elastic. Slap a ruler vertically against your leg and draw your grainlines front and back. Correct them on your pattern the next time you have these off.
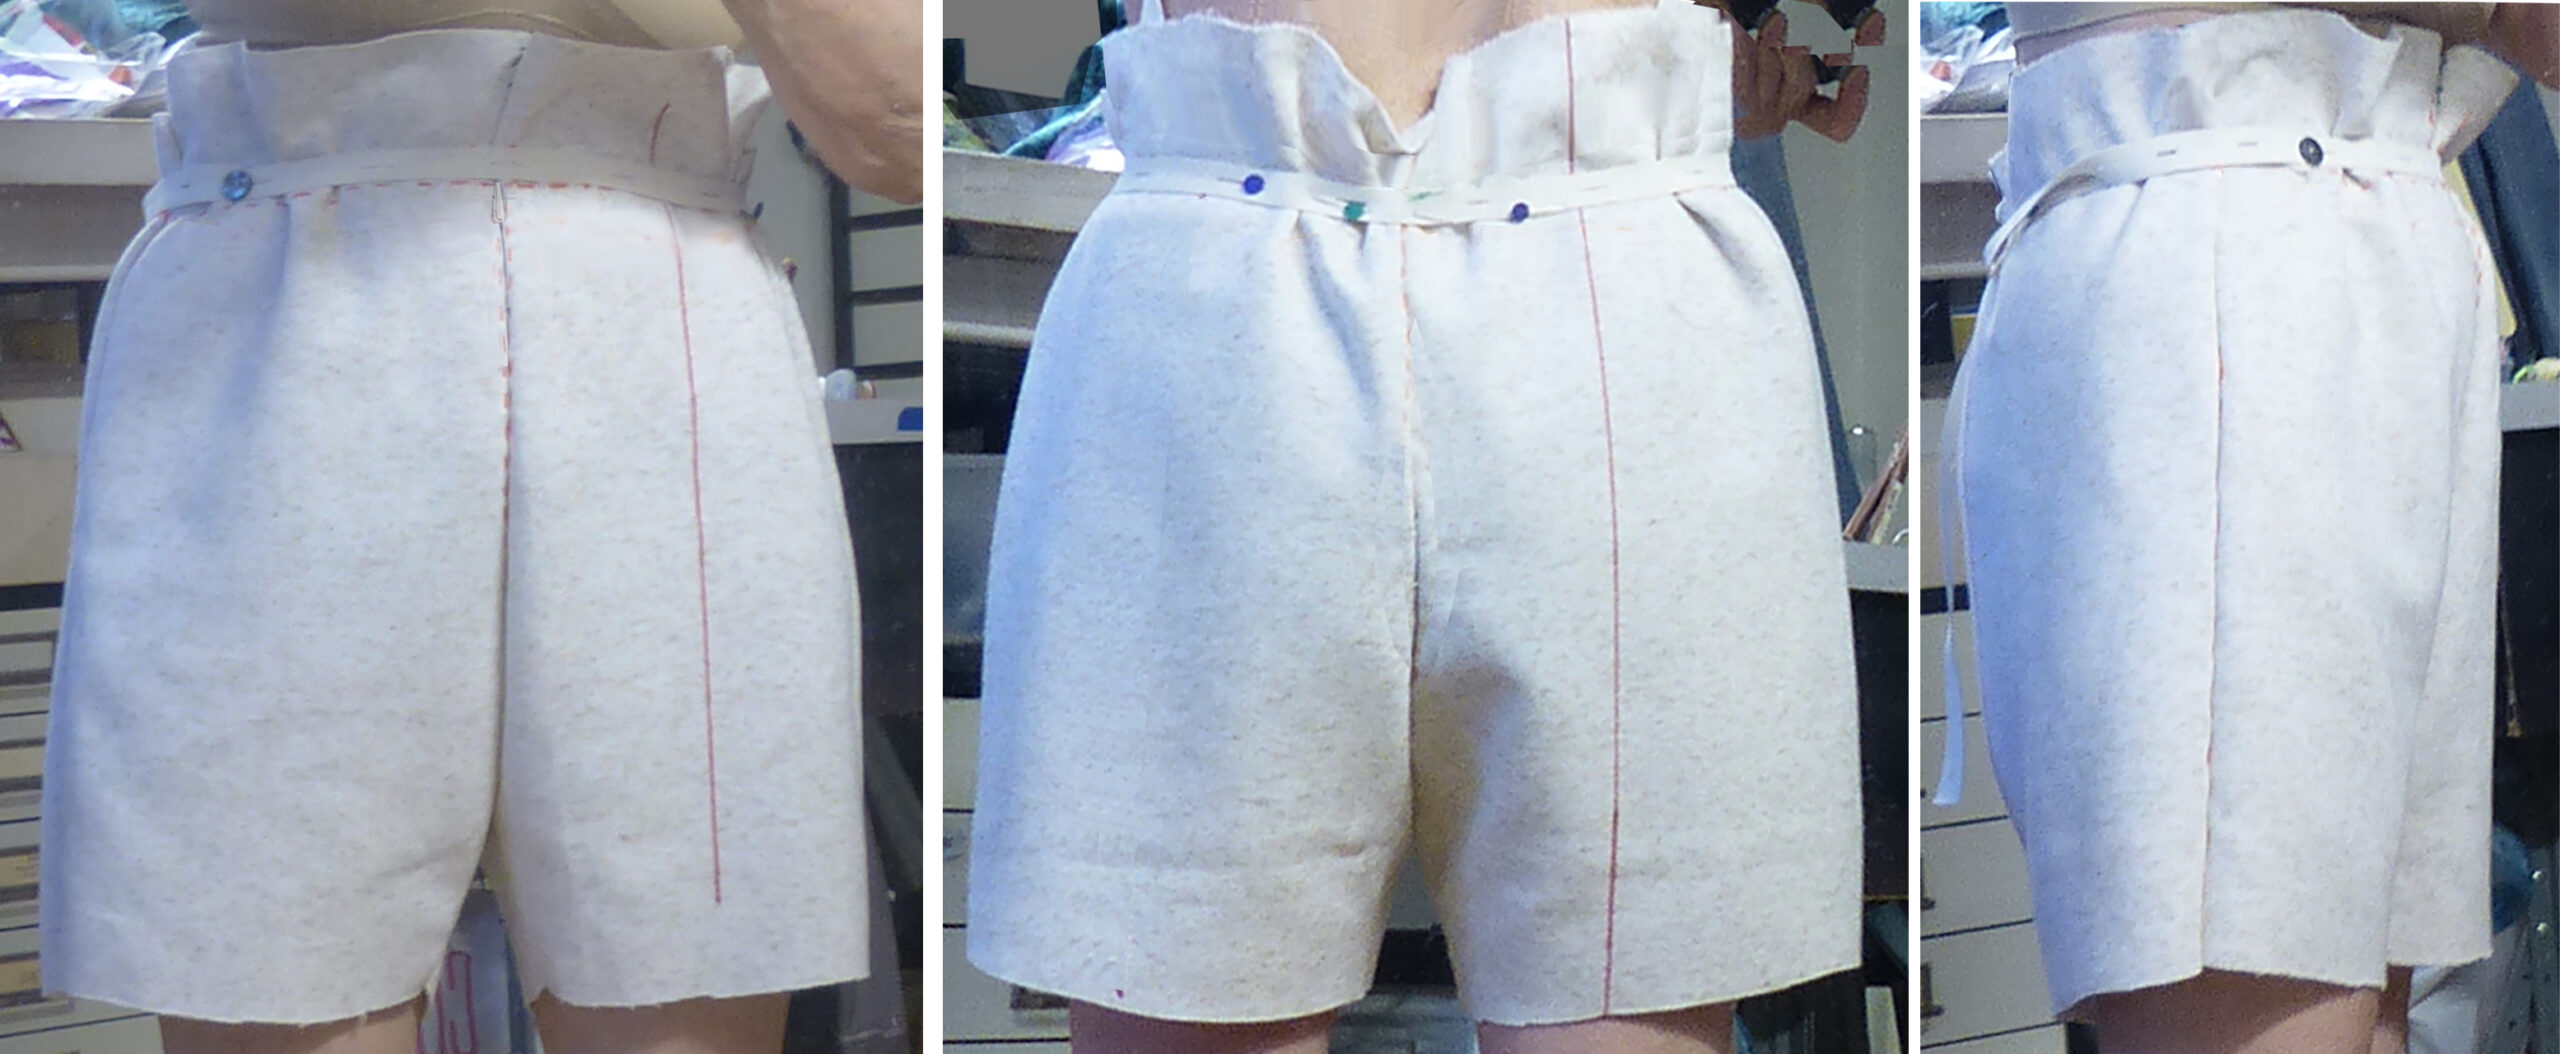
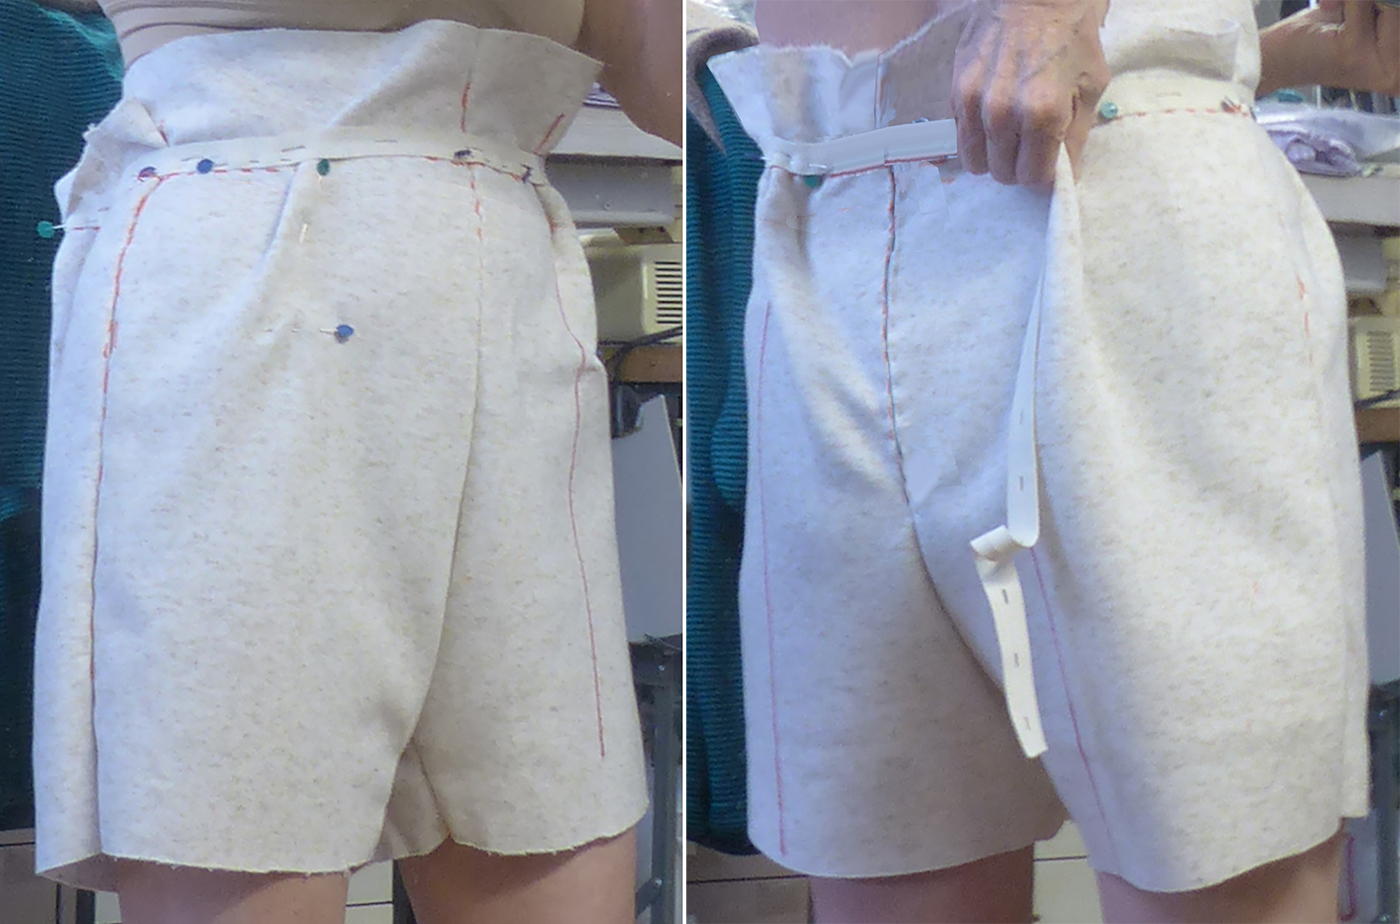
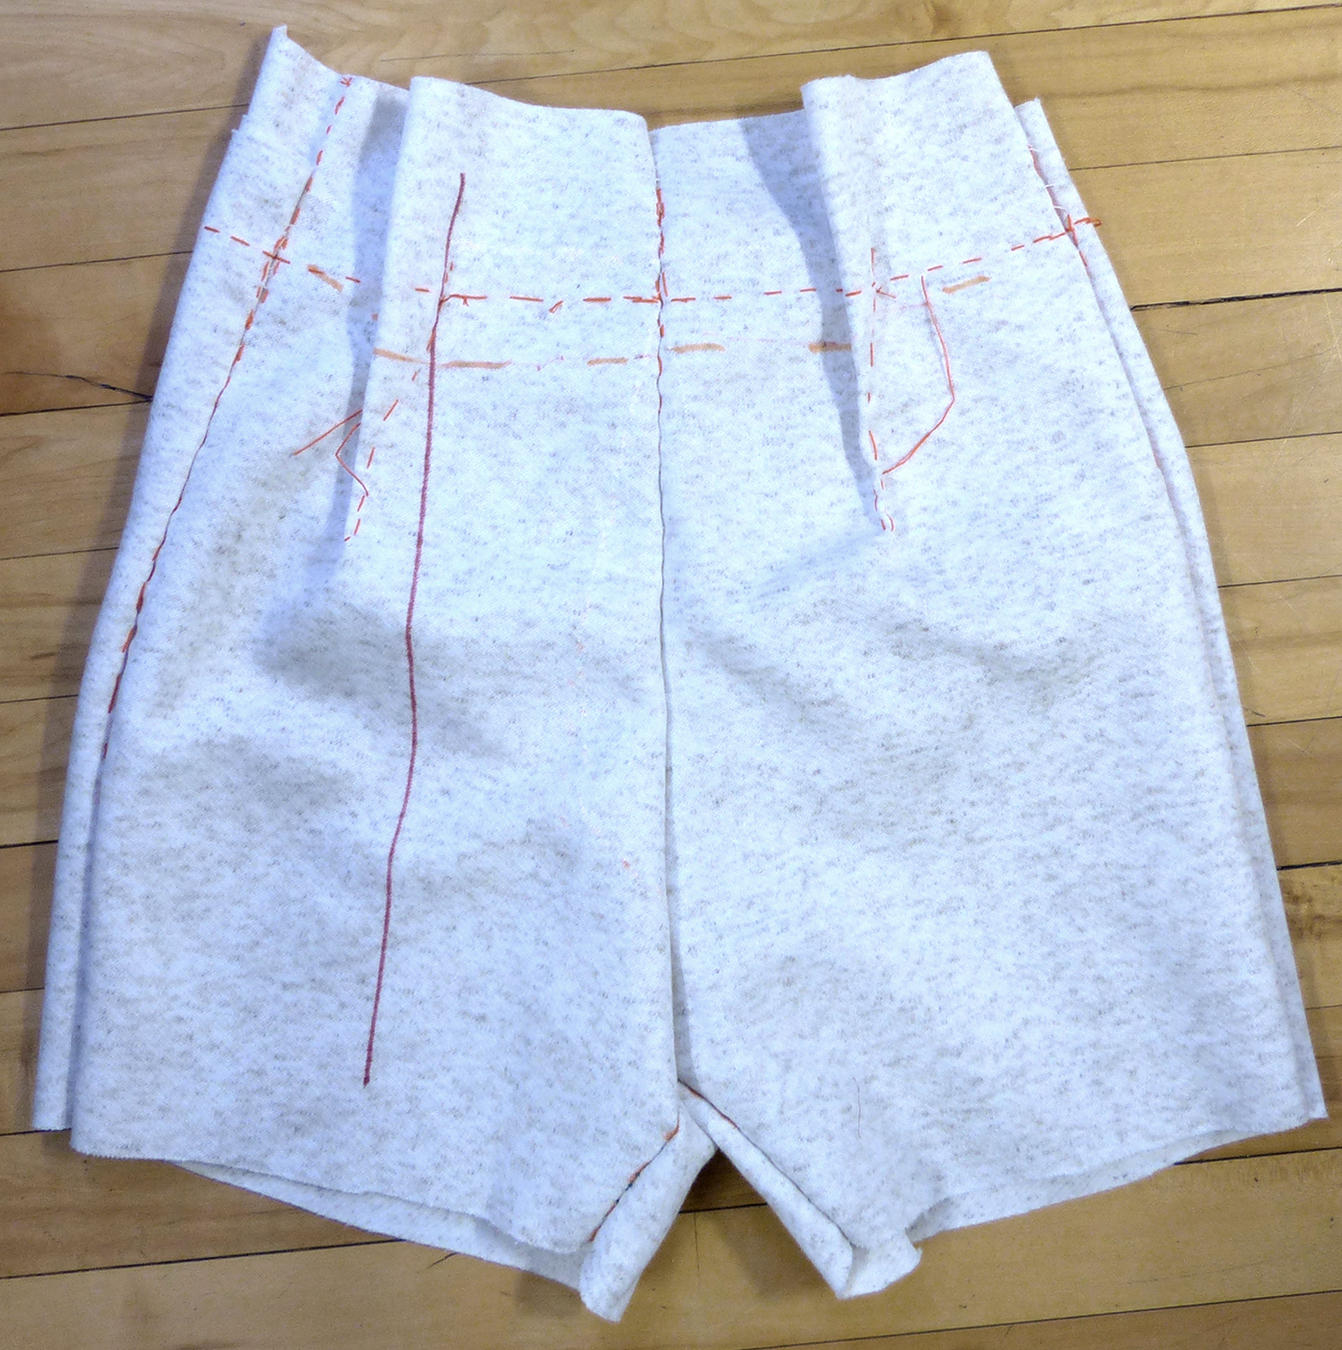
Pinch out one dart on each side of the fronts and backs so that the pants lay smoothly. Don’t try to get them even – this is an asset, as you can choose which looks better. Depending on your musculature and posture, they may be better on an angle. “Dart legs must be vertical” – nonsense. It’s your body; put them where they work.
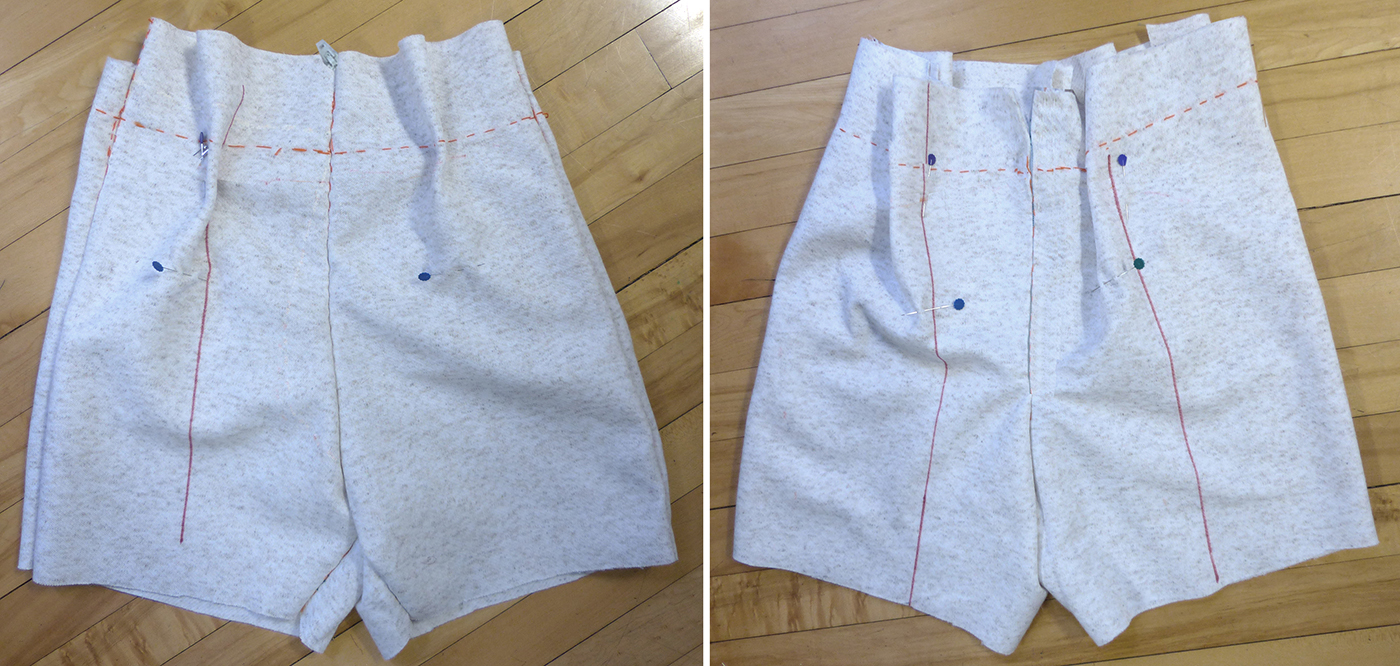
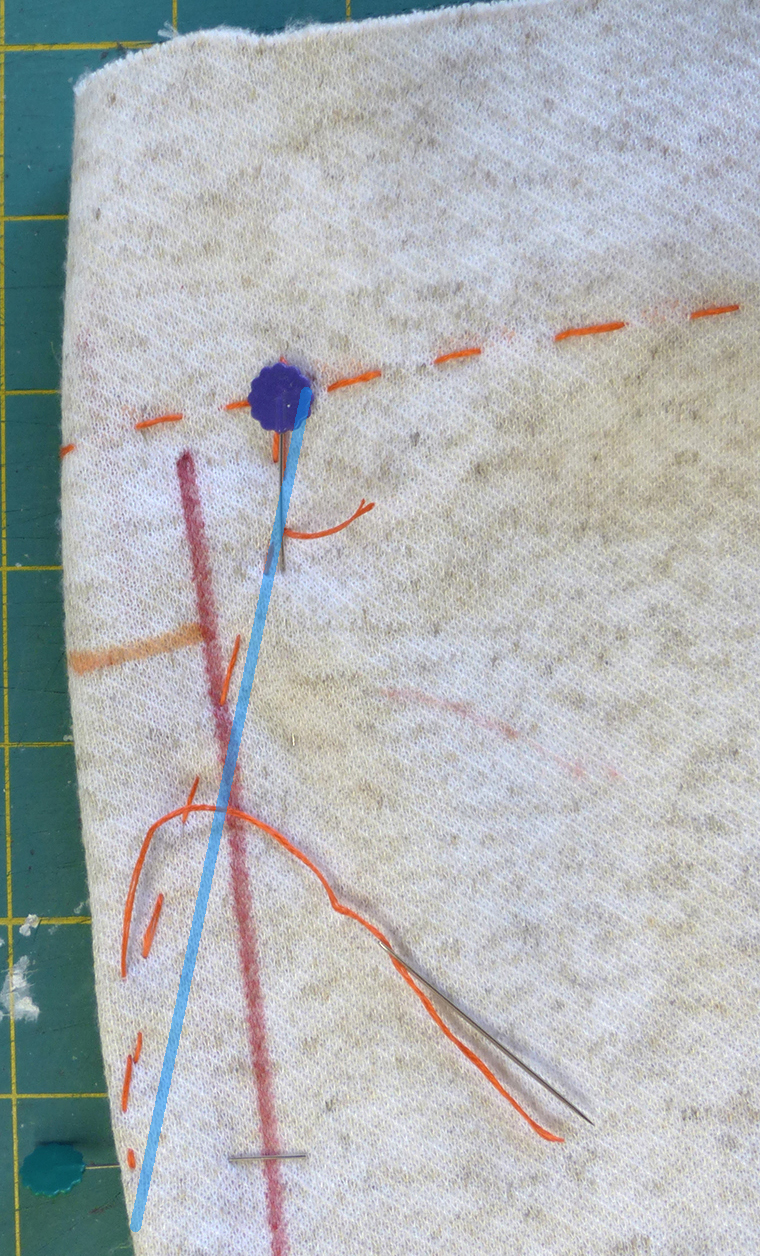
If you changed your grainline, correct it now. These darts have one pin at their tops and another crosswise to show where their points go. Note: this was before I moved the zipper to the front, where it’s much easier to manipulate during the try-ons.
Darts on many commercial patterns have straight legs, which result in a pyramid rather than a smooth curve over your body. The trick is to build a curve in. You’ll see both straight and curved lines as we go; all of the ones in my finished crotch block will be rounded.
I don’t know why I basted these darts with their folds to the outside. Try on your muslin to decide which side of the front and back looks better. You may prefer the tilt (if any) of one dart and the length of the other. Tip: put a safety pin through what you like for the next step.