- Debbie’s Duck
- Connie Willis’ St. Paul’s tea cozy
- Dress forms
- Boxes of Labels
- Test Booties
- Civil War theater dresses from thrift-store sheet sets
- Faced pincushion
- Caleb/my calliope
- Cowl/dickies from felted sweaters’ sleeves
- Making a generic bag for a sewing machine’s pedal control
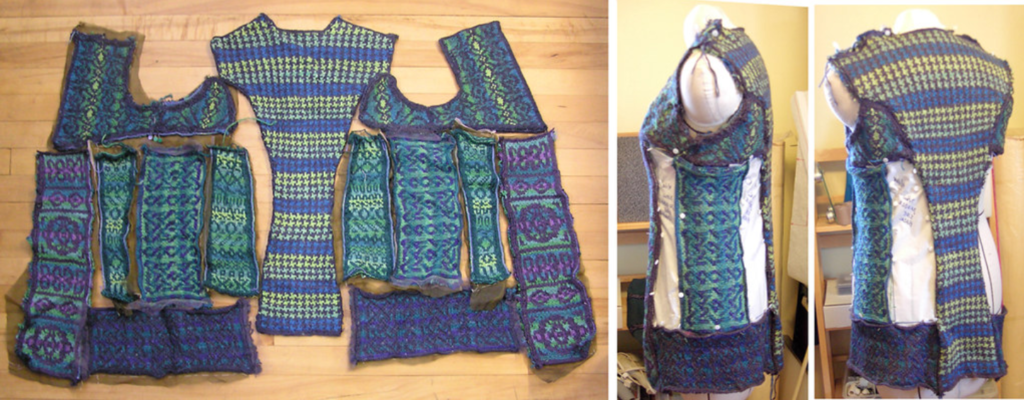
- Colorwork Vest
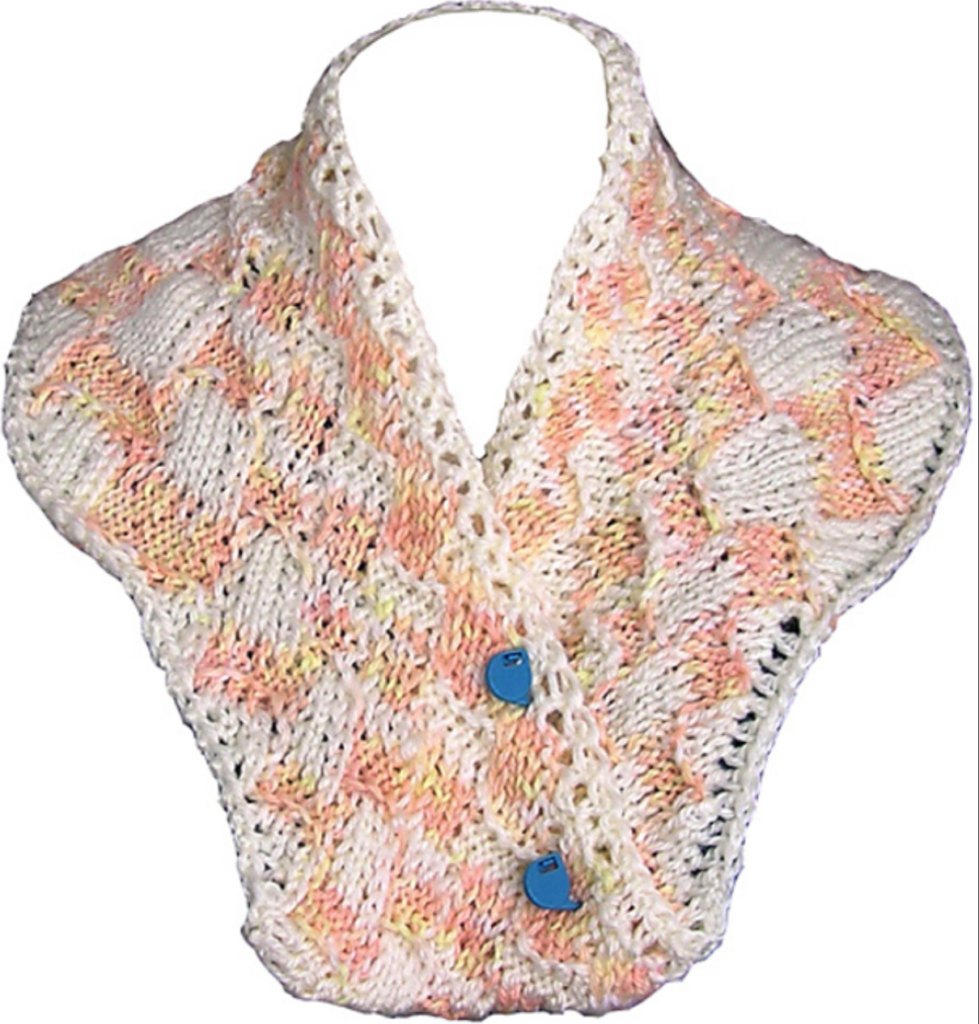
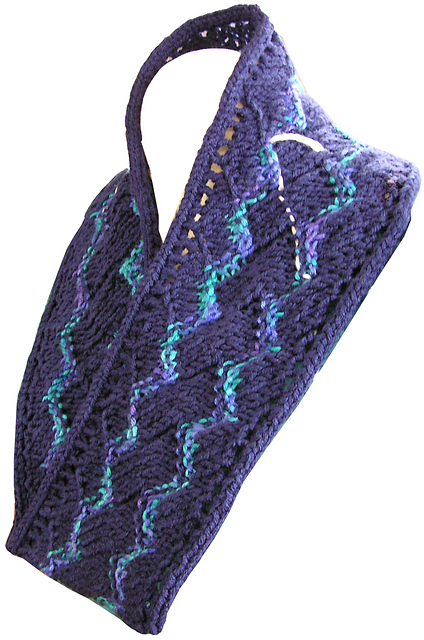
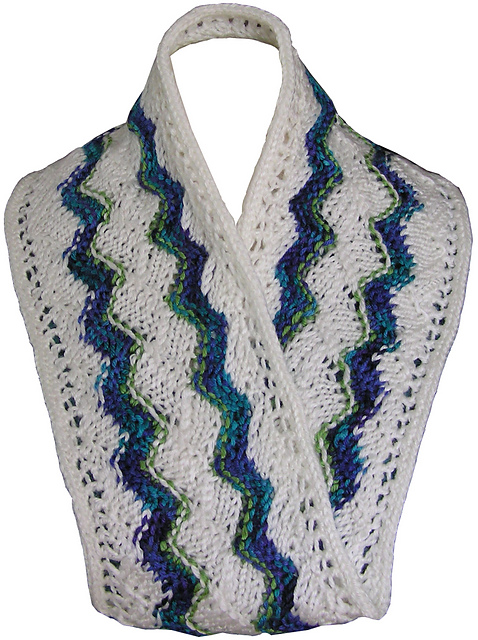
- Entrelac Möbius Cowls
- Fried Egg Lid Holder
- Hard-boiled Cubical Eggs
- Passementarie on trumpet skirt
- Trapunto Placemats
- Press Bed Cover
- Toe Chimneys
“Down on the Farm” Duck – Soft Sculpture, about 24″ high (needs graphic)
A gift for good friends who are Lowell George fans, from Neon Park’s illustration for the album cover for Little Feat. There has also been a soft sculpture tomato for them from “Waiting for Columbus” No, I never tackled a fat man in the bathtub with the blues. (Needs graphic replaced)
Connie Willis with a tea cozy I made for her based on St. Paul’s cathedral, which features in many of her stories and novels. The dome lifts off, the main body is brioche.
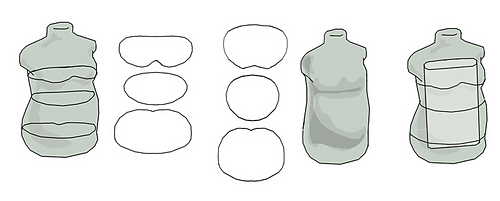
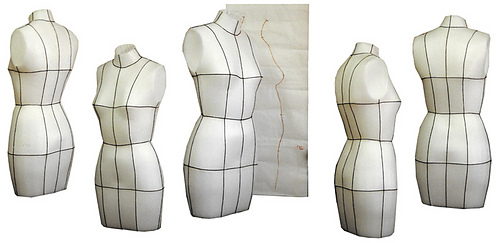
I have built custom dress forms and taught workshops on making them. The universal problem with any stuffed skin is that without an internal support, the body becomes a circle rather than more rectangular in cross section (think of blowing up a balloon – it’s going to want to be round).
The solution is a pillow, or a couple pillows, or slabs of foam, or even a box with stuffing around it. Bonus: less volume of polyfil.
Here’s a form a guy commissioned for his wife for Christmas. Originally he wanted it to be a surprise…I explained that I needed her body.
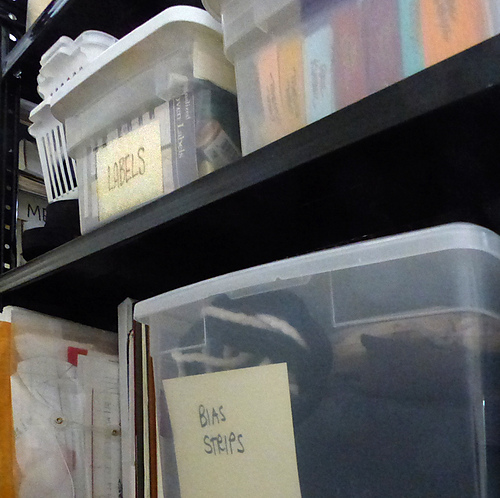
Doesn’t everybody have a couple of bins labeled “Labels”?
An advantage of using sheets/pillowcases is that they come pre-hemmed, often pre-trimmed as well!
I costumed the gals for two Civil-War era middle-school plays* with second-hand sheets – the pillowcases for the sleeves. They’re a great source for summer-weight fabric for dresses/shorts (because boys need clothes too).
* “Little Women” (upper left) and “Tom Sawyer”
Very early pattern, late 70s. When I went full-time free-lance as an artist I stretched every bit of canvas, used every piece of board, smear of watercolor, scrap of fabric – there turned out to be a significant market for soft sculpture. I sold them at park festivals for $5, where I’d work on bigger pieces (such as the calliope below) while people strolled by – it was a good icebreaker as we could visit without people thinking I was going to push them to buy. I only had one set of pins and would move them whenever one sold. People usually bought the pincushion I was working from – after a while I deliberately chose the least amazing but it made little difference; a friend suggested that they were after the magic.
This was the first one, she stayed home. She was hard to photograph other than in working position as she’s got a scrubbed river rock weighting her bottom (you can see small blue pliers stabilizing her underneath in the last shot).
The pattern is still kicking around somewhere.
One awful woman insisted that the pins go with. I realized she was trying to stop me producing the puppets that were selling as fast as I could finish them. I refused to sell to her, which really upset her. She was a rare bad apple in a sea of nice folks.
I bought a “How to Name Your Baby” booklet so each one had its own on its tag; people enjoyed looking through and often bought what was in their hand. I encouraged people to play with my stuff (particularly the puppets) though it was to have fun rather than calculating how to soak them. One guy grinned and backed off, saying, “no, someone did that to me with a warm puppy!”
This was an early stab at figuring out patterns to sew people, later evolved into ventriloquist dummies. I didn’t learn that you were “supposed” to use nylon hose – a good thing as I’d have gotten stuck in little bitty ones.
Caleb and my Calliope, early 80s
Cowls/dickies from felted sweater sleeves:
My Mom
a. Bundle up your foot pedal and its cord (for example) and measure around it.
b. Add some extra (white) so you’ve got room to slip the thing in, and your seam allowances (gray).
c. Turn down triangles to the wrong side at your hem edge.
d. Turn the raw edge of your hem down.
e. Turn it down again over your draw cord and stitch across. Let your presser foot coast along the edge of the cord so you don’t catch it. This is enormously easier than threading the cord afterward.
Stitch your side seams, up to but not through the cord (duh).
f. Turn your bag right side out and tie the ends of your draw cord(s).
Shown: a long rectangle folded. You can do two pieces, but be sure to add a seam allowance to the bottoms.
These drawings are fast and sloppy, worth every penny you’re paying for them.
Here’s more poop on drawstrings – two are better! Easier to hook a couple fingers in & open it. My mom made me one of these for my jacks when I was maybe seven and I was sure she was a genius. Hmmm. Need to tell her that.
ETA: I did tell my mom, and she was gratified!
Colorwork Vest:
The knitting is done; it’s into stabilizing (tacking silk organza to the back of each piece) and then assembly. Though it started as an open-front vest and that will be its initial incarnation, I’ve got sleeves and a kimono-style collar/front band planned to make it into a jacket.
Entrelac Möbius Cowls:
Fried Egg Lid Holder:
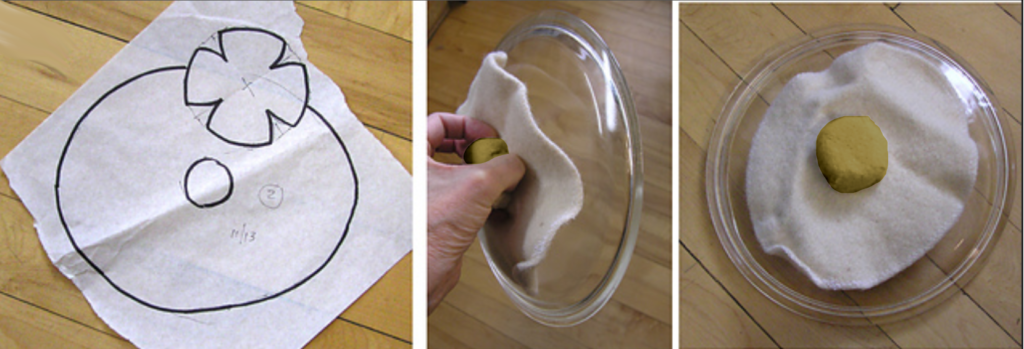
…from a felted sweater. There’s a lot of slop factor in these. The oval base was, by itself, my original attempt at a lid holder. You’re all probably good enough to free-hand the works, but you can use a compass or household stuff if very clean circles are important. This was the second pattern, what was made from the first was perfectly adequate.
Whack out a circle (with a plate or bowl) or an oval (if you run out of room for circles in your blank), fold it in quarters and make a small cut in the middle. The bigger piece should be smaller than the circumference of your lid but large enough to protect your fingers. Find a roll of tape, a bottle, anything that in cross section is a little smaller than your lid’s knob. Draw around it centered on the slit and cut it out. See that the knob will barely pop through the hole. Note that the “flower”’s four petals are slightly curved.
Whip the pieces together by hand (using a sewing machine or serger would take longer due to the fiddly little pieces), pulling your stitches tight enough to sink into the felt.
Hard-boiled Cubical Eggs:
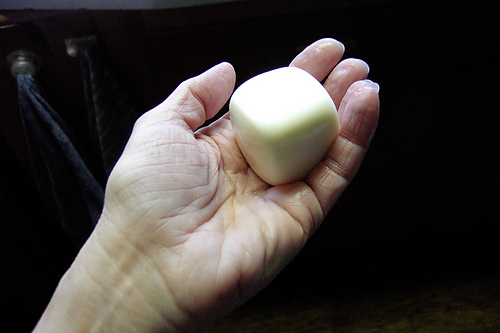
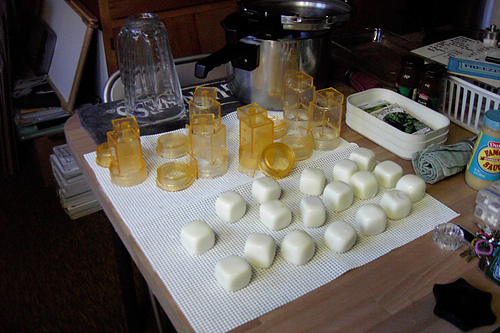
You can get tiny plastic presses (“Egg Cubers”) to make egg cubes, which make the very best deviled eggs. They shoulder together neatly for transport.
We used to collect a crowd when pork shoulder (Boston Butt in the U.S.) went on sale in January and make sausage together – building over a couple years to a dozen people and several hundred pounds of meat, some of which got smoked.
We ran out of our pooled spices after the first try or so, and I found a good local source. The difference was astonishing.
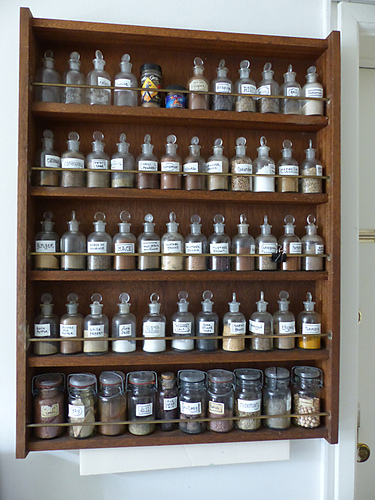
Here’s my spice rack. If what the stuff is isn’t obvious the moment the stopper comes out, it gets tossed and I buy fresh.
The spice rack was a custom job of mahogany and brass rod.
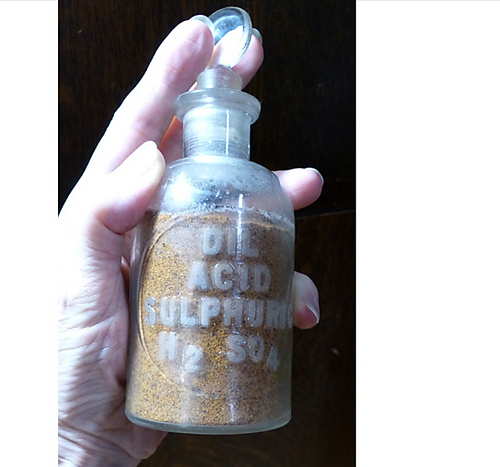
The bottles are (unused) WWII acid containers – Nitric, Sulfuric, Hydrochloric! – sold to me by a science teacher from boxes of stock layered with dust stored under the lab in what used to be steam tunnels connecting the buildings. Ground glass stoppers! I’d gone there to see about a mortar/pestle and he pulled up a sheet of stamped metal between the lab tables and started hauling these out.
They were from when each student had their own set of bottles. This led to spills on the tables, and they went to the safer large bottles at the end of each.
He sold them to me for a buck a pop. I went back twice for more. The first time, no problem. The second was after the fall term had started and he had no idea what I was asking about. Obviously he’d pocketed the cash. The rack was from a veneer door and the brass rods were from a metal shop.
This was in my grad student days, early 70s, Ft. Hays Kansas State College. The one for Parsley was labeled Pot. It fooled only those who didn’t know what the stuff looked (or smelled) like.
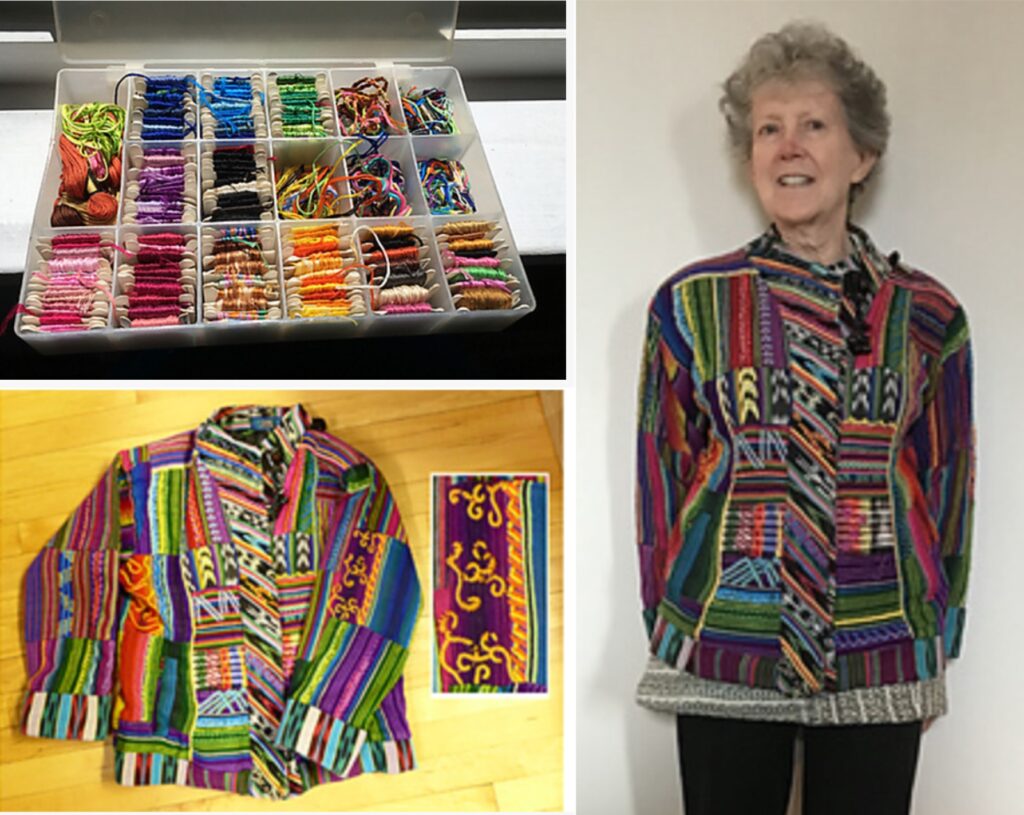
I bought an inexpensive bomber jacket in Baha. It was an XXXL – the cuffs hung down past my knees. I took it apart, reshaped and interlined it, and turned it into this jacket.
The strands wear down in areas of abrasion every two or three years; many places only need a dozen or so stitches.

Many embroider with (figuratively) a fine artist’s brush. I’m using a whitewash one (six strands of floss) and flying free as the whim takes me.
- Pick out old frayed thread (not shown).
- Re-embroider (left detail) or
- Make up something new
Passementarie on trumpet skirt:
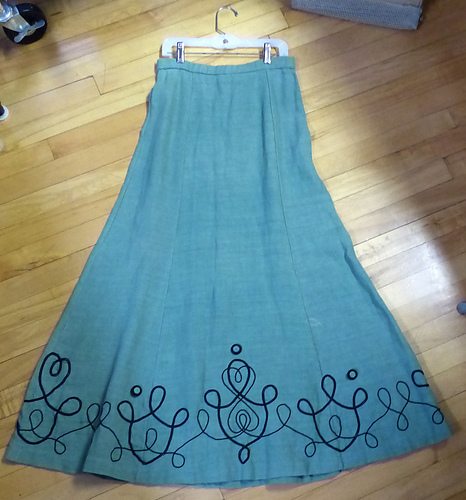
This was couched middy braid on dyed hemp summer cloth. Would touch up with iron before wearing.
Trapunto Placemats:
I’ve made placemats by quilting 6? 8? layers of hemp summer cloth.
I’d painted the dark parts of ukiyo-e koi on the top and hand-quilted around through all the layers. My sister used them for years (or else made sure to get them out when I visited).
Press Bed Cover:
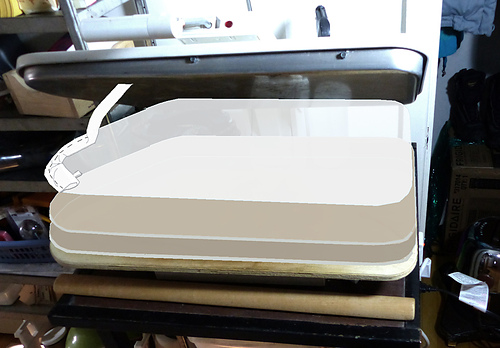
There are three single layers: two of the heavy commercial board padding (seen in early shots, scorched) and the one of ticking. The first two do not have seam allowances; they sit directly on the wooden bed.
The casing flips down covering the raw edges, and all that holds everything together is the lacing running through the loops under the bottom of the bed.
Toe Chimneys:
Lucy Neatby came up with the toe chimney as a solution to neatly grafting sections (Kitchener stitch). This link is on the first page. Essentially, you change to a waste yarn and continue with several rows of stockinette, which makes it easy to see how the final bits together.
Here are two methods for closing the bottoms of the legs of a toy (here, my Little Bears).
On the left leg, the yarn has been threaded twice through the live stitches before pulling up to close. On the right, a toe chimney of waste yarn has been pulled inside-out down the leg (it stays there), and the end grafted, which makes a slightly squarer, neater finish. Whether it’s worth the fuss is up to you.
The toe chimney technique is well worth learning, even if you don’t bother with it for bears – I’ve used it on my sock toes for years.


