
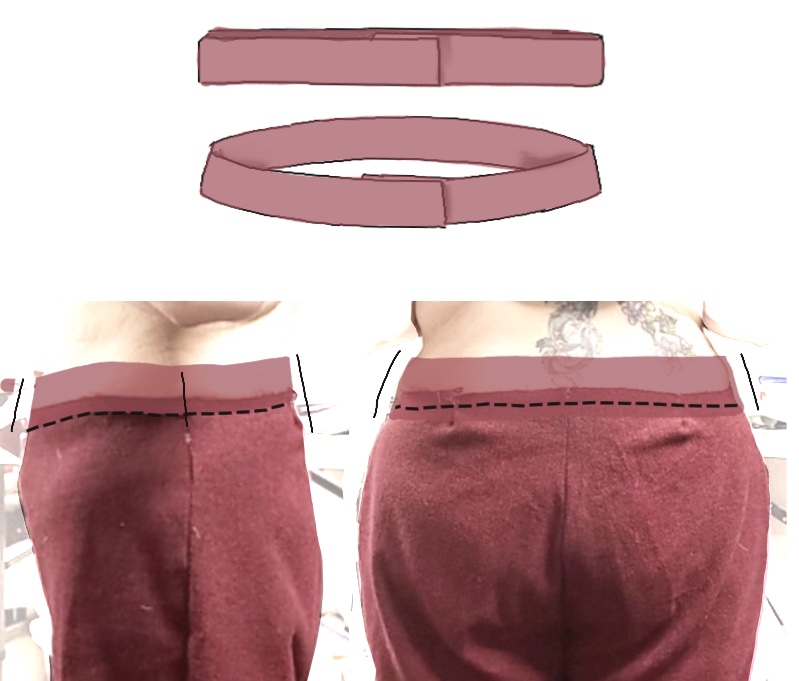
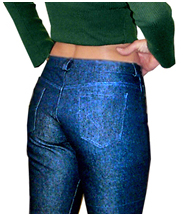
Shapes of bodies and different curves: front, back, and high square hip.
blah blah blah long rectangle vs curve
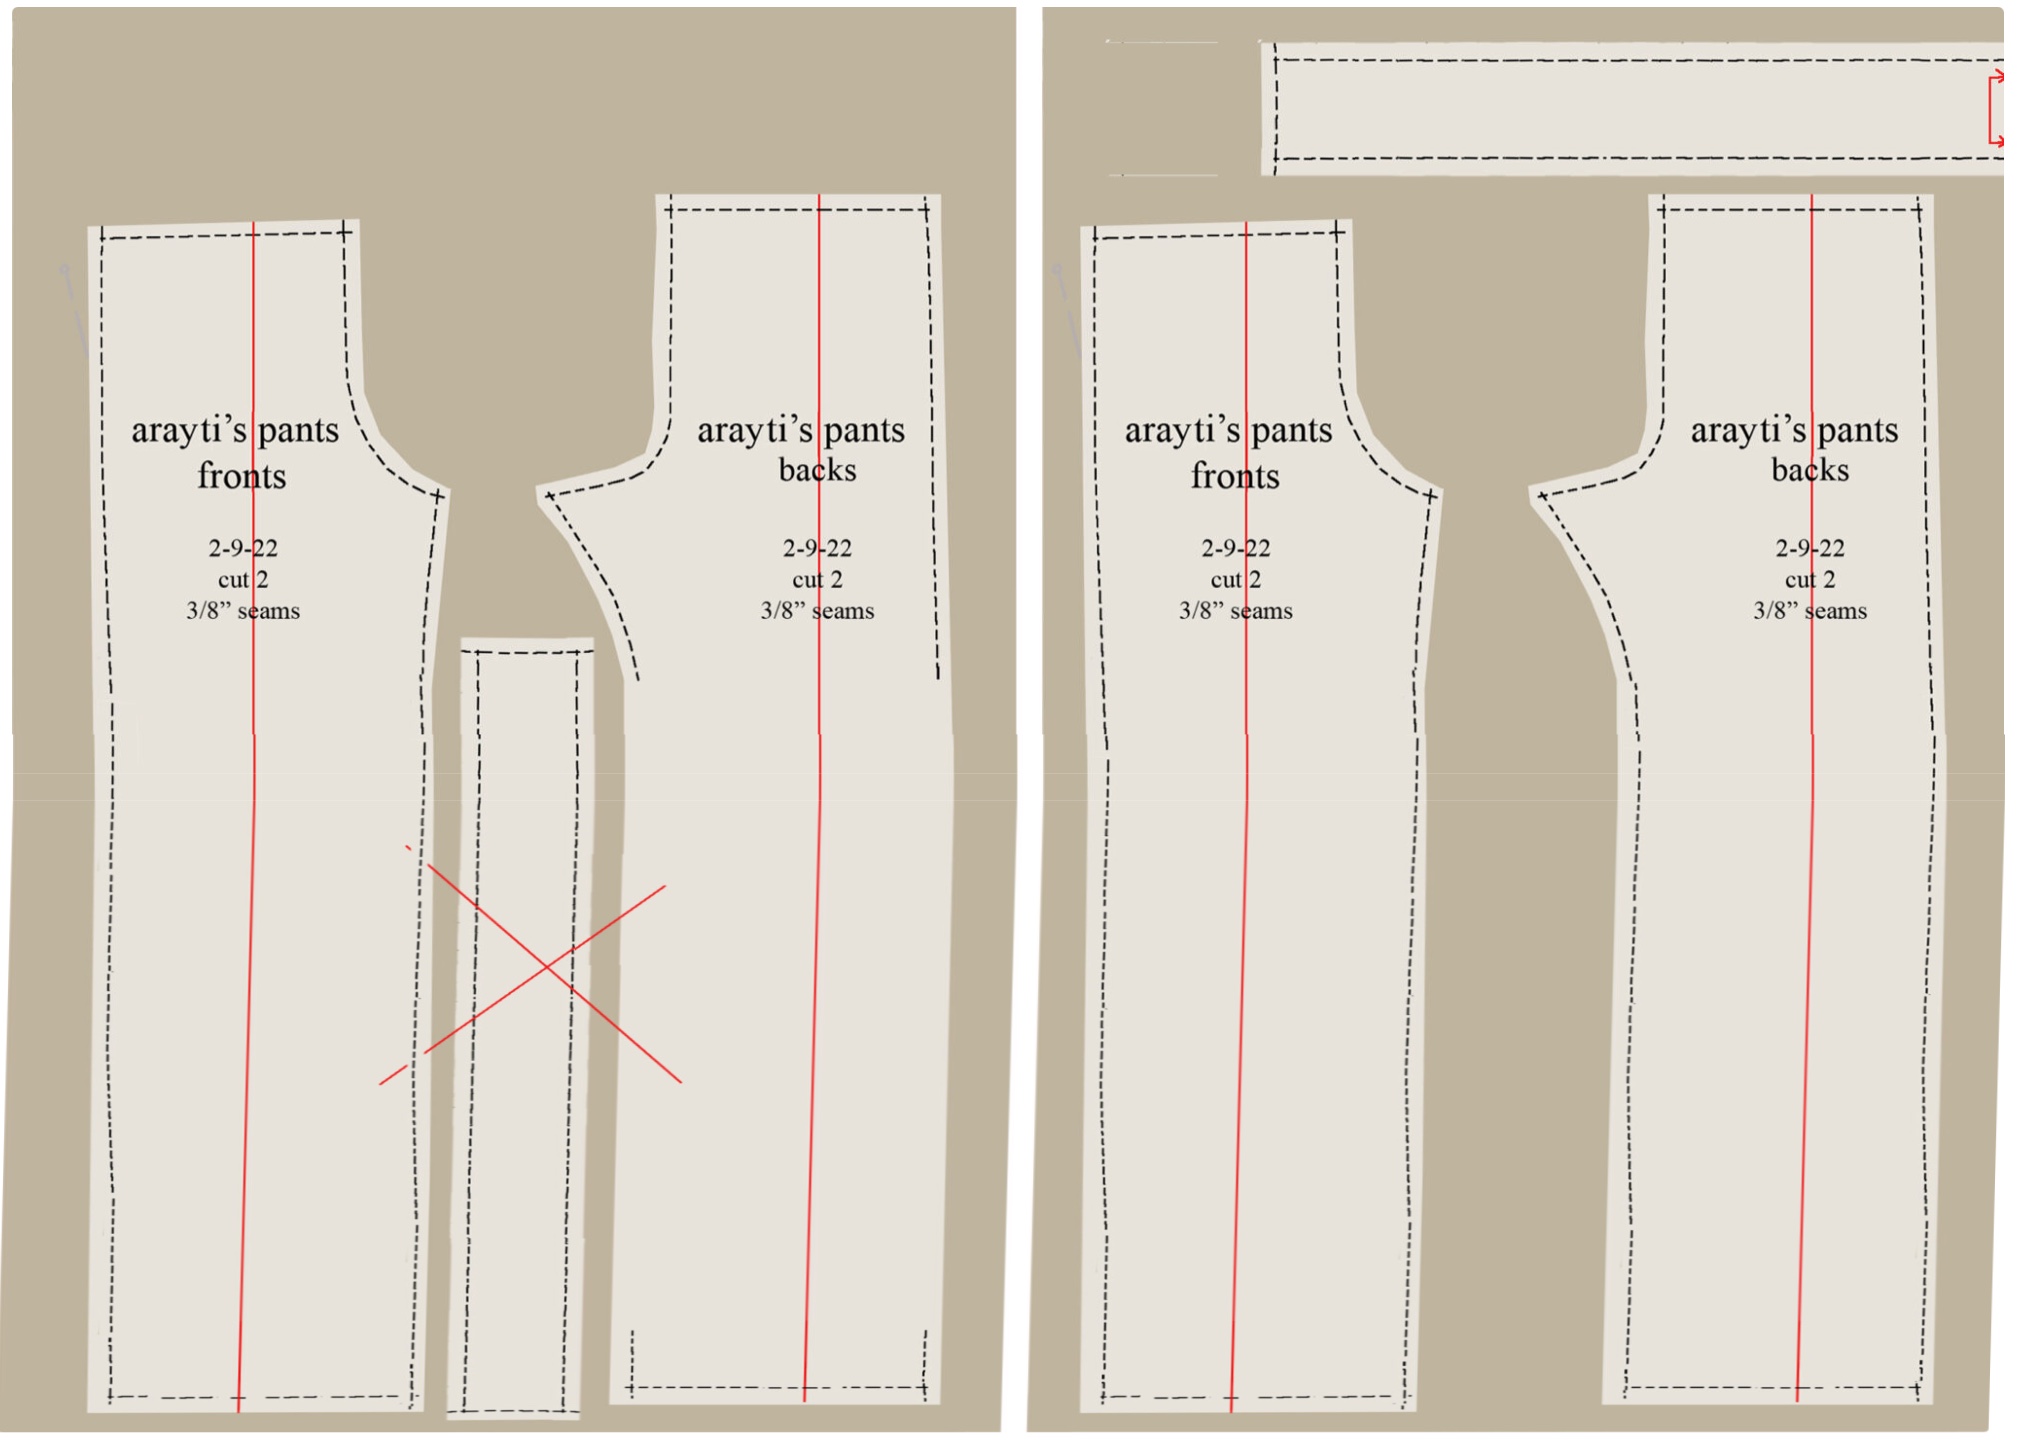
A common mistake is to cut waistbands the length of the fabric. We see this on commercial sewing patterns (who should know better), and it’s almost universal in ready-to-wear, particularly in less expensive lines.
Why not? Obviously there’s room to tuck it beside a leg and it saves fabric.
Woven fabric of natural fibers shrinks in both directions, but markedly more along the grain (vertically) than crossgrain. Jeans can still be getting shorter after six or seven trips through the laundry.
If your waistband keeps getting tighter, it may have less to do with your diet than your consideration of cost when you were shopping.
There’s no way to tell how commercial pants were cut, but you have control if you’re making your own.
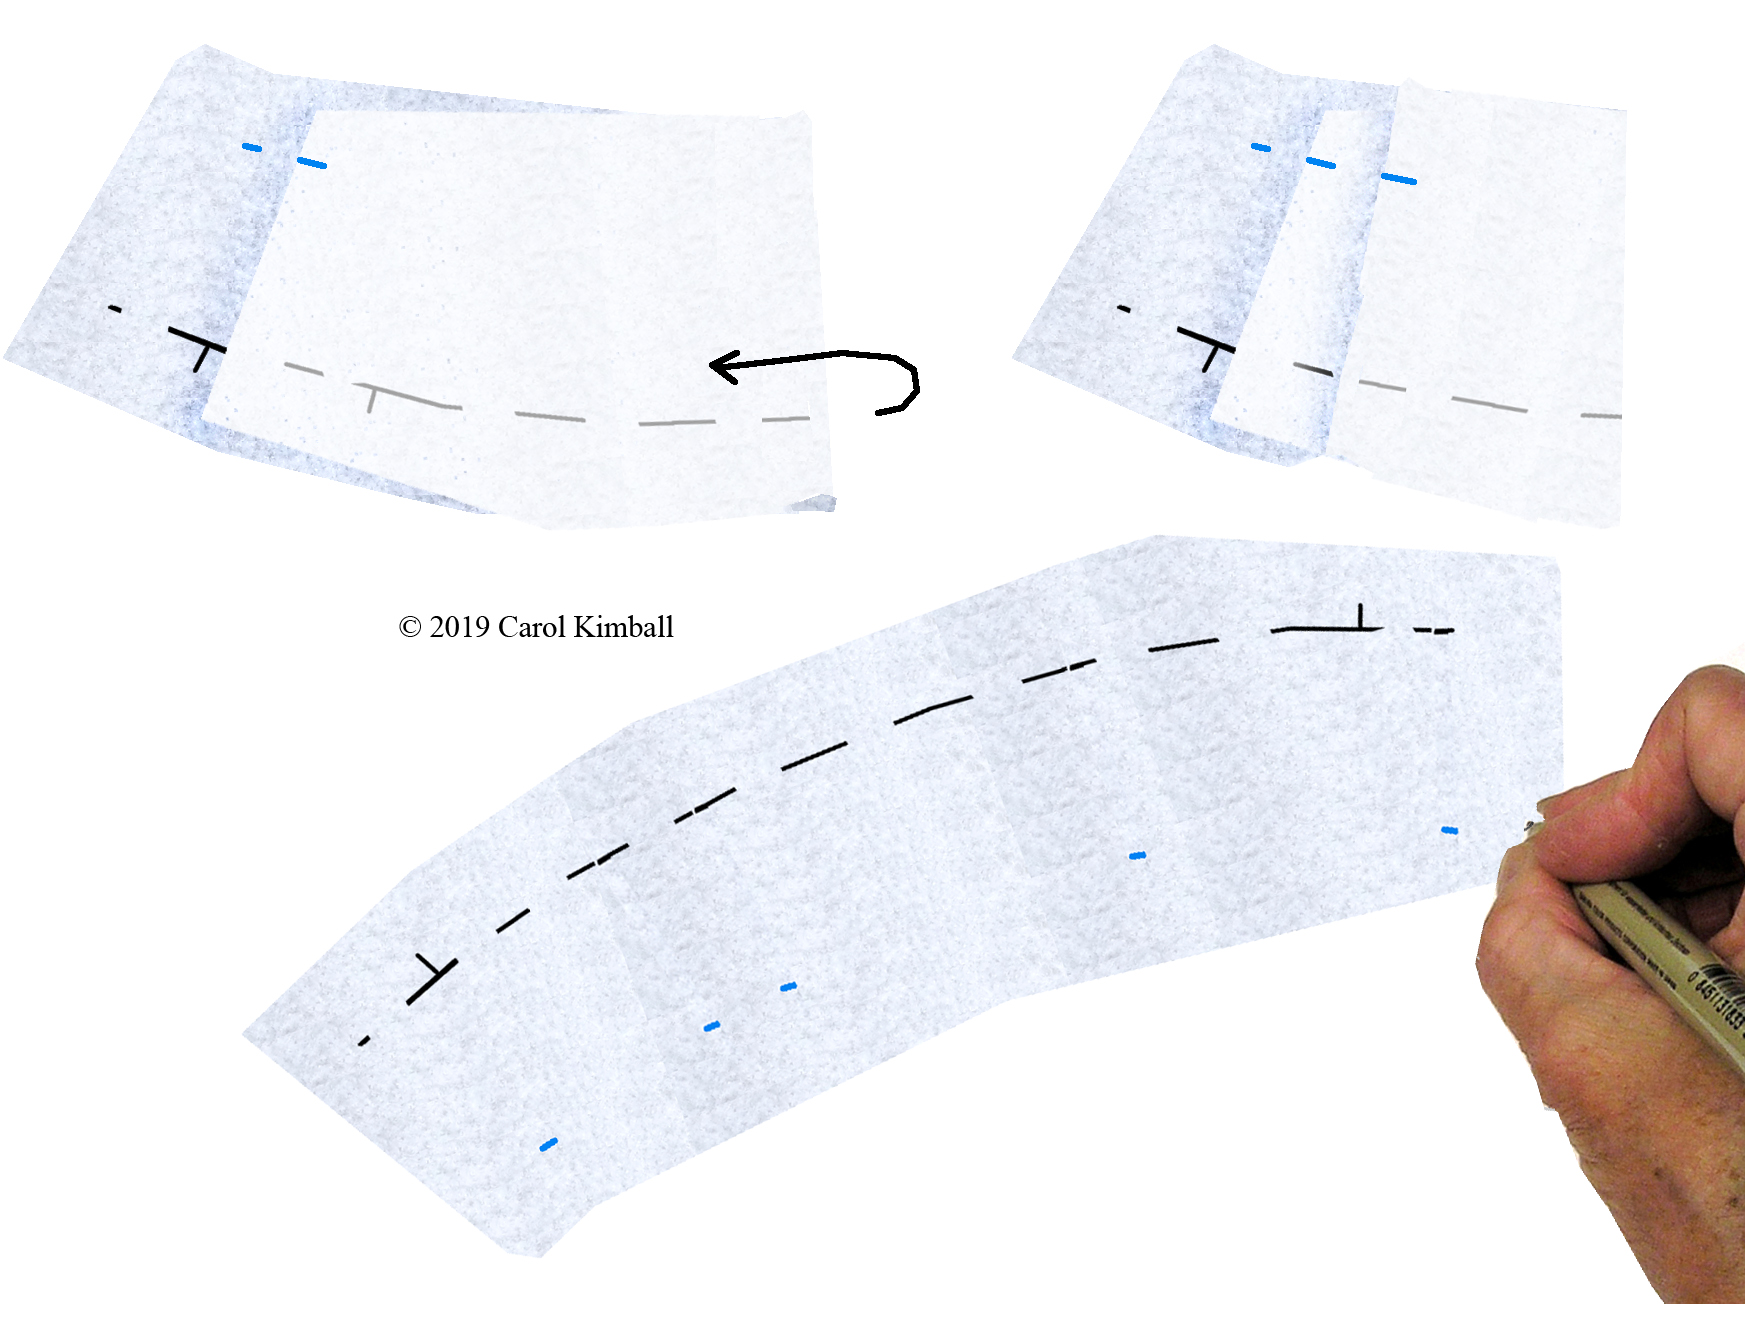
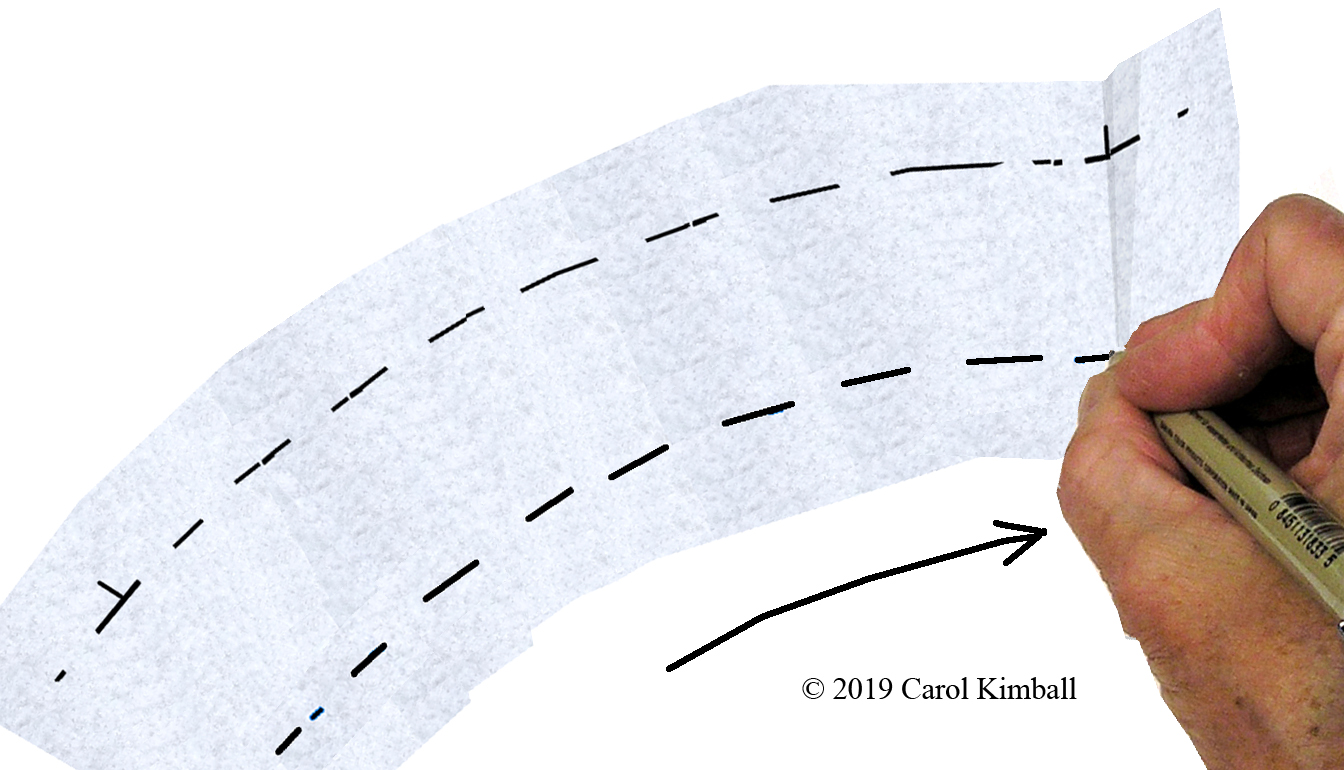
Even better, a waistband cut crossgrain can be shaped into an arc that will better fit your body.
Three options:
- Allow time and wearing to shape your waistband to fit your body (easiest and works well for most bodies).
- Steam it into a curve before sewing it on.
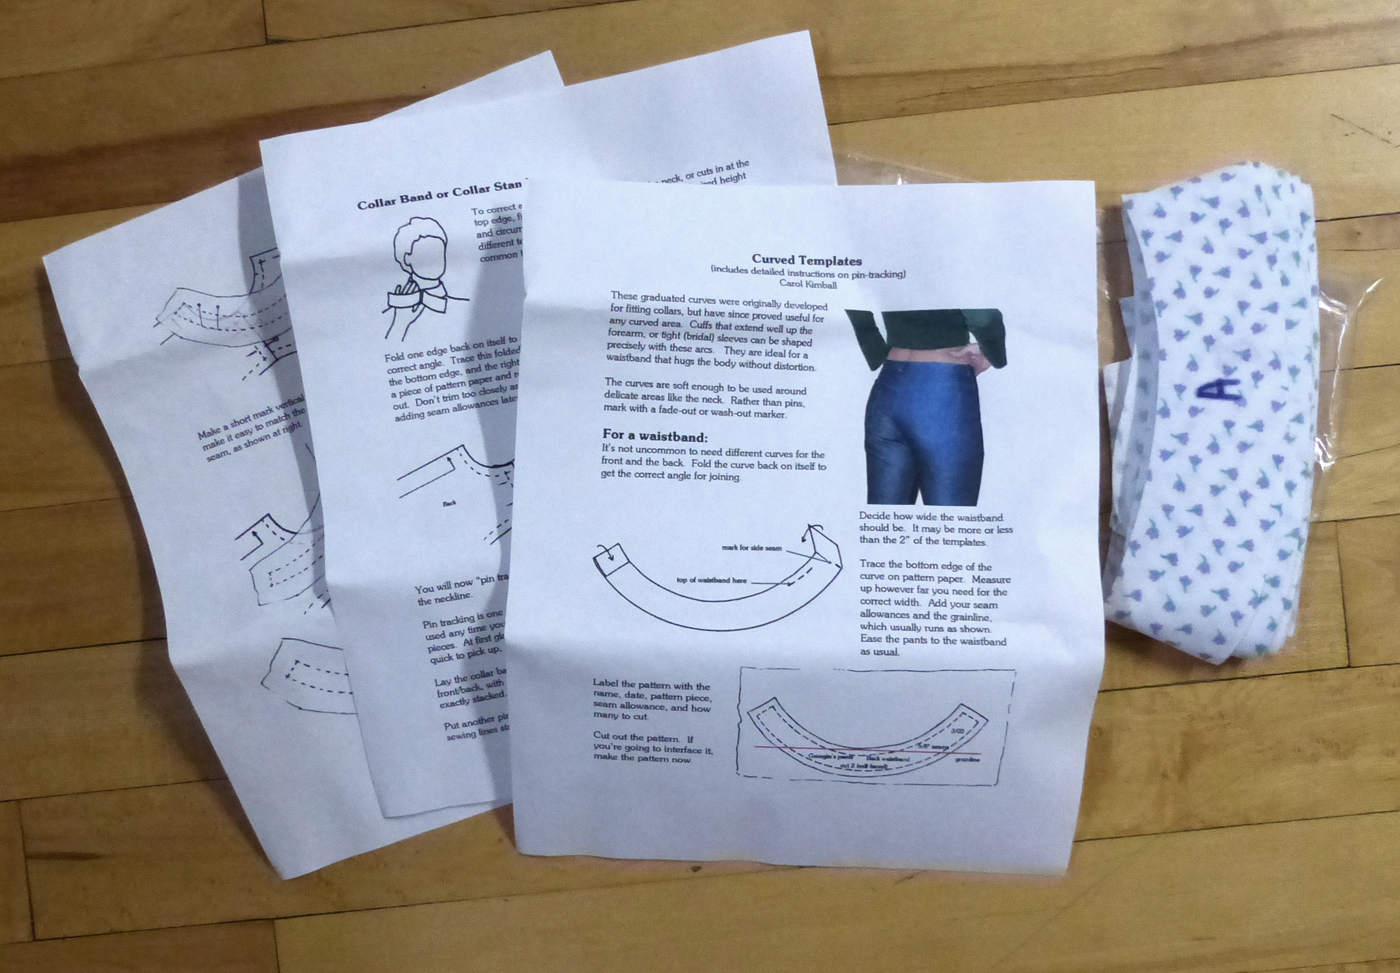
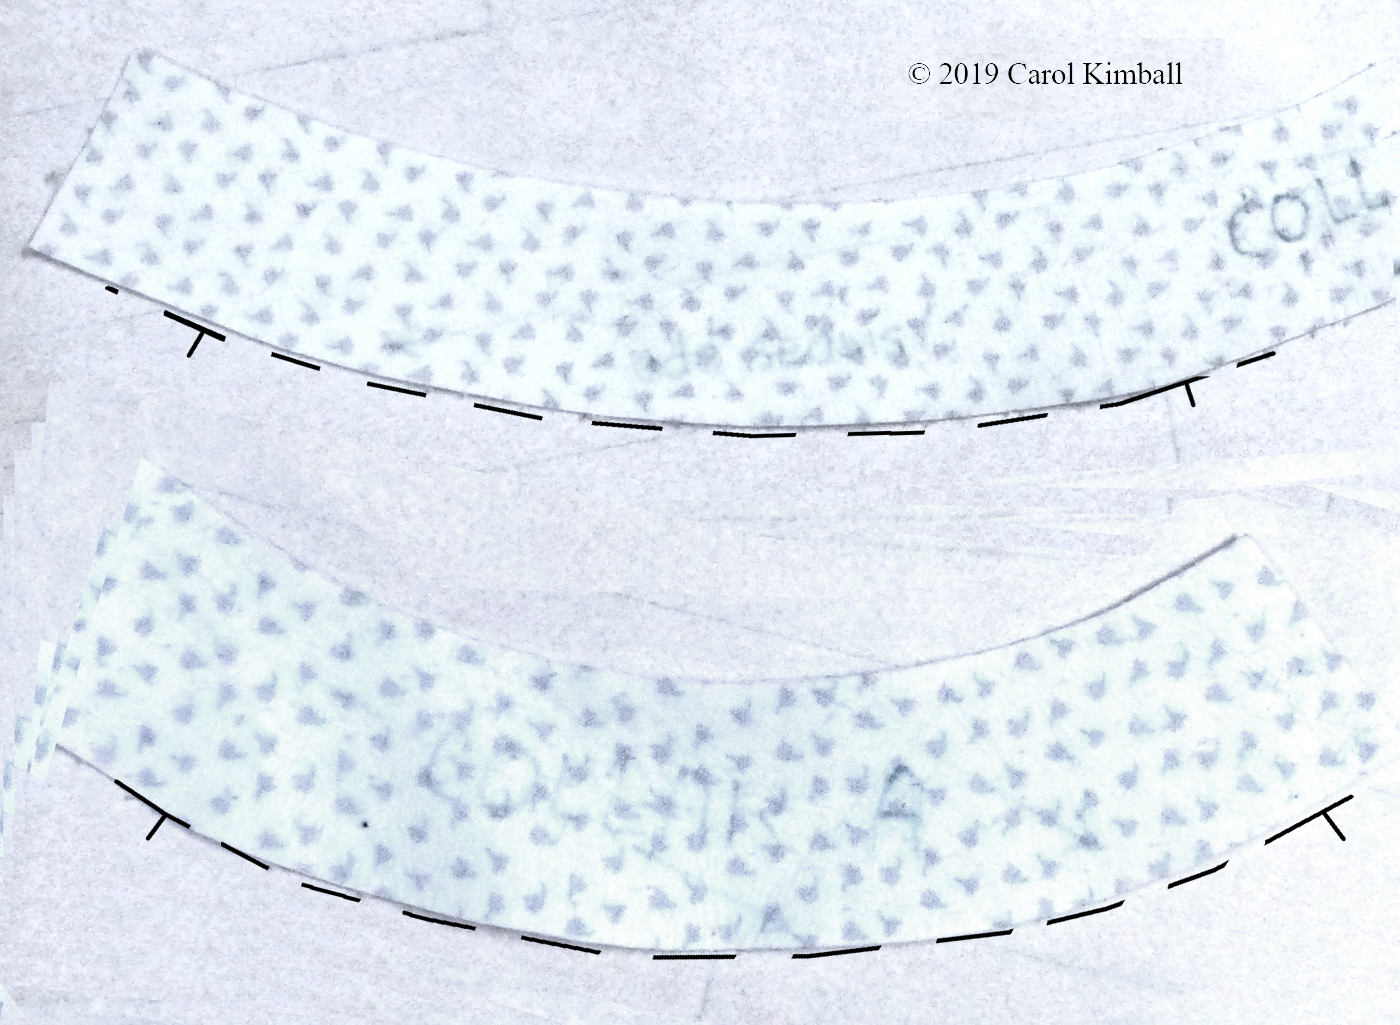
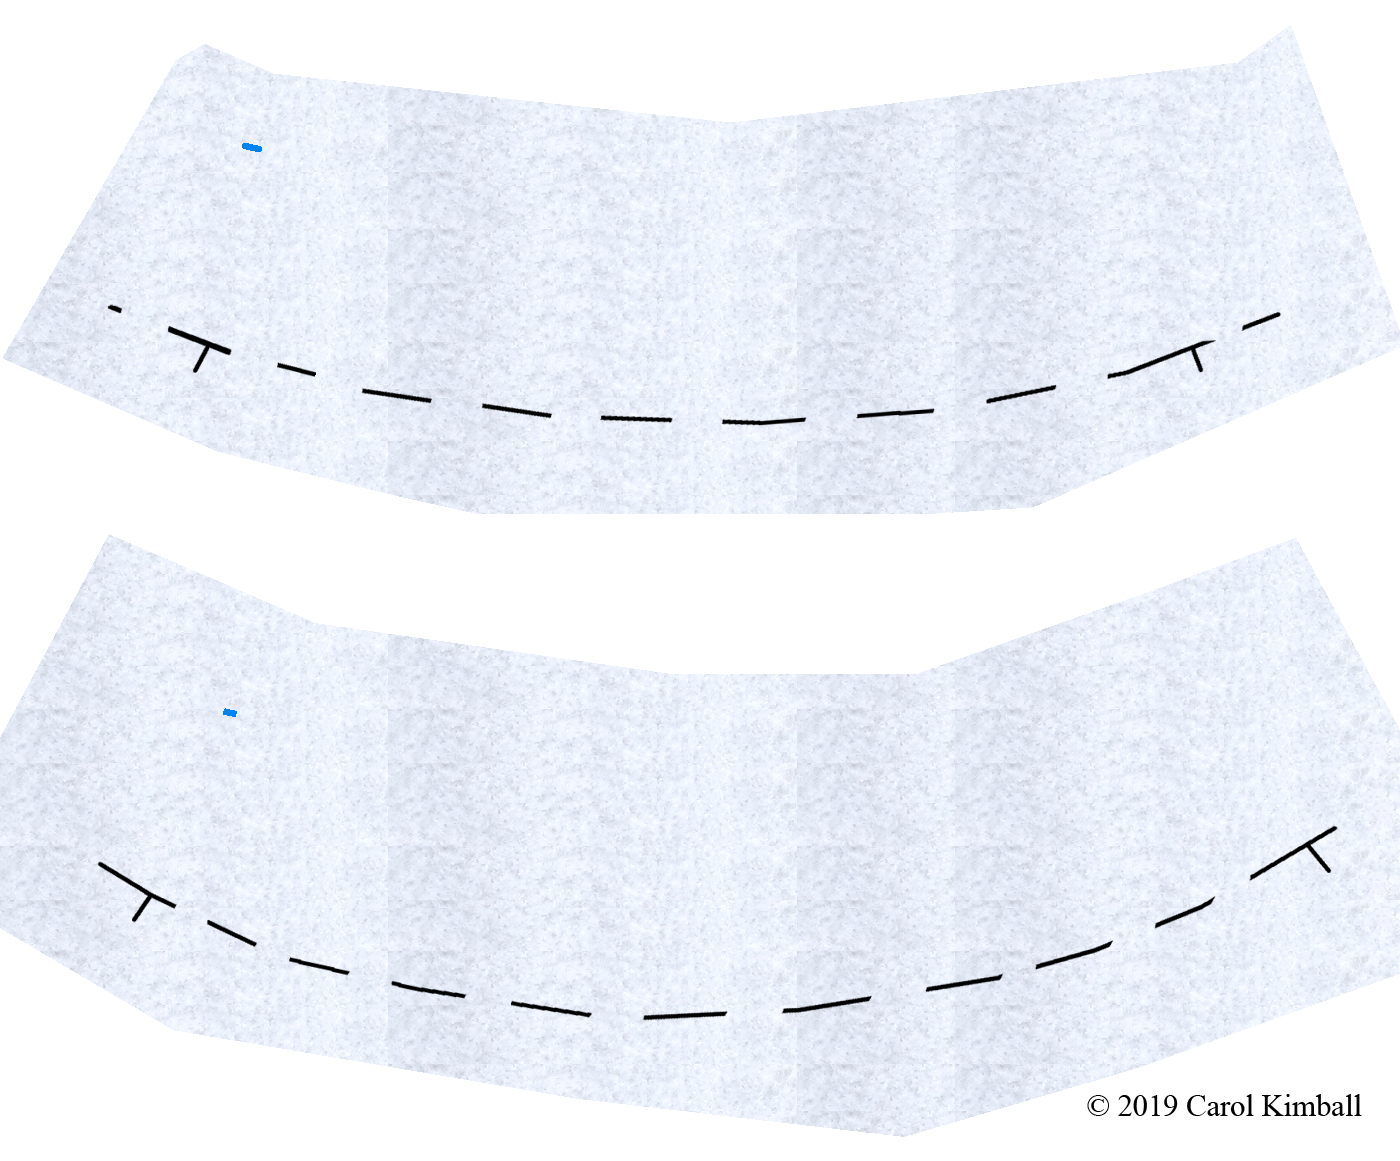
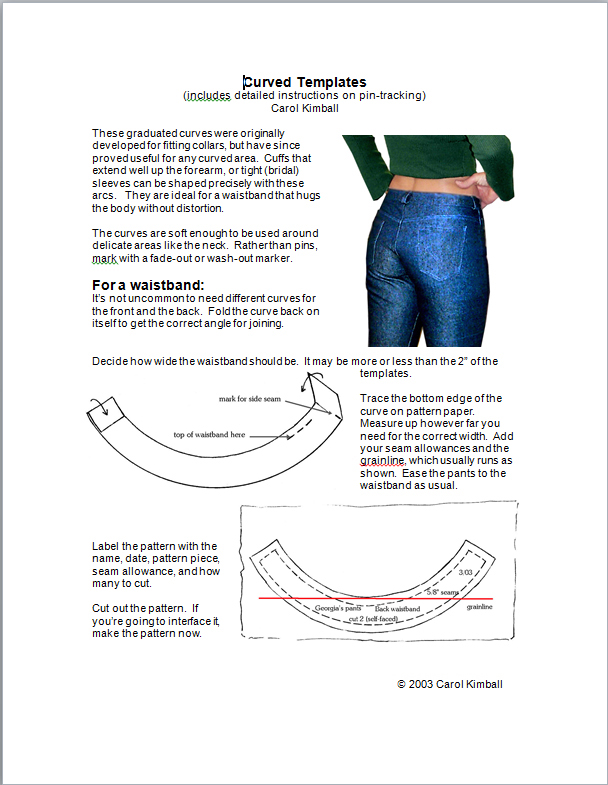
- Determine the finished shape and create a curved pattern (advanced pattern work but well within most peoples’ abilities).
These sets I created are no longer available, but the info is provided here, as are the instructions for customizing a template that fits your body.
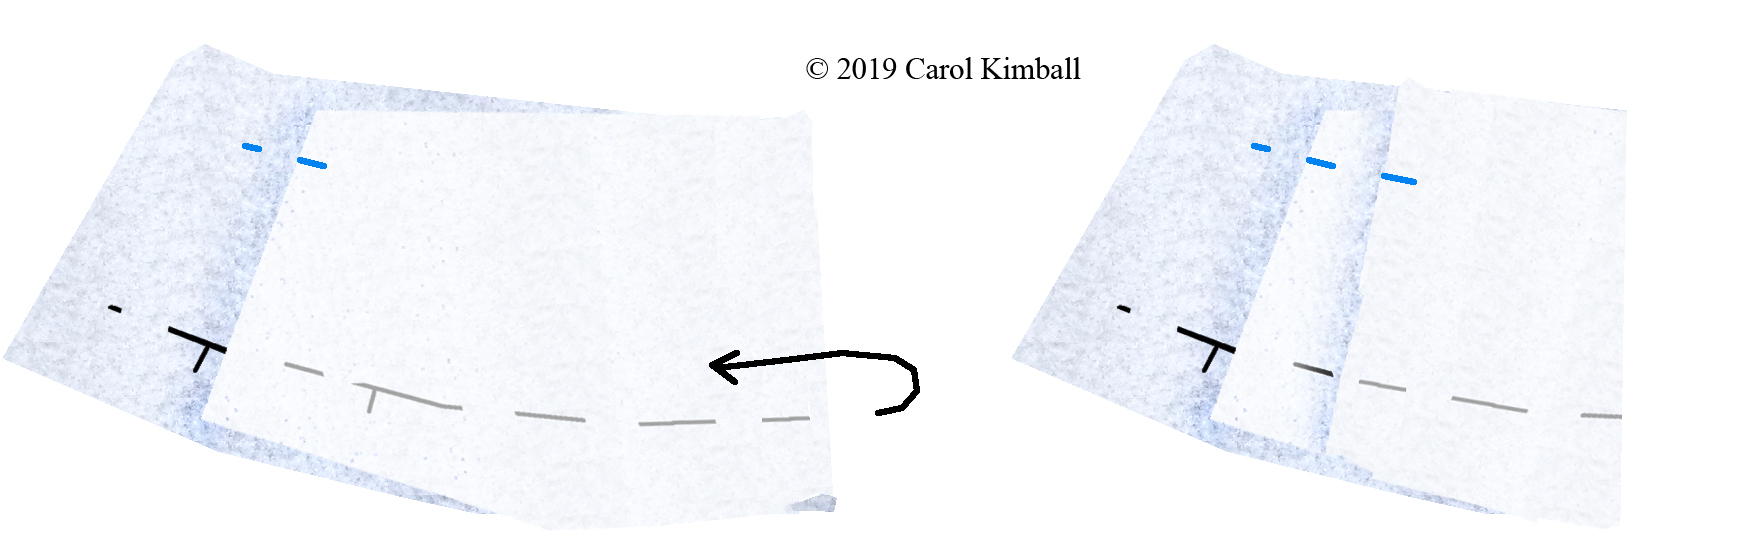
Overview: commercial patterns often have long rectangles for waistbands. It’s not economical for them to provide the range of curved pieces that would fit better.
Most people have different curves for the front and back waist (from side seam to side seam), with the back usually straighter and the front more curved.
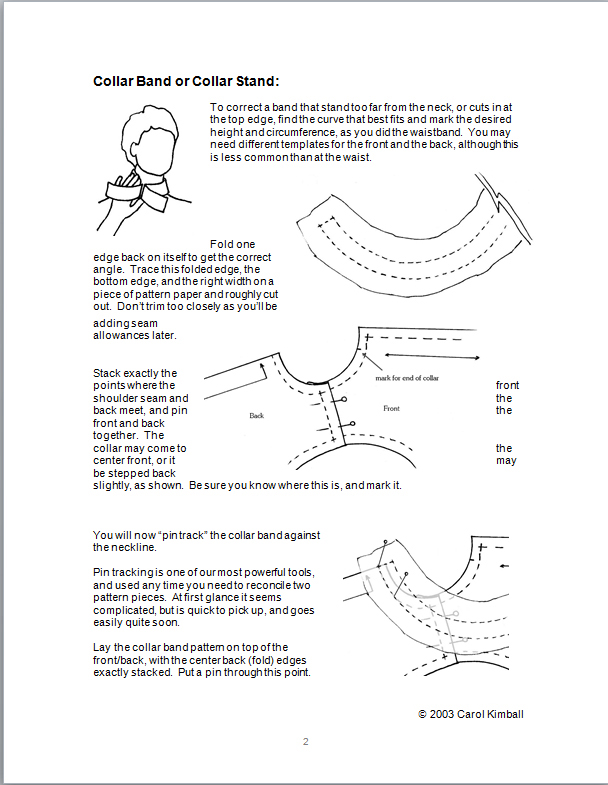
As this is true and more extreme for a collar band for the neck, I’ll show you how to fit that, with notes on the waistband to follow.
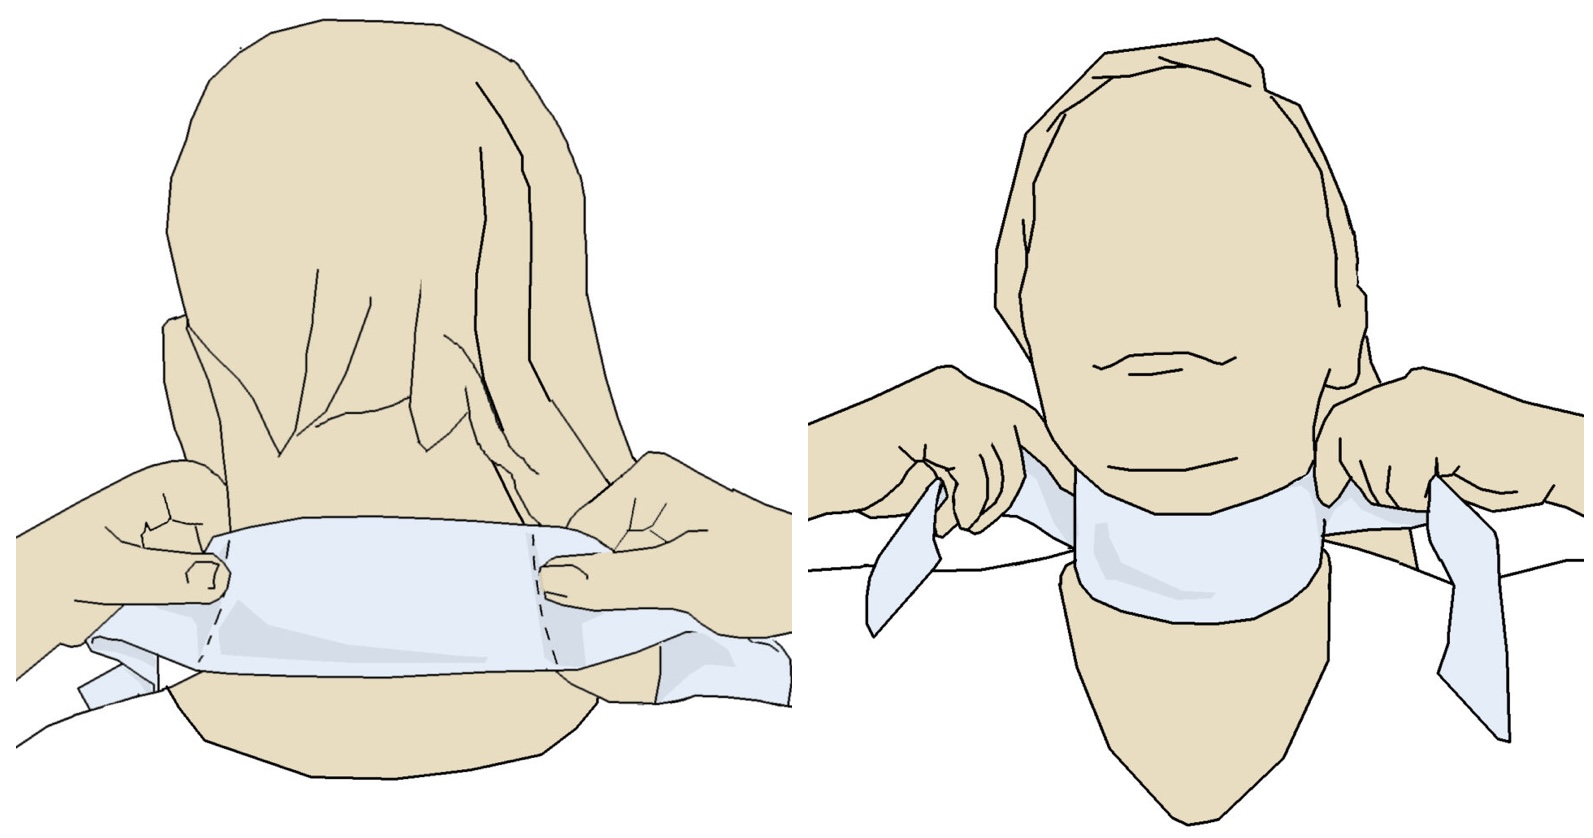
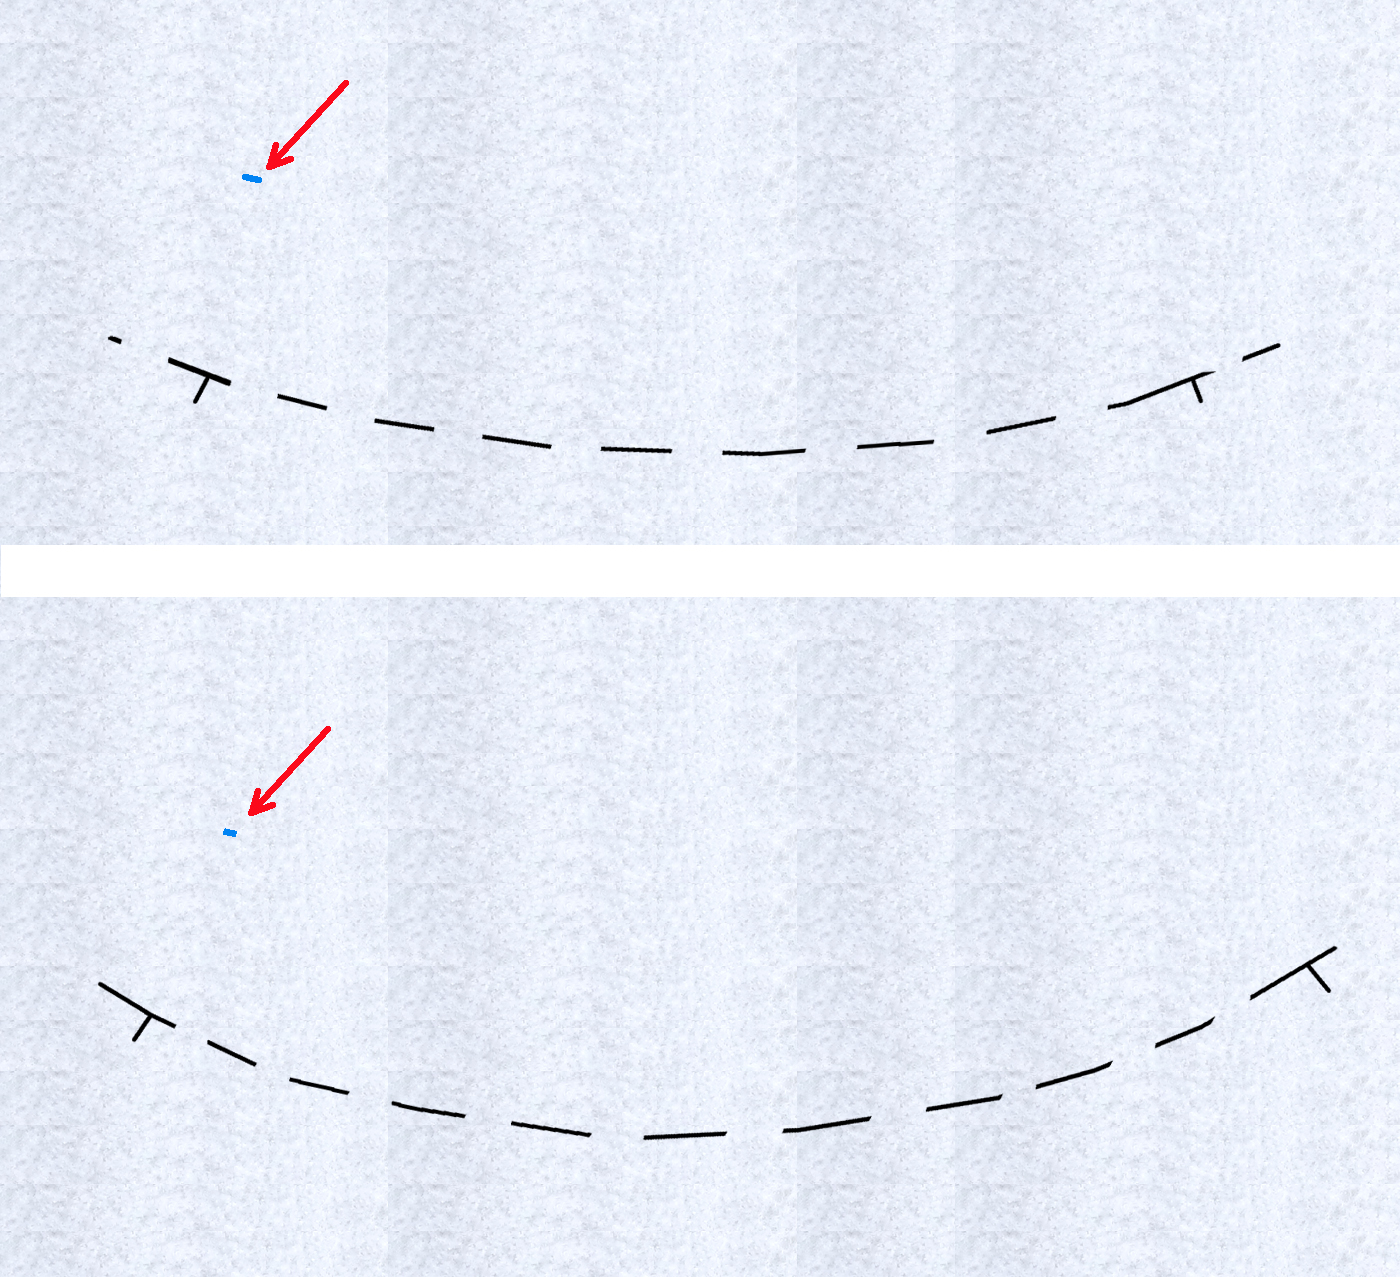
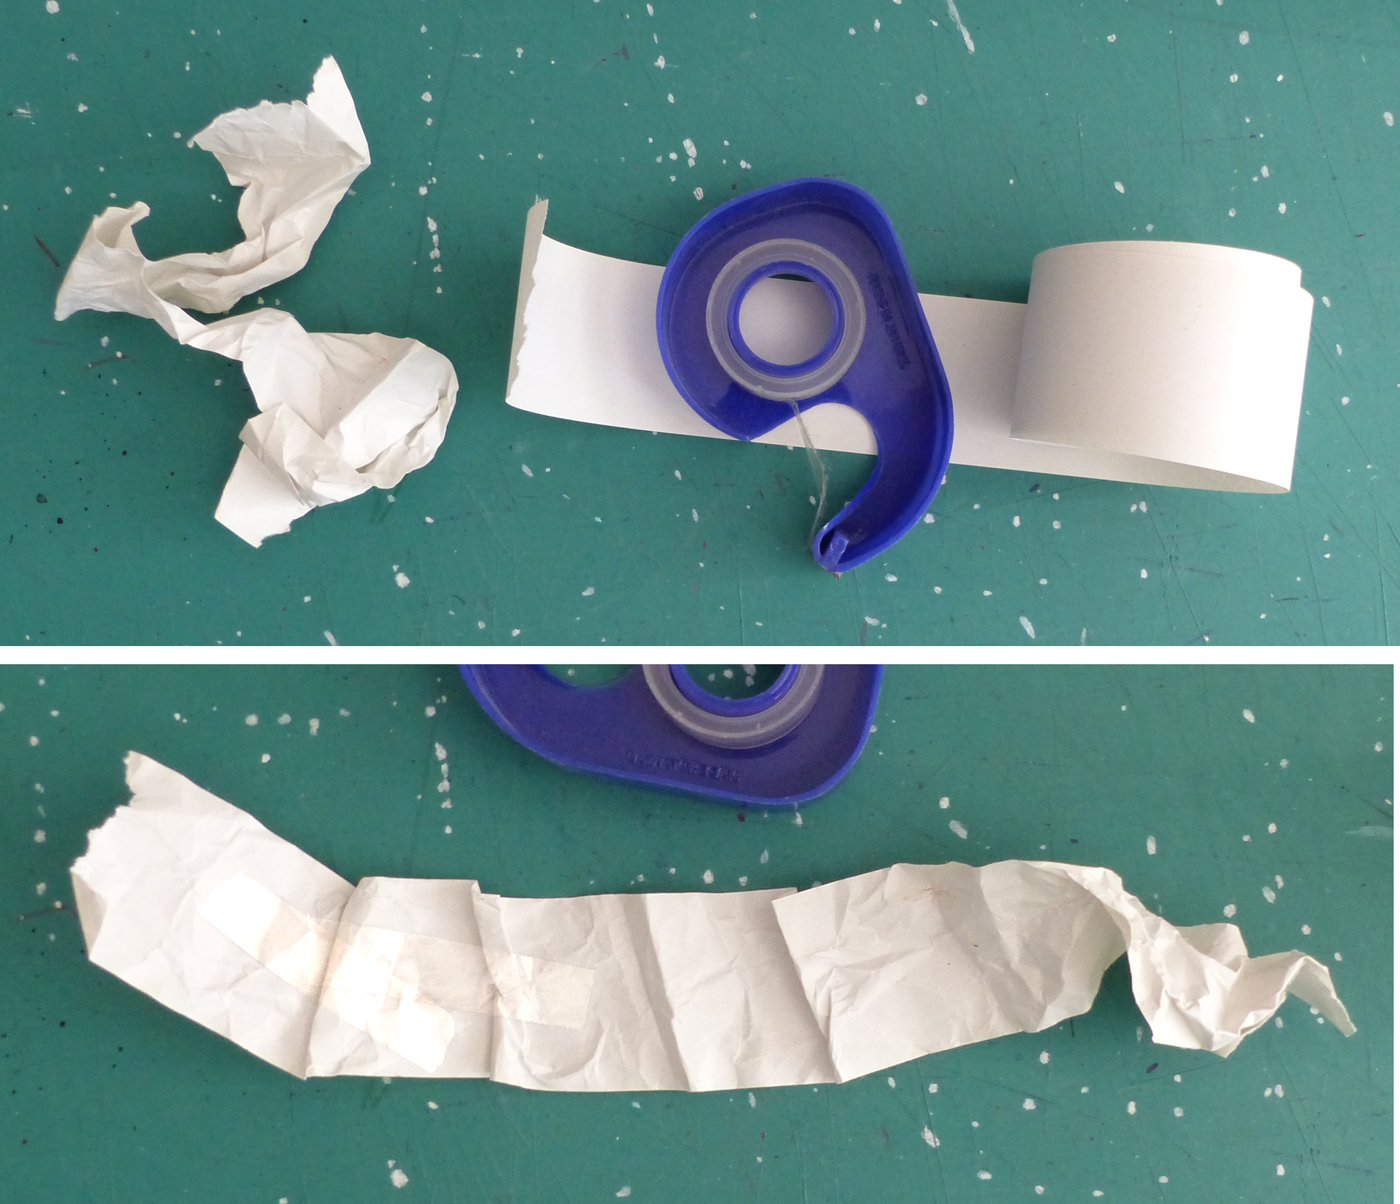
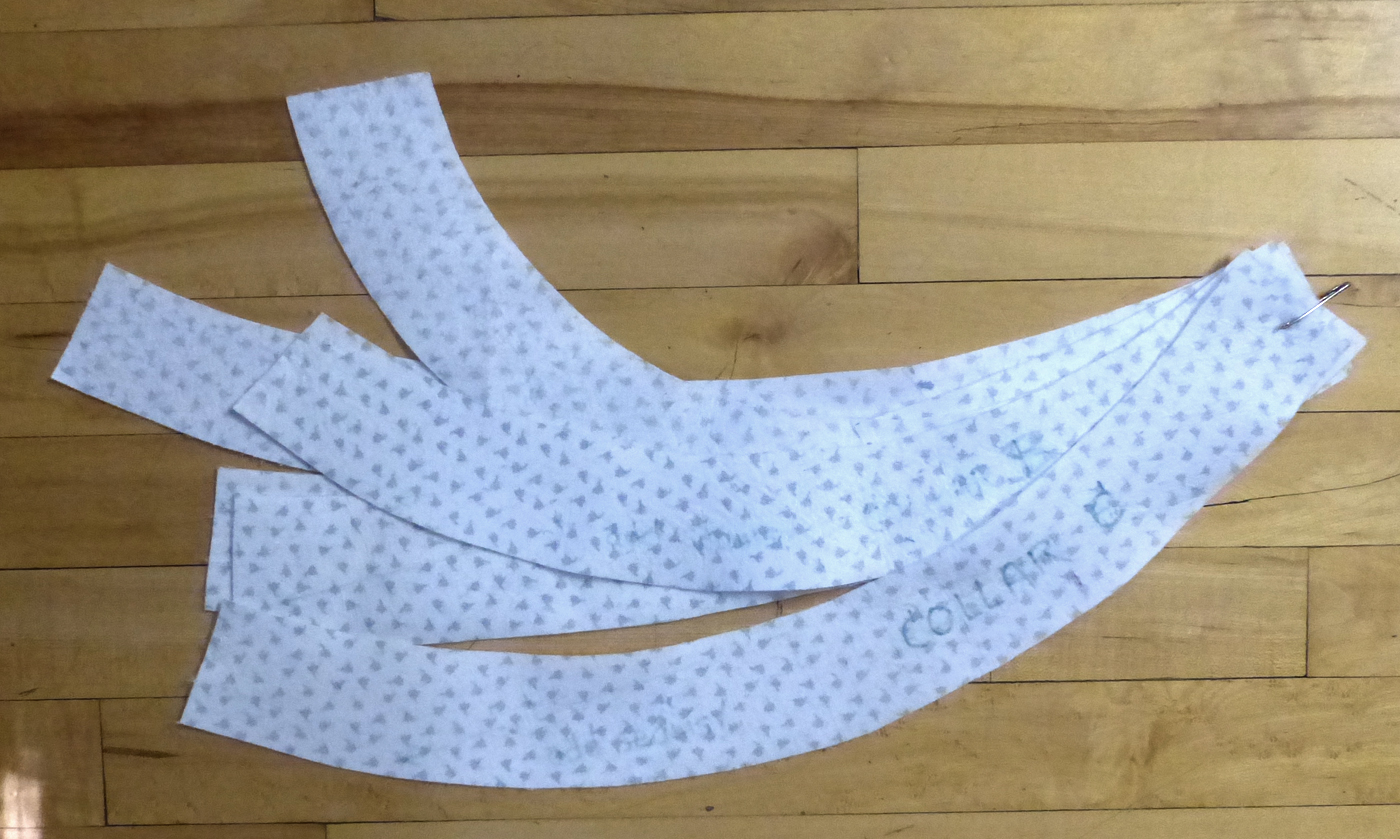
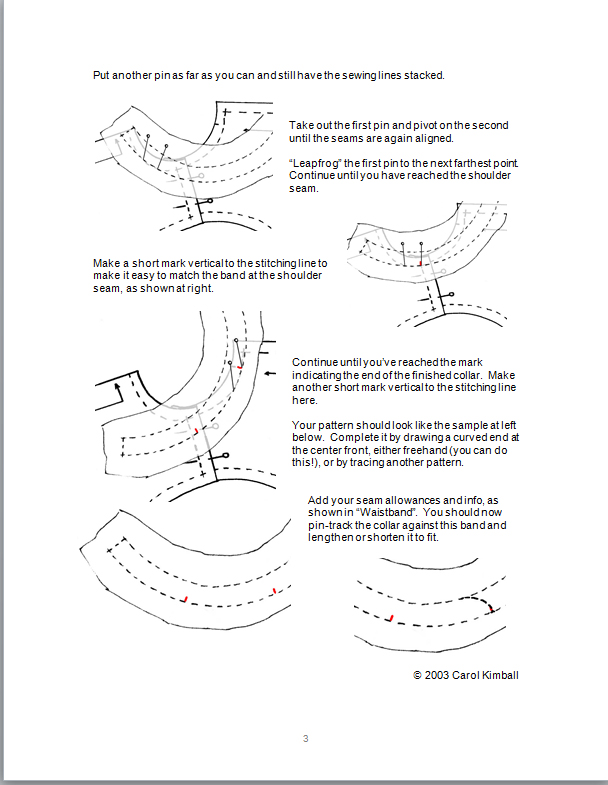
Use a strip of paper such as adding machine tape. If it’s stiff, crumple it up, smooth it out, crumple it up again. Pleat little darts into it and check against the curve of you neck, or waist or whatever, and then tape it into place. If there are uneven places such as at left, slash them with scissors, re-shape and tape.
Including the photography and processing the shots, this took less than five minutes.
steam into a curve